Why Your Current Wash May Be Damaging the Paint
If your car’s finish looks dull or covered in fine scratches, the culprit is often the wash routine itself. Many everyday habits—done with the best intentions—are actually the main cause of swirl marks and faded clear coat. Recognizing these pitfalls is the first step toward a better result without changing your budget.
The most common offender is dish soap. While it strips grease effectively, it is formulated to remove oils aggressively. That same strength can strip the protective wax or sealant from your paint, leaving it exposed to the elements. Over time, this makes the surface look flat and invites contaminants to bond more tightly. A dedicated car wash soap is a small adjustment that makes a significant difference.
Washing in direct sunlight is another frequent error. Heat causes water and soap to evaporate quickly, leaving behind mineral deposits and dried soap residue. These residues can etch into the paint and create a hazy film. More importantly, a hot panel makes it harder to keep the surface lubricated, increasing friction as you wipe.
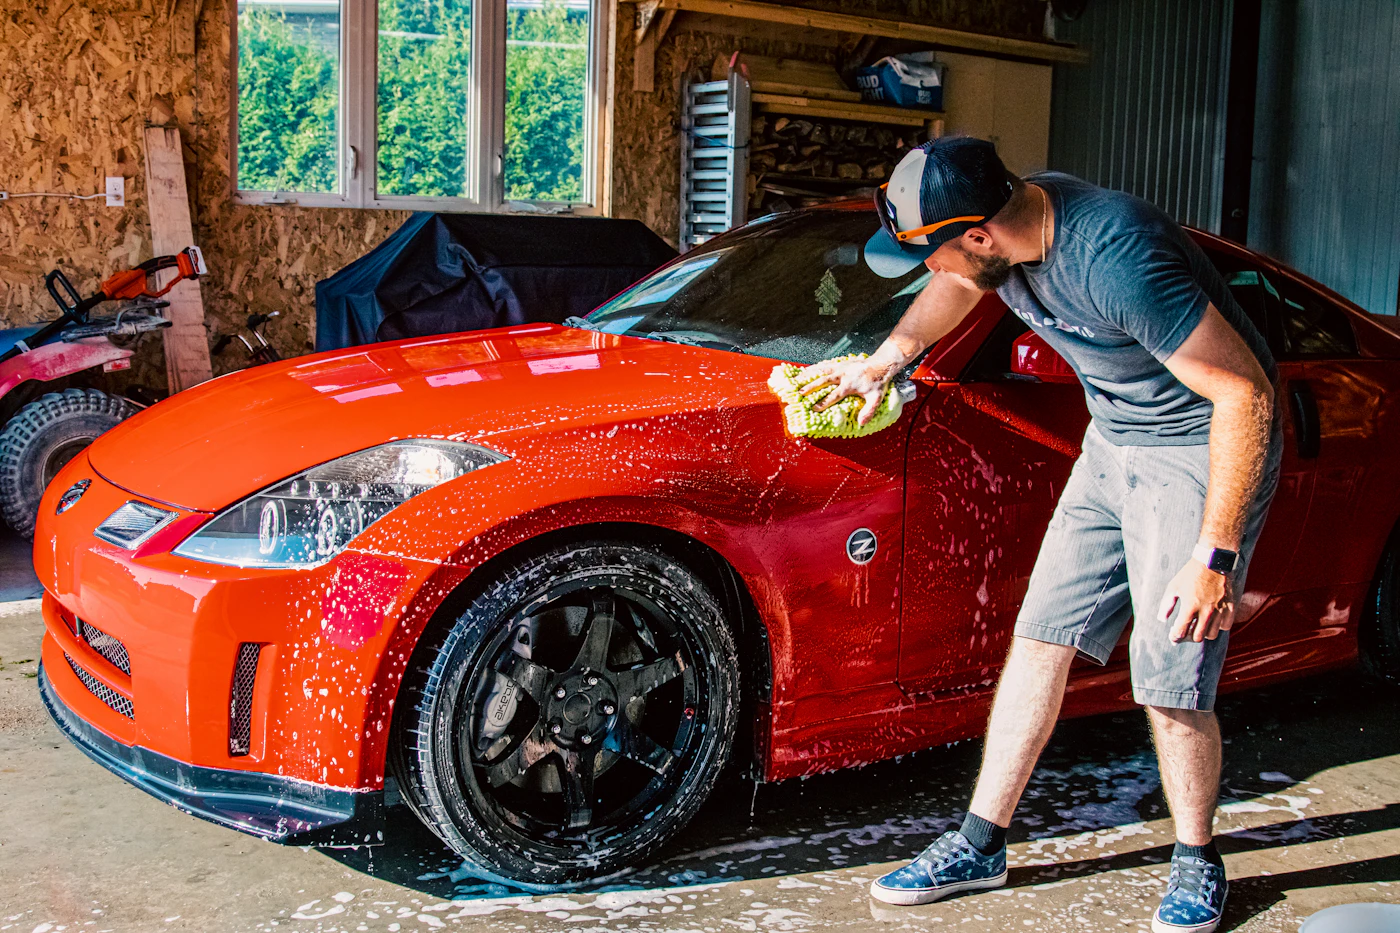
Dirty sponges and mitts are the primary source of those spiderweb-like swirls. A sponge that has picked up grit from the wheels or lower body panels becomes a sanding tool on the hood. Consider this a clear sign of trouble:
- You rinse the sponge but still see dark streaks or grit embedded in it.
- You use the same sponge for the wheels and the paint.
- You scrub in circular motions rather than straight lines.
Each of these habits drags abrasive particles across the clear coat. The fix is not expensive; it is a matter of method. Use a separate mitt for lower panels, rinse it frequently, and wash in the shade. These small changes prevent damage before it starts, keeping your paint glossy without extra products or professional help.
The Two-Bucket Method: The Core of Safe Washing
The single most effective way to prevent fine scratches and swirl marks is to separate the dirt you remove from the clean water you use. The two-bucket method does exactly that with minimal equipment. In one bucket, you have your soapy wash water. In the other, you have plain rinse water. After a few passes of your mitt across a panel, you dunk it in the rinse bucket and agitate it. That action releases the trapped grit, which sinks to the bottom. Then you load the mitt with fresh suds from the wash bucket and continue.
The key to making this system work is keeping the dirt at the bottom of the rinse bucket. This is where grit guards help. These are simple plastic mesh or slotted inserts that sit near the bottom of the bucket. They create a physical barrier, so when you push your mitt down, the dirt is forced underneath the guard and stays there. Without a guard, stirring the water can swirl the grit back up onto your mitt. Still, even without a grit guard, a dedicated rinse bucket is far better than a single bucket.
- When one bucket is acceptable: If your car is only lightly dusty, not muddy, a single bucket can work, provided you rinse the mitt thoroughly under a running hose before dipping it back into the soapy water.
- Household improvisation: Lack a second bucket? Use a large, clean kitchen pot, a salad spinner basket (as a makeshift grit guard), or a sturdy plastic storage bin. Just make sure it is free of debris and rinsed well first.
The principle is simple: never put a dirty mitt into your clean soap solution. This habit alone will do more to protect your paint than any expensive polish or wax you might buy later.
Choosing the Right Wash Media and Chemicals
The tools and products you use matter more than the amount of money you spend. The goal is simple: lift dirt away from the paint without dragging it across the surface. The right wash mitt and shampoo make that possible, even on a tight budget.
Start with the mitt. A plush microfiber wash mitt is a solid choice because the dense pile traps grit and holds it away from the clear coat. Avoid using a sponge or a terry cloth towel; both tend to push abrasive particles against the paint. You only need one good mitt, and you can find an affordable one at most auto parts or big-box stores. Keep it clean between uses, and never drop it on the ground. If you do, rinse it thoroughly before touching the car again.
For drying, use a dedicated microfiber drying towel or a few plush microfiber towels. Reserve these towels for paintwork only. Do not use them on wheels, glass, or interior surfaces where they might pick up grit that could later scratch the finish.
For the wash solution, choose a pH-neutral car shampoo. These products are formulated to be gentle on waxes and sealants while still lifting dirt. They are not expensive, and a single bottle will last many washes because you only need a small amount in a bucket. Avoid household dish soap or laundry detergent. These contain degreasers and strong surfactants that can strip protective wax and dry out rubber and trim over time.
- Safe everyday choice: a quality microfiber mitt, a pH-neutral shampoo, and clean microfiber drying towels.
- Leave to a professional: if you notice heavy oxidation, deep scratches, or water spots that won’t rinse off, those require polishing or compounding, which is best handled with proper training and equipment.
Stick with simple, dedicated car-care products, and you will protect the finish without spending more than necessary.
Pre-Rinse and Drying Techniques That Protect the Finish
The single most important step you can take to avoid scratching your paint happens before the wash mitt ever touches the panel. A thorough pre-rinse removes the bulk of loose grit, road film, and dust that would otherwise be dragged across the clear coat. Start at the top of the vehicle and work downward, using a strong but controlled stream of water. The goal is to flush away debris, not to blast it into the crevices. Pay special attention to wheel wells, the lower rocker panels, and the area behind the license plate, where trapped dirt tends to hide. If your vehicle is heavily soiled, let the water run for a few extra minutes to soften caked-on mud before you begin any contact washing.
Once the wash is complete, how you dry is just as important as how you clean. Friction is your enemy here. A dedicated plush microfiber drying towel, used with a gentle blotting or patting motion, is a safe and effective choice. Resist the urge to drag the towel across the surface in long sweeping motions; instead, lay it flat and lift it away to absorb water. Work in small sections, and keep the towel clean and free of any debris by folding it to a fresh side frequently.
An alternative with zero paint contact is an electric leaf blower or a dedicated automotive drying blower. It is particularly useful for pushing water out of side mirrors, grille slats, and trim gaps where a towel cannot reach. To finish, follow with a light blotting pass of a microfiber towel over any remaining beads for a spot-free result.
- Always begin with a low-pressure rinse from top to bottom.
- Use one towel for the body, and a separate one for wheels and lower panels.
- Dry in the shade and on a cool surface to slow evaporation.
- Finish by opening the trunk and doors briefly to let trapped water run out.
These simple adjustments add little time to your routine but make a significant difference in keeping the clear coat smooth and free of fine swirl marks.
Spot Cleaning, Bug Removal, and Tar: Safe Approaches
Stubborn contaminants require a different mindset than general washing. The goal is to break the bond between the contaminant and the clear coat without introducing new scratches. Reaching for a scraper, a razor blade, or an abrasive pad is the fastest way to turn a minor blemish into a permanent swirl mark or etch.
For dried bug splatter, the safest first step is to soften it. Place a damp, clean microfiber towel over the affected area and leave it for a few minutes. This rehydrates the debris without aggressive rubbing. If residue remains, a common and inexpensive lubricant—such as a spray-on detailer or even a silicone-based lubricant—can help. Apply it generously, let it sit briefly, and then use the flat of your finger wrapped in a soft cloth to gently roll the residue away. Avoid pressing hard or using a fingernail.
Tar and road paint require similar patience. A dedicated tar remover is effective, but a mild lubricant can also work for small spots. Spray the area, wait a few minutes for the solvent to soften the tar, and then wipe with a clean microfiber cloth using light, straight-line pressure. Do not rub in circles, as this can work the grit into the paint.
- Do: Work in a shaded, cool panel to slow evaporation and give the product time to work.
- Do: Use a fresh, clean side of the towel for each spot to avoid redepositing grit.
- Don’t: Use bug sponges with rough mesh surfaces or any abrasive scrubber.
- Don’t: Try to chip or pick at the contaminant with any sharp tool.
After the spot is lifted, wipe the area with a damp cloth to remove any residue, then dry it. This routine handles most everyday deposits safely. If a tar spot or bird dropping has sat for an extended period and left a dull mark in the clear coat, that likely means the finish is etched, and a professional polish is the appropriate next step rather than more aggressive rubbing at home.
When to Call a Professional: Keeping Your Finish Safe
A careful washing routine is the foundation of paint care, but it has limits. Some conditions are best left to a trained detailer or body shop professional. Knowing when to stop and hand over the work protects your finish and your budget in the long run.
Plan to call a professional for issues that go beyond surface-level dirt. For example, heavy oxidation, which appears as a dull, chalky film that does not wash away, typically requires machine polishing. Similarly, deep scratches that catch your fingernail are usually through the clear coat and need more than a hand-applied product. Attempting to fix these with over-the-counter compounds often leads to uneven results or thin paint.
Applying a ceramic coating is another job where professional help is wise. These coatings bond chemically with the paint and demand a perfectly clean, decontaminated surface. A professional has the lighting, tools, and experience to prepare the paint correctly and apply the coating evenly. Inconsistent application can leave permanent streaks or high spots that are difficult to remove.
Here is where your maintenance routine pays off:
- A gentle, frequent wash keeps contaminants from bonding to the paint, so professional work is less aggressive and less expensive.
- Regular care slows the buildup of oxidation and minor marring, which reduces the need for corrective polishing over time.
- When you do seek professional help, your well-maintained paint gives the preparer a clean starting point, which often means less time and lower labor costs.
Think of your washing as the daily maintenance that protects the investment. The professional’s work corrects deeper issues, but it lasts longer and costs less when the paint has been consistently cared for. Leave the risky corrections to the experts, and keep your safe routine going at home.