Start With a Waste Audit: Know What You Throw Away
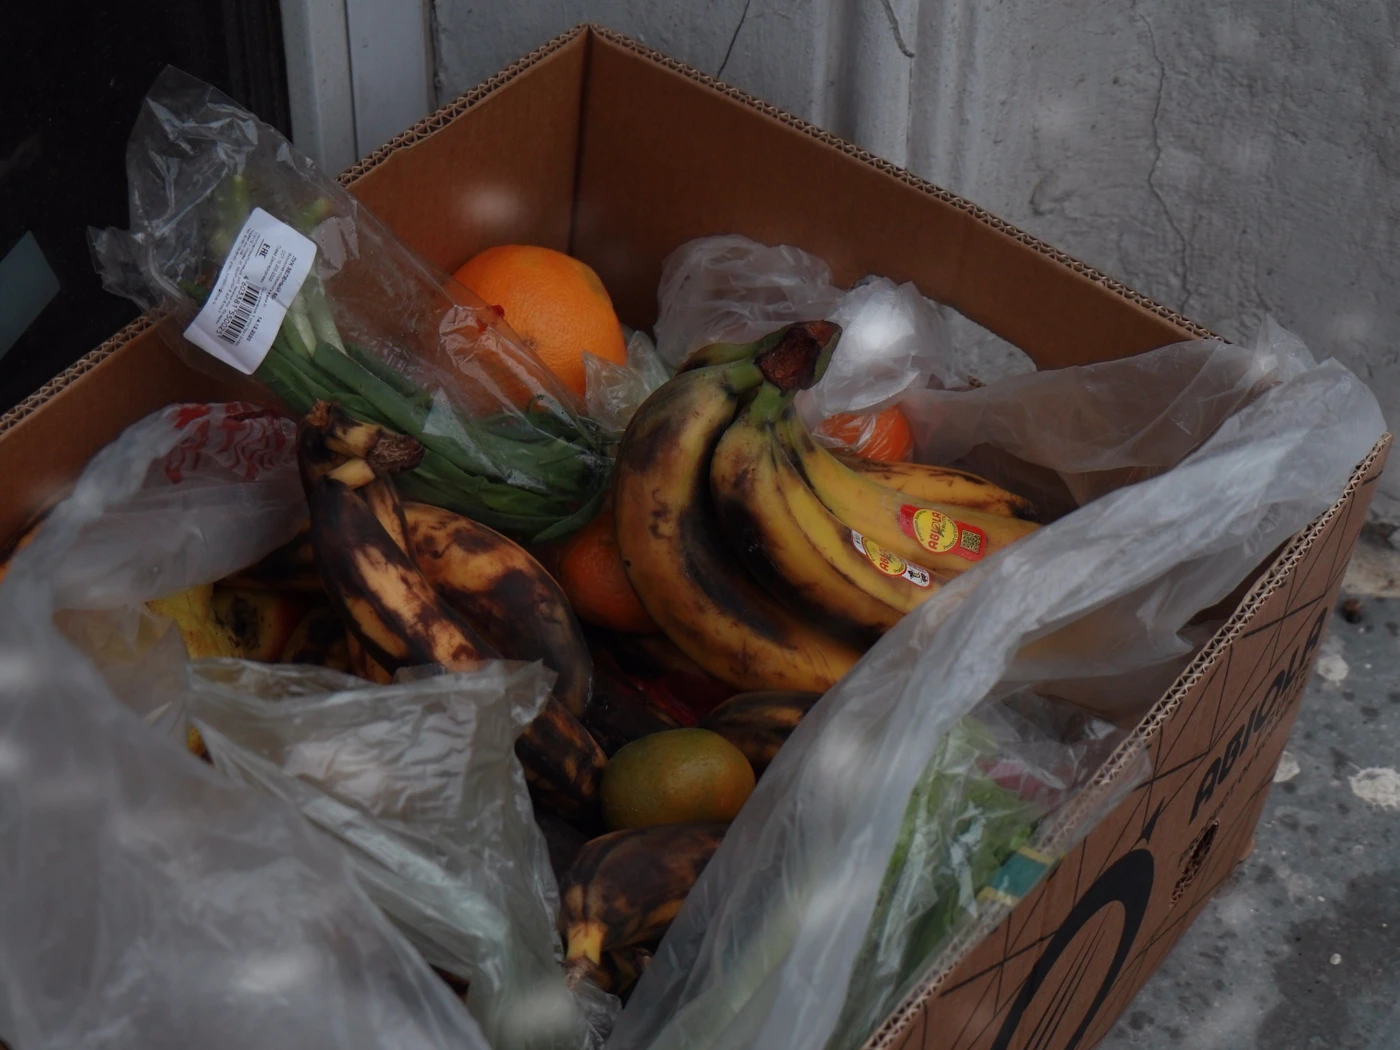
Before you change how you shop or cook, take a clear look at what actually leaves your kitchen in the trash or compost bin. A food waste audit is a simple, no-cost way to see your own patterns clearly. Most people are surprised by what they find, and that information makes every other step more effective.
Set aside one normal week. Keep a small notebook or a piece of paper on the counter near your main food-prep area. Each time you discard food, jot down three things:
- The item. Be specific: "half a bunch of celery," "leftover rice," or "two slices of bread."
- Why it’s being tossed. Options include spoiled, wilted, burnt, past its prime, or simply unwanted leftovers.
- Roughly how much. Use a cup, a handful, or a fraction of the package—whatever is quick and good enough.
Be honest, and don’t clean up before you record. The goal is a true picture, not a flattering one. Include items you compost or feed to pets only if that’s routine for you; otherwise, focus on what goes in the bin.
At the end of the week, sort your notes into three groups: spoiled before you could use it, cooked too much, and bought but never used. Look for repeats, such as the same vegetable going bad twice in a month or the same-sized dinner portion being too large. This tells you where your attention belongs, whether that means adjusting your shopping list, prepping sooner, or changing portion sizes in a recipe.
The audit is not a permanent chore. Repeating it for one week every few months helps you measure progress without turning meal planning into paperwork. The only tool you need is a piece of paper and your own attention.
Smart Storage: Make Your Food Last Longer Using What You Have
The key to cutting food waste is often less about buying fancy containers and more about how you stage ingredients in the space you already have. A few deliberate adjustments to your fridge, counter, and cupboard setup can noticeably extend freshness without a single new purchase.
- Keep herbs upright: Treat tender herbs like basil, parsley, and cilantro as you would a bouquet. Trim the stem ends, place them in a jar with a couple inches of water, and loosely cover the tops with a plastic produce bag from the store. They hold up far better than lying flat on a shelf.
- Separate ethylene producers: Apples, bananas, and tomatoes emit a natural ripening gas that can speed up spoilage in nearby leafy greens and berries. Store these groups apart, and keep berries unwashed in their original container with a dry paper towel tucked underneath to absorb excess moisture.
- Line the crisper drawer: A simple layer of paper towel or a clean, dry kitchen cloth at the bottom of your produce drawer absorbs condensation that makes greens turn slimy. Check the towel weekly and swap it out when damp.
- Use the door wisely: The fridge door is the warmest spot, so reserve it for condiments and eggs that benefit from stable temperatures. Keep milk and yogurt on a middle shelf where it is colder, rather than in the door where frequent opening causes temperature swings.
- Give grains a hard seal: For opened flour, rice, oatmeal, and pasta, transfer them into a large glass jar or a resealable freezer bag, pressing out all the air. This blocks pantry pests and prevents stale, off-flavor development from humidity.
For anything that shows soft spots, mold, or an off odor, your senses are the best guide. These everyday steps work for routine storage; if you encounter persistent pest problems or suspect spoilage that could be a safety concern, it is sensible to dispose of the item and seek advice from a qualified professional.
Plan Meals Around What You Already Have
A pantry-first approach starts with a quick inventory before you write any list. Check your refrigerator shelves, freezer bins, and cabinet doors. Note the items that need using soon—wilted greens, half a jar of sauce, a bag of frozen vegetables. These become your starting point.
Build a flexible weekly plan around these ingredients rather than deciding meals first and shopping to match. For example, if you have rice, black beans, and bell peppers, your plan might include grain bowls, quesadillas, and a simple skillet hash. The goal is not a rigid day-by-day menu but a short list of possible meals that share components.
Keep the plan loose enough to absorb small changes. If you cook one large batch of roasted vegetables on Sunday, you can fold them into salads, wraps, or omelets throughout the week without extra prep. Similarly, a batch of cooked grains stores well and pairs with nearly any protein or vegetable you have on hand.
- Designate one shelf in the fridge for “use soon” items so they stay visible.
- Write meal ideas as categories—soup, stir-fry, sheet-pan dinner—and match them to what you find.
- Before shopping, cross off ingredients you already own and refuse to buy duplicates.
This habit naturally reduces impulse buys because you shop with a clear picture of your existing supply. It also cuts down on the anxiety of staring at a full fridge with nothing to cook. Over time, you will notice a pattern: your weekly plan becomes more flexible, your grocery list shorter, and your meals more varied because you are working with what is already on hand. No extra spending required, just a different starting point.
Rescue Wilting and Overripe Produce With Simple Prep
The key to saving almost-past-prime produce is to stop judging it by its raw appearance and start thinking about its best cooked form. A limp stalk of celery, a bruised apple, or a soft tomato still holds plenty of flavor. The goal is to convert these items into components you can use later, without letting them rot in the crisper drawer while you deliberate.
Your first step is a quick triage. Separate produce by its next use:
- Roastable vegetables: Carrots, bell peppers, onions, zucchini, and cauliflower that are soft but not slimy or moldy do well with dry heat.
- Soup or sauce candidates: Overripe tomatoes, wilting greens, and slightly shriveled root vegetables can be simmered and pureed.
- Freezer pack items: Soft berries, bananas, and peeled stone fruit freeze well for smoothies or baking.
For a roasted tray, cut everything into similar-sized pieces, toss with a little oil and salt, and spread them in a single layer on a sheet pan. Do not crowd the pan; steaming will make them mushy. Cook until the edges caramelize and the centers are tender.
For soups, a gentle simmer is your friend. Sweat onions and garlic in a pot, add your chopped vegetables, cover with broth or water, and cook until completely soft. Blend until smooth, then season to taste. This method masks minor surface flaws and turns texture into a creamy asset.
For freezer packs, wash and trim fruit, then spread it on a parchment-lined tray to freeze individually. Once solid, transfer the pieces to a labeled bag. This prevents a solid clump and lets you grab a handful as needed.
Do not attempt to salvage anything with visible mold, a fermented smell, or a slimy texture. That indicates spoilage, not ripeness. For safe everyday handling, always wash produce before prep. If you are unsure about preservation timelines for a specific item, err on the side of cooking it immediately rather than storing it again.
Master the Art of Using Every Bit of the Ingredient
Root-to-stem and bone-to-stock cooking is less about strict recipes and more about changing how you see the prep bowl. That pile of carrot tops, onion skins, and celery ends is not trash; it is the backbone of your next pot of stock. The goal is simple: make a habit of repurposing before you compost or discard.
Start with a dedicated container in the freezer. As you prep meals, drop in clean vegetable peels, herb stems, and trimmed ends. Avoid anything bruised, moldy, or waxed beyond normal rinsing. When the container is full, cover the scraps with water in a large pot, simmer gently for an hour or two, and strain. This gives you a flavorful base for soups, rice, or sauces without buying boxed stock.
For bones, the same principle applies. After a roast chicken or a bone-in pork chop, save the carcass or bones in that same freezer bag. When you have several, roast them in a hot oven until browned, then simmer with water, a splash of vinegar, and the saved vegetable scraps. The result is a richer, more gelatinous stock that improves sauces and braises.
Keep these safe practices in mind:
- Clean and dry: Wash all peels and stems before freezing to prevent off-flavors and bacterial buildup.
- Label and date: Write the contents on the bag so you do not lose track of what is inside.
- Cool quickly: Chill stock in shallow containers before refrigerating or freezing to avoid the danger zone for foodborne illness.
For tougher stems, like broccoli or kale, chop them finely and sauté with garlic for a quick side dish. Soft herbs past their prime can be blitzed with oil and frozen in small portions. None of this requires elaborate equipment, only a little forethought at prep time. You will buy less, throw away less, and cook with more depth in every meal.
Create a Leftover-Friendly Routine That Feels Natural
A reliable leftover system works best when it fits the way you already cook and shop. Rather than forcing a rigid plan, build a few small habits that make future meals easier without extra effort.
Start by choosing one shelf in your refrigerator for leftovers only. Keep cooked food together so it is visible and easy to grab. When you put a container away, add a simple label with the dish name and a rough date. A strip of masking tape and a marker works fine; you do not need special supplies. Place older containers toward the front, and push newer ones to the back. That way, you naturally reach for what should be eaten first.
Positioning matters just as much as labeling. Store leftover containers at eye level, not in a drawer or behind tall bottles. If food is out of sight, it tends to get overlooked. Clear glass containers help you see what is inside without opening the lid, but any container that seals well is acceptable.
- Keep a small dry-erase note on the fridge door listing two or three leftovers that need eating within a day or two.
- When cooking something like rice, pasta, or roasted vegetables, make a little extra on purpose. The next meal becomes quicker, and you use the same heat and effort.
- Pair a leftover with one fresh component, such as a salad, a fried egg, or a piece of bread. This makes the meal feel complete rather than like "eating old food."
Remember that cooked leftovers generally last a short time—usually a few days—so eat them sooner rather than later. If you doubt whether something is still good, trust your senses and discard it. The point is to reduce waste, not to stretch food past a reasonable point.
Set a loose weekly rhythm, such as designating one night for "finish the fridge." This is not a strict rule, just a gentle prompt to use up what you have before shopping again. Over time, the habit becomes automatic, and you will spend less time wondering what to cook and less money replacing forgotten food.