Why a Seasonal Kitchen Plan Beats Last-Minute Chaos
Waiting until the week before a holiday to organize your kitchen often turns a simple meal into a stressful project. Cabinets are crowded, the good roasting pan is buried, and the counter space you need is covered with small appliances you rarely use. A seasonal plan spreads that work across the year, so when the calendar turns to a major cooking holiday, you are not scrambling.
Working in three or four focused sessions each year lets you handle small tasks while they are still manageable. In early fall, for example, you can pull out the roasting pans, casserole dishes, and thermometers you will need for winter meals. Wash them, check for warped bottoms or loose handles, and set aside anything that needs repair. That gives you time to find a replacement or fix the issue well before guests arrive, instead of discovering a problem on the day you need it.
Spreading prep also keeps your storage sensible. When you rotate equipment by season, you naturally clear out items you no longer use. This frees up shelf and drawer space for what actually matters. You will spend less time digging through mismatched lids or hunting for a missing carving knife.
A few practices make the system work well:
- Keep a simple checklist for each season, tied to the upcoming holidays.
- Test appliances like mixers or slow cookers a month ahead, not the night before.
- Use one cabinet or shelf for holiday-only items so they stay together.
- Schedule a quick pantry review each season to rotate older staples and note what is missing.
The goal is not perfection. It is giving yourself a comfortable margin, so your energy goes into the cooking and the company, not the chaos.
Spring Refresh: Deep Cleaning and Decluttering
Before the busy holiday cooking season, a thorough spring refresh makes the kitchen easier to navigate and more pleasant to use. Set aside a block of time to work through cabinets, drawers, and appliances. Start by removing everything from one cabinet at a time. Wipe down the interior shelves with a mild soap-and-water solution, then let them air dry completely before returning items. This prevents trapping moisture, which can lead to musty odors.
While the shelves dry, sort through what you have. Group gadgets by purpose—baking tools, prep utensils, and small appliances. Keep only those you have used in the past year and that earn their storage space. For rarely used items that are still in good condition, consider donating them to a local charity. For broken or worn-out tools, recycling or responsible disposal is the better route.
Appliance cleaning deserves special attention. Pull out the toaster oven, stand mixer, and blender, and unplug them. Remove any removable parts and wash them by hand in warm, soapy water. For the interiors of these appliances, wipe down accessible surfaces with a damp cloth. Never immerse the base of an appliance in water.
Some cleaning jobs are better left to professionals. Built-in oven interiors with heavy baked-on grease, or range hoods with complex vent systems, may require specialized equipment and strong degreasers. If you notice persistent smoke or poor ventilation when cooking, or if a self-cleaning cycle has not been used in a long time, hiring a professional cleaner for these components is a sensible and safe choice. Likewise, if you have a gas range, leave the burner and valve cleaning to a qualified technician.
Finally, use this time to check for expired pantry staples and worn-out nonstick surfaces. A few hours of focused effort now will simplify your cooking and hosting later in the year.
Summer Maintenance: Checking Appliances and Storage
Summer is the right time to give your kitchen a practical once-over before the holiday cooking season adds pressure. Warm weather makes it easier to air out cabinets and work comfortably, so start with the large appliances that work hardest during winter gatherings.
Check refrigerator and freezer door seals by closing the door on a piece of paper. If the paper slides out with little resistance, the gasket may be worn and allowing cold air to escape. Clean the gasket with mild soapy water and inspect for cracks or mold. Also, pull the unit away from the wall and vacuum the condenser coils if you can reach them safely; this simple step helps the appliance run more efficiently. Leave the water line and compressor repairs to a professional.
Test small appliances like toasters, mixers, and slow cookers for loose cords, frayed insulation, or scorched plugs. Plug each one into a working outlet and listen for unusual sounds or burning smells. For outlets and cords, perform only these safe checks:
- Press the test and reset buttons on GFCI outlets near sinks to confirm they trip properly.
- Feel outlet faceplates for warmth while a small appliance runs; heat indicates a problem.
- Check that no cords run under rugs or pinch between cabinets and walls.
If an outlet sparks, a breaker trips repeatedly, or a cord feels hot, stop using it and call a licensed electrician. Do not attempt internal repairs yourself. While you move appliances, also assess pantry organization: group like items, check for expired dry goods, and note which staples you use often. Summer is a low-stress time to discard clutter and create a clear layout that will make holiday meal prep more manageable. Store rarely used appliances on higher shelves and keep daily tools within easy reach.
Fall Tune-Up: Oven Calibration and Workspace Optimization
Before the holiday baking marathon begins, it pays to confirm your oven is actually reaching the temperature you set. An oven thermometer placed in the center of the rack is a simple, reliable check. Compare its reading to the dial or digital display after the oven has preheated and stabilized for about fifteen minutes. A small drift is common, but if the difference is larger, you have a decision to make. For many electric models, you can adjust the offset in the control panel settings; consult your owner’s manual for the exact steps. If your oven runs consistently hot or cool, simply shift your set temperature accordingly until you can arrange a proper service.
For gas ovens, also glance at the burner flame under the oven floor when it is heating. It should be a steady, crisp blue flame. A lazy yellow flame can indicate incomplete combustion or a draft issue, which is not something to troubleshoot on your own. That situation warrants a call to a qualified appliance technician. Similarly, if your oven thermostat is off by a wide margin, or you notice uneven browning across a tray of cookies, professional calibration is worth the expense.
While the oven is the centerpiece, your counters should support the workflow. Clear the area directly to one side of the oven for hot pans and cooling racks. Arrange mixing stations so that dry ingredients, wet ingredients, and your stand mixer each have a permanent home that doesn’t require a cross-kitchen shuffle. A simple approach:
- Keep measuring cups and spoons within arm’s reach of your primary prep zone.
- Store baking sheets and cooling racks vertically or in a dedicated drawer near the oven.
- Designate a landing spot for hot bakeware, away from children and foot traffic.
A tidy, logical layout reduces wasted motion and makes the busiest cooking days feel far more manageable.
Early Winter: Stocking Staples and Testing Recipes
Before the holiday calendar fills up, take one quiet afternoon to work through your pantry, spice drawer, and freezer. This is not about deep cleaning; it is about knowing exactly what you have so you can cook with confidence later.
Start by pulling out every non-perishable item. Check expiration dates, but also look for signs of aging: dull colors, clumping, or a faint stale smell. Group like items together—flours, sugars, canned goods, broths—and note what is running low. This inventory becomes your shopping list for the weeks ahead, and it prevents the all-too-common habit of buying a duplicate of something you already have three of.
Spices deserve special attention. Most ground spices lose their punch after a year or so, even if they have not expired on paper. A simple test: rub a pinch between your fingers and smell it. If it barely registers, replace it. Whole spices, like cinnamon sticks and cloves, keep longer and are worth grinding fresh for holiday recipes.
- Label every container with the month and year you opened it or bought it.
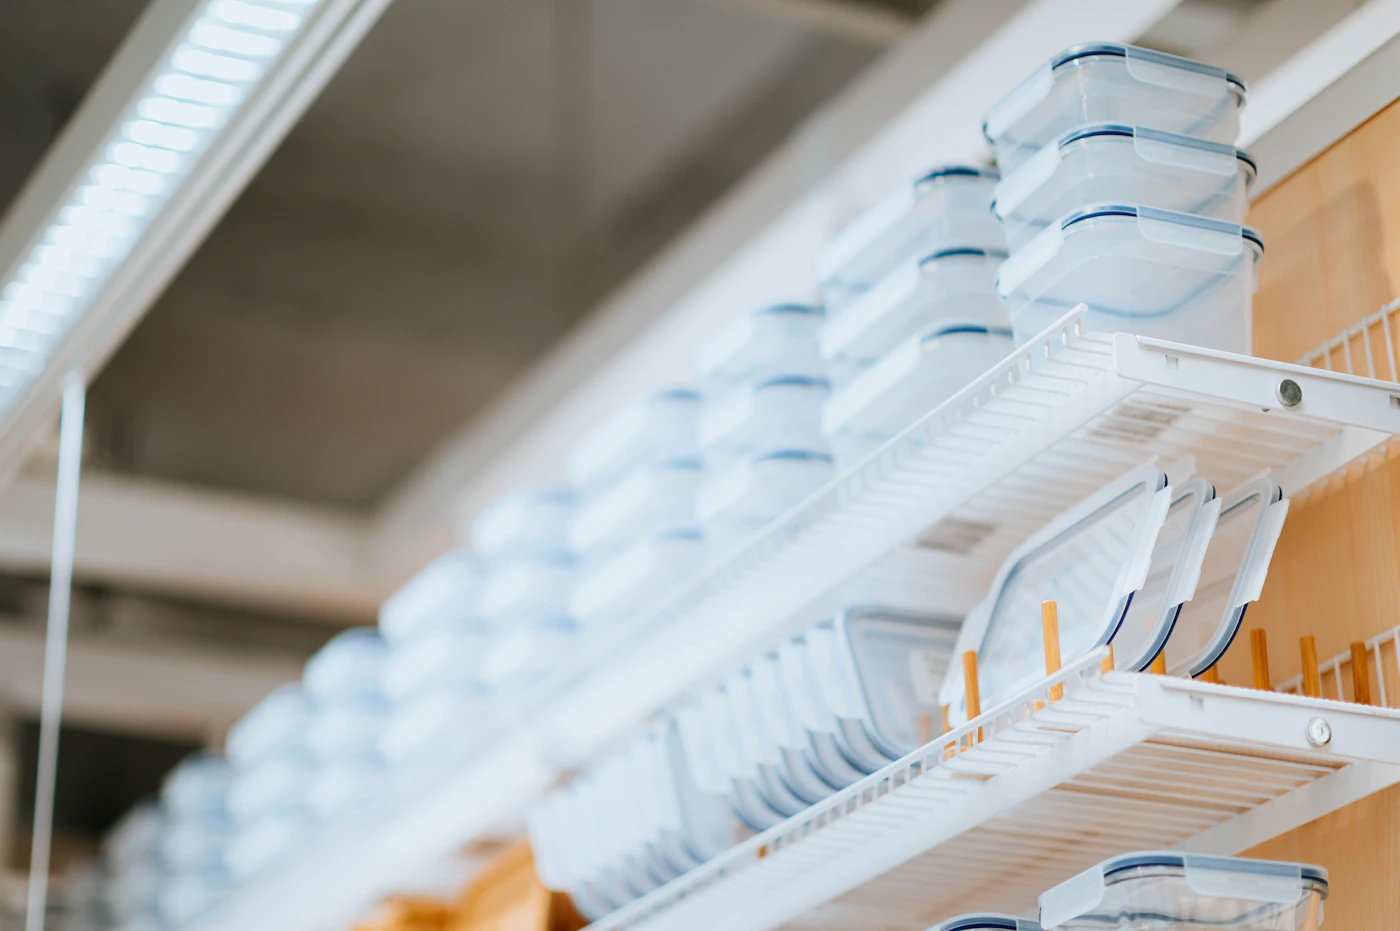
- Transfer bulk items like nuts, dried fruit, and chocolate into clear, airtight jars so you can see at a glance what you have.
- Keep flours and grains in the freezer for a few days after purchase to discourage pantry pests, then move them to sealed containers.
Finally, do a trial run of one or two dishes you plan to serve. This is not about perfection—it is about learning the timing, the yield, and whether your roasting pan fits the turkey. Make notes on the recipe card about what worked, what did not, and any adjustments. This dry run also tells you which ingredients you still need to buy, so you are not scrambling on the day itself.
If a recipe calls for deep-frying or complex candy work, practice that technique now, not on the holiday. For anything that feels beyond your skill level or equipment, enlist a capable cook you trust. There is no shame in assigning that dish to someone else, and your meal will be calmer for it.
The Holiday Week: Final Checklists and Safe Food Handling
The final stretch before a big meal is not the time for ambitious projects. Instead, focus on a calm walkthrough of your kitchen and your menu. Start by confirming your freezer and refrigerator space. Clear out old leftovers, and consider what can be moved to a cooler or a neighbor’s fridge if needed. Knowing exactly where the turkey or large roaster will sit—and that nothing else will block it—saves a great deal of scrambling on the day itself.
Next, set up your serving stations ahead of time. This does not mean plating food early; it means staging the serving dishes, utensils, trivets, and linens near where the meal will be eaten. Label each dish with a sticky note for the intended food, so there is no hesitation while the meal is hot. Also, plan a clear path from the kitchen to the table, and make sure that path is free of clutter.
On food safety, review the basics before you start cooking. Thawing is a common source of worry. The most reliable method is slow, in the refrigerator, which is a multi-day process for larger items. Cold water thawing is faster, but it requires planning: the item must be in a leak-proof bag, submerged in cold water, with the water changed regularly. If you were counting on a countertop thaw, now is the time to adjust, as leaving large proteins at room temperature for several hours is not advisable.
Finally, remember temperature zones. Keep cold foods below refrigerated temperatures until serving, and hot foods, such as sides that are cooked and held, above the warm threshold. When setting out a buffet, use chafing dishes for hot items and nested bowls over ice for cold ones. While it is fine to keep the table set for two hours for socializing, after that, it is practical to pack leftovers in shallow containers for the refrigerator. Trust a reliable instant-read thermometer for meat doneness rather than guessing by color or time.