Why Trunk Clutter Builds Up and How to Stop It
Trunk clutter rarely appears all at once. It usually collects for a few simple reasons: it is convenient to leave things there, it is easy to forget what is already stored, and there is no regular habit for clearing it out. A grocery bag, a jacket, a few tools, or a box of odds and ends can sit unnoticed for weeks because the trunk is out of sight and out of the daily routine.
Addressing the root causes does not require a full organization system or expensive bins. A practical weekend plan can break the cycle without feeling overwhelming. Start by taking everything out, one item at a time. Sort items into three piles: keep in the car, keep elsewhere, and discard or donate. This process alone often reveals duplicates, expired items, or belongings you forgot you had.
Once the trunk is empty, wipe down the surface and check the spare tire area briefly for obvious issues like moisture or debris. This is a safe visual check; leave any repairs or unusual findings to a qualified mechanic.
To prevent future buildup, adopt a simple routine:
- Keep only essential items in a single small container, such as a first aid kit or basic emergency supplies.
- Set a monthly reminder to return stray items to the house the same day you notice them.
- Use a habit of “one in, one out” when adding anything new to the trunk.
By making the trunk a deliberate space rather than a default drop zone, you solve the convenience problem, reduce forgetfulness, and give yourself a routine that takes minutes, not a full afternoon.
What You Need Before You Start: Simple Tools and a Clear Mind
Before you open the trunk, gather a few basic supplies. You do not need specialized gear or a big budget. A handful of sturdy trash bags, a few empty boxes, a flashlight, and a pair of work gloves are enough. The flashlight helps you see into dark corners and under cargo covers. Gloves protect your hands from sharp edges or unexpected grime. If you have a small step stool, keep it handy for reaching the back of a large trunk without straining.
Set realistic expectations before you begin. The goal is not to create a showroom-perfect space. It is to reduce visible clutter and make everyday items easier to reach. Plan to work in short stretches of twenty to thirty minutes. This keeps the task manageable and helps you avoid fatigue or frustration.
Here is a simple way to think about your supplies:
- Trash bags for items that are clearly worn, torn, or no longer useful.
- Boxes for things you want to keep but do not use daily, such as winter gear or emergency supplies.
- A flashlight to inspect recessed areas where small items tend to collect.
- Gloves to handle dirty or rough objects without hesitation.
You do not need organizational bins, labels, or custom liners to make progress. Those items can come later, if at all. For now, focus on sorting through what is there. Most trunk clutter is simply forgotten items, old packaging, or everyday carry-overs that have accumulated over time. With the right tools and a clear plan, you can work through it without feeling overwhelmed. Remember that this is a practical task, not a test of tidiness.
Step One: Empty Everything and Sort Into Three Piles
The biggest mistake people make is trying to tidy the trunk while items are still in it. You end up shifting things around, making small piles, and losing track of what you actually own. Instead, commit to taking everything out. Place each item on the ground or a tarp beside the car, so you have a clear view of the full inventory.
With the trunk bare, set up three distinct piles: Keep, Remove, and Recycle or Donate. The “Keep” pile is for items you have used within the past month or genuinely need for routine trips, like an umbrella, a spare phone charger, or a small first-aid kit. The “Remove” pile is for things that belong in the house, garage, or another vehicle. The third pile covers anything worn out, expired, or no longer useful—old receipts, broken tools, or single shoes that never found their match.
- Keep decisions quick. If you hesitate for more than ten seconds, make a default call: it goes to “Remove” for now.
- Do not start cleaning or fixing items during sorting. That is a separate task and will stall your momentum.
- Be honest about “just in case” thinking. Most items saved for hypothetical emergencies never get used.
The goal is not to achieve a perfect system yet. It is simply to reduce the volume so you can see the trunk floor. Once everything is sorted into those three piles, you can decide what returns to the car. This step feels tedious, but it is the foundation for a trunk that stays manageable for more than a single weekend.
Step Two: Clean and Inspect the Trunk Safely
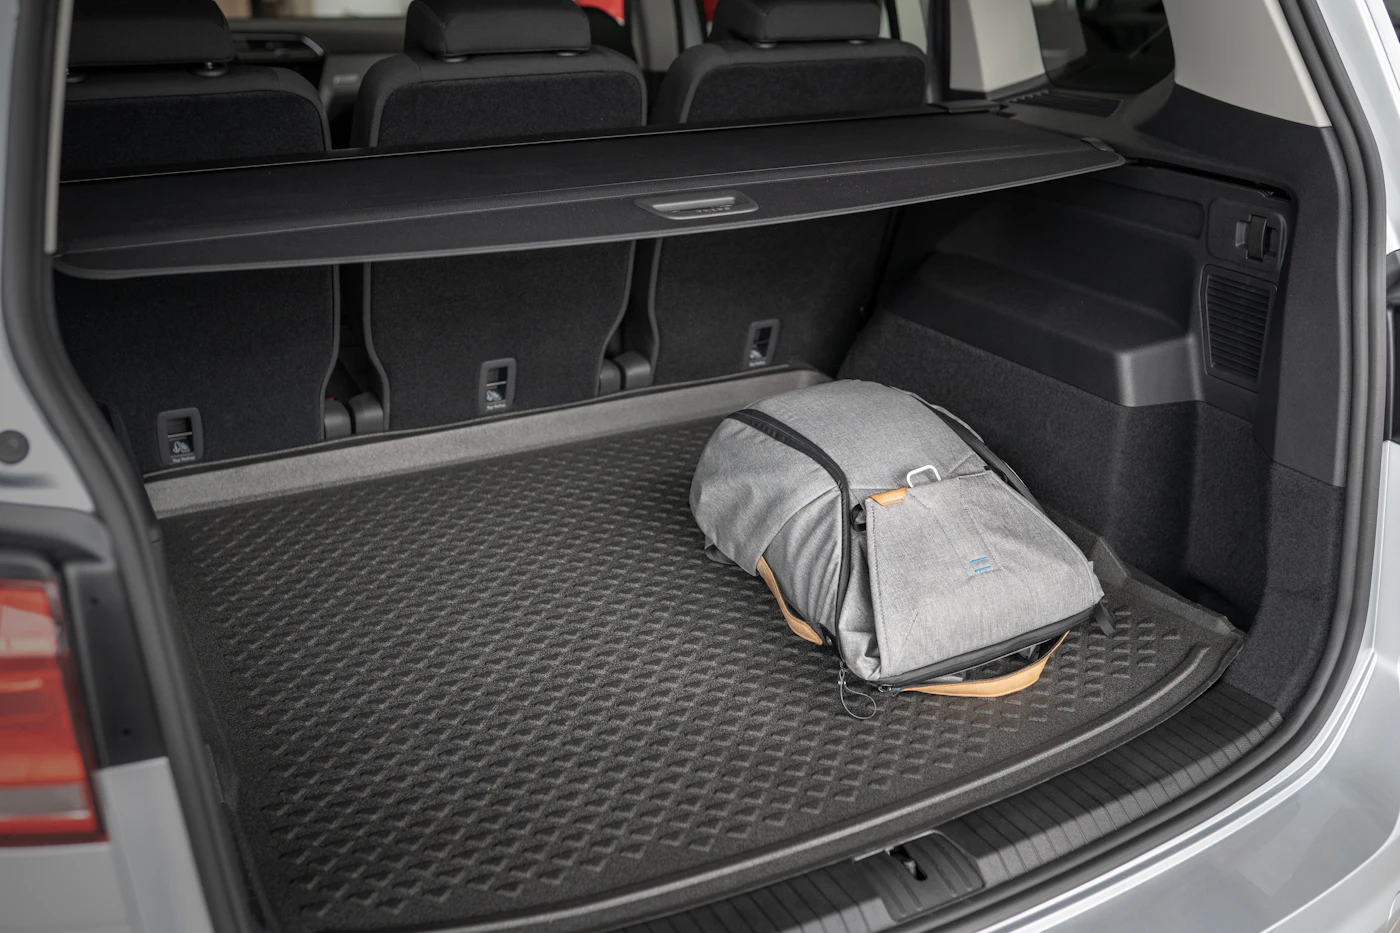
Once the obvious clutter is out, the trunk’s surfaces deserve attention. Start by removing the spare tire cover or cargo mat if it lifts out easily. Vacuum the floor, side pockets, and crevices thoroughly, including the area under the spare tire if accessible. A shop vacuum with a narrow attachment works well for corners and along the weatherstripping.
After vacuuming, wipe down hard surfaces with a damp microfiber cloth and a mild all-purpose cleaner. Avoid soaking the carpet or fabric liners, as excess moisture can linger and encourage odors. Let everything air dry with the trunk open for a short while.
While the surfaces are exposed, do a simple visual inspection. This is a reasonable time to look for:
- Damp spots, staining, or standing water that might indicate a weather seal leak.
- Rust-colored streaks, bubbling paint, or flaking metal, especially near seams and fasteners.
- Signs of pests, such as droppings, nesting material, or chewed wires or fabric.
These checks are observational only. If you find rust, persistent wetness, or signs of rodent activity, do not attempt repairs yourself. Sealing, welding, or rewiring requires proper equipment and experience. A professional mechanic or auto body technician should assess structural issues, while a pest control specialist should handle infestations. Your job this weekend is to clean, dry, and note any concerns for a qualified person to review later.
Step Three: Decide What Actually Needs to Stay in the Car
Once the trunk is empty, it is tempting to put everything back. Resist that urge. Instead, sort the pile into three broad categories: legal requirements, safety essentials, and convenience items. The first two have a clear case for staying. The third is where clutter usually creeps back in.
Start with the items that are hard to argue with. The spare tire, jack, and lug wrench should stay if your vehicle came with them. Even if you have roadside assistance, a spare can save you a long wait in a remote spot. Your owner’s manual will show you where the jack points are, but you do not need to practice changing a tire right now. Just confirm the tools are present and the spare has air in it.
Next, look at your emergency kit. A basic one typically includes a flashlight, jumper cables, a basic first-aid kit, and a reflective triangle or vest. These are small and flat, so they fit neatly in a corner without taking over the space. Keep them accessible rather than buried under cargo.
For everything else, apply a simple test:
- Does it serve a purpose at least once a month? If not, it belongs in the garage or house.
- Is it seasonal? An ice scraper can stay in winter; beach chairs can come out in summer.
- Is it a duplicate? You likely need only one phone charger cable and one umbrella per car.
Be honest about the “just in case” items. A small tool kit is reasonable, but a full set of tools is overkill for most commutes. If you frequently haul cargo, keep a folded tarp or a few bungee cords. Otherwise, let them go. The goal is a trunk where you can see the floor and reach your spare without moving a mountain of stuff.
Step Four: Set Up Simple Storage and a Monthly Reset Routine
Once you have cleared out the trunk, the goal is to keep it that way without turning maintenance into a second job. The most effective approach is to give every item a defined home—and to keep that system simple enough that you will actually use it.
Start with a small box, bin, or sturdy tray that fits in a corner of the trunk. This is for the loose items that tend to accumulate: a scraper, a pair of gloves, a flashlight, or a reusable bag. The key is to limit the container’s size. When it is full, that is your visual signal to sort through it rather than letting overflow spread across the floor. Choose something with a lid or a secure latch if you carry items that might shift while driving.
Next, schedule a monthly reset—not a deep cleaning marathon, just a five-minute routine. On the first of the month, or on the same day you pay a recurring bill, open the trunk and do three things:
- Remove anything that does not belong, such as empty cups, wrappers, or items that migrated from the cabin.
- Return the contents of your tray to their proper places and wipe out any debris or dirt you can reach with a dry cloth.
- Check that your spare tire access panel is clear, so you are not blocked in an emergency.
Finally, adopt the “one item in, one item out” habit. When you put something new in the trunk, take something old out—whether that means moving it to the garage, the house, or the recycling bin. This rule keeps the space from becoming a catch-all and prevents your five-minute reset from turning into a longer project. A consistent, small effort beats an occasional overwhelming purge.