Why Tidy Seating Areas Are a Losing Battle Without a System
Walk past any highchair, booster seat, or car seat an hour after snack time, and you’ll see the same story. Crumbs nestle in crevices, a stray pouch lid rests by the buckle, and the fabric has taken on a faint, sticky sheen. The reason isn’t a lack of effort. It’s that these seats live at the crossroads of daily life—used multiple times a day for meals, quick bites, and the chaotic transition from car to kitchen.
Sporadic deep cleaning rarely holds. You might tackle the highchair tray on Sunday with a spray bottle and good intentions, but by Tuesday afternoon, yogurt residue has already found its way into the hinge. Because seating areas are used so frequently, a weekly reset means they spend most of their time in a state of partial mess. The crumbs accumulate faster than a single scheduled cleaning can reasonably address.
The better approach is a simple, recurring routine that mirrors how these seats are actually used. Instead of treating cleaning as an event, break it into two small habits:
- A quick wipe-down immediately after the meal or ride ends, lasting under a minute. Catch crumbs while they’re still loose and spills while they’re still wet.
- A weekly inspection for the parts you usually miss—under the pad, along the straps, and inside buckle slots—using a damp cloth and a gentle vacuum crevice tool.
This system works with family life rather than against it because it relies on timing, not intensity. The quick wipe prevents the buildup that makes deep cleaning so unpleasant, and the weekly check keeps grime from becoming permanent. You’ll still need occasional deeper cleaning, but the day-to-day clutter will stop feeling like a losing battle. The goal isn’t a spotless seat—it’s a seat that’s clean enough to use without a second thought.
The 5-Minute Daily Reset: What to Do Every Day
The most effective way to keep a child seating area manageable is to stop crumbs and spills from becoming a weekend project. Instead of saving all the work for a deep clean, fold a quick reset into your normal evening routine. Set a mental timer for about five minutes; you aren’t scrubbing or organizing, just clearing the surface-level debris.
Start with the obvious items. Toss any wrappers, napkins, or stray snack pouches into the trash. Then, take a dry paper towel or a soft cloth and give the seat cushion and tray a quick, firm wipe. This removes the fine dust and loose crumbs that settle during the day. Don’t chase dried-on sticky spots yet—just pick up the obvious texture changes you can feel or see.
Finish with a simple visual check. Run your hand lightly over the seams of the cushion and the tray edge. These are the usual hiding places for cracker bits and dried apple juice. If you feel a tacky patch, a quick dab with a damp cloth is enough for now. The goal is to eliminate the buildup, not to achieve surgical cleanliness.
- Keep supplies nearby: Store a small pack of wipes and a trash bin within arm’s reach of the seat.
- Tie it to a cue: Do the reset right after you put the child to bed or after the last meal, so it becomes an automatic part of cleanup.
- Don’t postpone: A five-minute task avoided today becomes a sticky, hard-to-remove film tomorrow.
Consistency matters far more than intensity here. By removing the daily debris, you keep the fabric and tray far easier to clean with a weekly gentle wipe-down, and you avoid the harsh scrubbing that can wear out materials.
Weekly Prevention: Simple Habits That Reduce Monthly Mess
Setting aside fifteen minutes once a week keeps the deep-cleaning sessions from turning into all-day projects. When you fold this routine into your regular rhythm, the seating area stays presentable without requiring harsh chemicals or special tools.
Start with the items you can lift. Most removable covers, whether they are for a booster seat or a small chair cushion, have care tags that indicate whether they can be machine washed. Strip the covers and toss them in with a load of towels or other sturdy laundry. While the covers wash, take advantage of the exposed surfaces.
- Shake out the crevices. Carry the seat base outside or hold it over a trash bin and give it a few firm shakes. Crumbs, dried pasta, and crushed crackers tend to settle into the seams where the seat meets the backrest.
- Work through the grooves with a handheld vacuum. Use the narrow nozzle attachment to reach the creases and the gap where the harness straps feed through the frame. If you do not own a handheld model, a lint roller with a long handle works surprisingly well for lifting surface crumbs from fabric.
- Wipe down the tray or placemat area. A damp microfiber cloth picks up sticky residue from fruit pouches or juice without leaving streaks. Let the surface air dry completely before reassembling.
Finish by refreshing the placemats or any fabric inserts. Swap in clean sets and set the used ones aside for the next wash. If the weather allows, let the covers air out on a drying rack or clothesline before you put them back on. Even a short hour of fresh air helps reduce lingering food odors, especially after a week of yogurt or fish dinners.
These simple checks are safe for any parent to perform. If you notice stains that do not lift with gentle soap, or if a cover seems damaged or stretched, that is a sign to consult the manufacturer’s instructions or a professional cleaner rather than pressing on with stronger treatments.
Designing Your Space to Discourage Mess
The right setup in an eating area can do a surprising amount of the work for you. When everything has a logical home and is within arm’s reach, the daily cycle of crumbs and sticky cups feels far less overwhelming. The goal is to make the tidy path the easiest path, both for you and for your children.
Start with the floor. A washable mat under the table and high chair catches the vast majority of dropped food and spills. Choose a style with a non-slip backing and a surface that wipes clean with a damp cloth rather than one that requires deep scrubbing. If the mat is simple to lift and rinse, you are more likely to do it consistently rather than letting debris accumulate through the week.
Think about the supplies you reach for at every single meal. Keep a small caddy of wipes or a spray bottle with a microfiber cloth within direct sight of the table. It should be accessible to you and, with supervision, to older toddlers who can be handed a wipe after a meal to practice wiping their own placemat or tray.
Place a small, open trash bin nearby—not hidden under the sink, but right at the edge of the kitchen. This makes clearing plates and crumpled napkins a ten-second task that can become part of the meal’s ending rather than a separate chore.
Finally, assign a dedicated, low shelf or drawer for cups, plates, and utensils used at the table. When children have a specific, reachable home for these items, involving them in cleanup becomes a practical exercise. A preschooler can return their own cup to the shelf without needing a step stool or your help. A younger child can sort spoons from forks into a divided tray. These small, age-appropriate assignments reinforce the rhythm of clearing away without turning it into a battle. The space itself trains the habit.
How to Handle Stubborn Stains and Smells Without Harsh Chemicals
Everyday messes are part of life, but you don’t need a cabinet full of strong cleaners to tackle them. For many routine spots on fabric or plastic, a simple paste of baking soda and water works wonders. Apply it gently to the stained area, let it sit for a short while, and then wipe or rinse it away. For lingering odors, a light mist of plain white vinegar diluted with water can help neutralize smells without leaving a strong scent once it dries.
Before you start, always check the manufacturer’s care label on the car seat or stroller. Labels often include cleaning instructions specific to the materials, and following them helps keep surfaces safe and intact. It is also wise to test any homemade solution on an inconspicuous area first—such as the underside of a fabric flap or the back of a plastic panel—to confirm it will not cause discoloration or damage.
Useful everyday checks you can do on your own:
- Spot-clean small spills quickly with a damp cloth and mild soap.
- Vacuum crumbs and dust from crevices using a soft brush attachment.
- Air out removable fabric pieces in a shaded, well-ventilated spot.
When it comes to safety components—like buckles, harness straps, and adjuster mechanisms—stick to wiping them with a barely damp cloth. Avoid soaking these parts or applying any cleaning solution directly to them, as moisture or residue can interfere with their function. If a stain or odor persists despite your gentle efforts, or if you are unsure about a particular material, it is best to consult the product’s manual or contact a qualified professional for guidance. Keeping the routine simple and cautious preserves both cleanliness and safety.
When to Call a Professional or Replace Parts
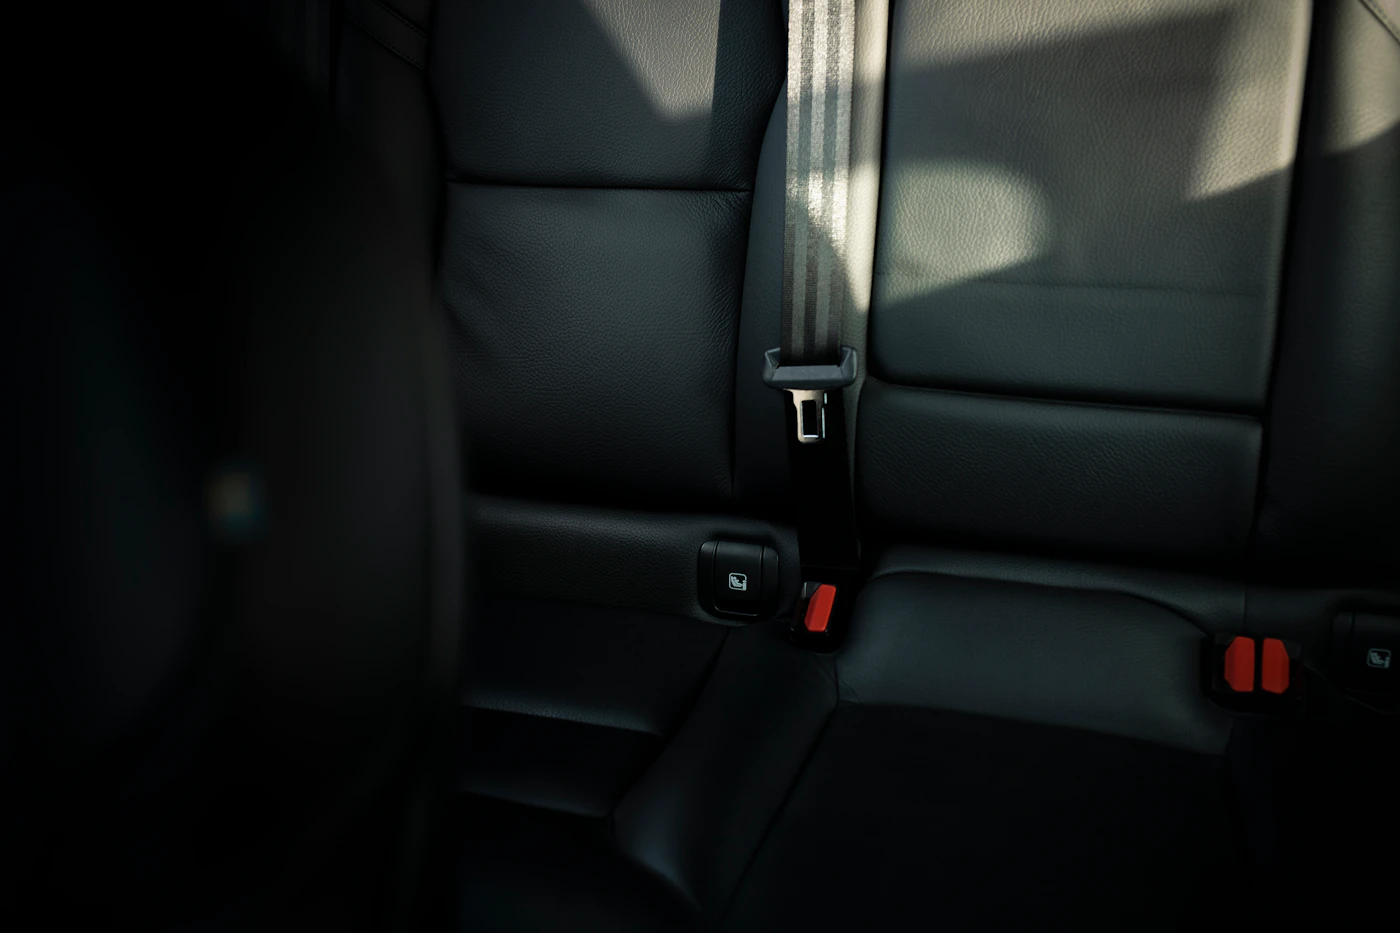
Your weekly routine of wiping down the shell and vacuuming crumbs is perfectly safe to handle on your own. But some maintenance goes beyond simple surface care, and knowing where that line falls keeps everyone safer. If you notice that the harness webbing looks frayed, feels rough, or has lost its original stiffness after repeated cleanings, stop using the seat immediately and contact the manufacturer. Webbing integrity is not something to patch or reinforce with tape or stitching; once the fibers begin to break down, the strap's strength is compromised in ways you cannot see.
Likewise, the harness adjuster buckle and the recline mechanism are precision parts. If they begin to stick, resist movement, or make grinding noises, do not attempt to lubricate them with household oils or grease. Those products attract dust and grit, which will only worsen the problem over time. A qualified technician or the manufacturer’s service team has the proper tools and knowledge to service these mechanisms safely. In many cases, a damaged adjuster or locking clip is not repairable and should be replaced with a genuine part from the manufacturer to ensure a proper fit.
Before you call, spend a few minutes checking for a few common, harmless causes:
- Trapped food or a small toy lodged near the buckle path.
- A twisted harness strap that prevents smooth tightening.
- Excess fabric or a bulky insert pressing against the adjuster.
Clear these first. If the problem persists, treat the seat as unsafe to use until a professional inspects it. Never improvise a repair; a seat that does not function exactly as designed cannot be trusted to protect its passenger in a sudden stop.