Start With a Clean Car and a Clear Mind
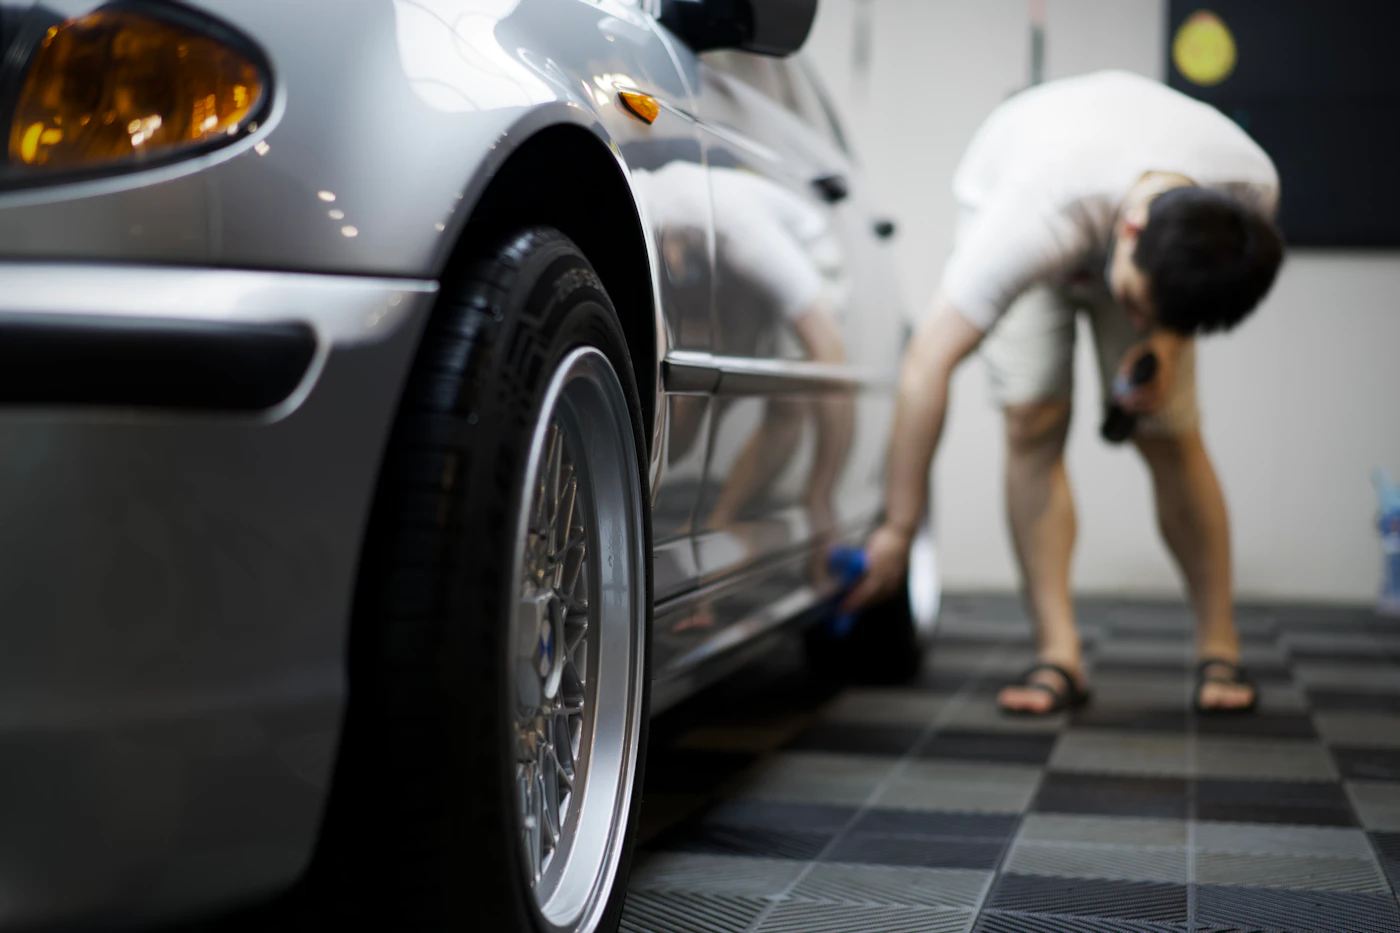
Before you lift the hood or check a tire, take an afternoon to give the car a thorough wash, inside and out. This isn’t just about pride of ownership, though that helps. A clean car makes it far easier to spot developing problems. Road grime and caked-on mud can hide a small crack in a hose, a slow fluid weep, or a nail embedded in a tread. Once the bodywork and undercarriage are rinsed, walk slowly around the vehicle and look for fresh stains on the driveway or drips hanging from the underbody. Pale yellow, green, or reddish drops all point to different fluid systems, and any new stain is worth investigating before a trip.
The interior deserves the same attention. Remove the obvious trash, but also take out floor mats, child seats, and loose gear from the trunk. This serves two practical purposes. First, it reduces weight and clutter, which makes the cabin more comfortable for long hours on the road. Second, it gives you a chance to inspect the carpet and upholstery for dampness, musty odors, or worn seat belts that need a closer look.
When you finish, you will notice something simple: the car feels calmer. A tidy, freshly washed vehicle sets a good tone for the journey and makes it easier to hear a new rattle or feel a subtle vibration during the first miles of the trip.
- Use a clean, dry cloth to wipe down door seals and window channels.
- Check that all interior lights and the glove box latch work while you are cleaning.
- Take note of any new scratches or chips in the windshield that you may have missed before.
If you spot a sizable crack or a persistent damp spot, that is the time to call a shop for a professional opinion, not to attempt a temporary roadside fix.
Check the Tires: The Only Contact With the Road
Tires are the only part of your car that actually touches the pavement, so their condition shapes how the car steers, stops, and rides. Before a long trip, give them a slow, careful look rather than a quick glance. Start with the tread. Many tires have wear bars molded into the grooves; when the tread wears down flush with those bars, it is time for replacement. An old household trick is the penny test, but a simple visual check for uneven wear is just as useful. Look for smooth patches on one edge or in the center, which can point to alignment or inflation issues that a mechanic should address.
Next, run your hand along the sidewalls. You are feeling for bulges, cuts, or cracks in the rubber. Sun exposure and age can make the rubber look dry or crazed, and any deep cut or bulge is a reason to have a professional inspect the tire before you leave. Do not attempt to patch or plug a tire yourself; that is a job for a shop with the right equipment.
Check the air pressure when the tires are cold, meaning the car has sat for a few hours. Use your own gauge for the most consistent reading, and compare it to the pressure listed on the sticker inside the driver’s door frame, not the number molded into the tire sidewall. Under-inflated tires run hot and wear faster, while over-inflation makes for a harsh ride and less grip.
- Inspect the spare tire, too, even if you rarely think about it.
- Confirm the jack and lug wrench are in the car and that you know where the jacking points are located.
If any tire shows a slow leak, cracked sidewall, or worn tread, have it looked at before heading out.
Under the Hood: Fluids, Belts, and Hoses
Lifting the hood before a long trip is a habit that pays off in peace of mind. You don’t need to be a mechanic to spot a developing problem; you just need to know what looks normal and what doesn’t.
Start with the engine oil. With the engine cool and parked on level ground, pull the dipstick, wipe it clean, reinsert it fully, and pull it again. The oil should be between the low and full marks. If it’s low, top it off with the type of oil recommended in your owner’s manual. While you’re at it, look at the color. Fresh oil is amber and translucent; if it looks milky or the level rises between checks, that points to a coolant leak into the engine and needs a shop’s attention.
Next, check the coolant reservoir. It is usually a translucent plastic tank with markings on the side. The level should sit near the “full” line when cold. Only add coolant if the level is clearly below the “low” mark, and use a 50/50 mix of antifreeze and water unless the bottle says otherwise. Never open the radiator cap while the engine is warm—the system is under pressure.
Brake fluid sits in a small reservoir under the hood as well. Most vehicles have a “MIN” and “MAX” line, and the fluid should be clear or light amber. If it looks dark or the level drops noticeably, that’s not a topping-off issue; it’s a sign of worn pads or a slow leak, and you should have the brakes inspected.
- Don’t forget washer fluid—it’s cheap and essential for clearing grime on dusty highways.
- Run your hand along the visible rubber hoses; they should feel firm, not soft or bulging, with no cracks near clamps.
- Look at the drive belts for fraying, shiny glazed surfaces, or missing chunks. A belt with deep cracks is past its prime.
If you spot a leak spot on the driveway, use a piece of cardboard under the car overnight to identify the color: brown or black is oil, greenish or orange is coolant, red is transmission fluid. Matching that to the source helps decide whether it’s a job for a professional—and that’s the right call for anything beyond a simple top-off.
Lights, Wipers, and Visibility
Before you pull out of the driveway, take a slow walk around the car while the engine is off. Turn on the headlights, and check the low beams, high beams, and front turn signals. Then, switch on the hazards and walk to the rear to confirm the taillights, brake lights, reverse lights, and rear turn signals are all responding. A second set of eyes helps, especially for the brake lights, since you cannot see them from the driver’s seat. If any bulb is out, replace it before you leave; a burned-out light reduces your visibility to others and can be a safety concern on dark or rainy roads.
Next, look at the wiper blades. Run your finger lightly across the rubber edge. If it feels cracked, stiff, or has visible nicks, the blade will likely leave streaks. Even if they look fine, it is wise to carry a spare set in the trunk. When you test the wipers, spray the washer fluid and watch for even clearing. If the windshield remains smeared, the blades have reached the end of their useful life.
Clean the glass thoroughly, inside and out. Use a dedicated glass cleaner and a microfiber cloth. Pay attention to the lower edge of the windshield and the rear window, where grime tends to collect. Finally, start the engine and turn the front defroster to its highest setting. Confirm warm air reaches the glass. Then, switch on the rear defogger; it should clear the back window within a few minutes. If either system blows cold or weak air, a qualified technician should inspect the heating and ventilation system before your trip.
Pack an Emergency Kit and Know Your Route
Before you pull out of the driveway, take a few minutes to assemble a basic emergency kit. The goal isn’t to prepare for every possible catastrophe, but to handle the common hiccups that leave you stranded or uncomfortable. A small plastic bin or duffel bag kept in the trunk is all you need.
Start with the essentials that address basic needs and visibility:
- Water and shelf-stable snacks. Bottled water and a few granola bars or nuts can make a long wait far more tolerable.
- A flashlight with extra batteries. Your phone’s flashlight works in a pinch, but a dedicated light frees up your hands and preserves battery life.
- A basic first-aid kit. Look for an assortment of bandages, antiseptic wipes, and adhesive tape. It’s useful for minor cuts and scrapes, not for serious injuries that require professional care.
- A phone charger and cable. A car charger is obvious, but a portable power bank is a smart backup if the vehicle itself has an issue.
- A blanket or warm layers. Even in mild weather, temperatures can drop quickly if you’re stuck overnight.
Beyond the contents of your kit, planning your route is just as important. Before you leave, glance at a map and identify a few reliable rest stops or towns where you can stretch your legs, use a restroom, and grab a coffee. More importantly, know where the fuel stations are located.
Running low on gas is a preventable mistake. A good rule of thumb is to refuel when your tank reaches a quarter full, not when the warning light flickers on. This habit gives you a comfortable buffer if a station you expected to find is closed or further away than you thought. A few minutes of planning on the front end can save you a lot of stress on the road.
Know Your Limits: When to Call a Professional
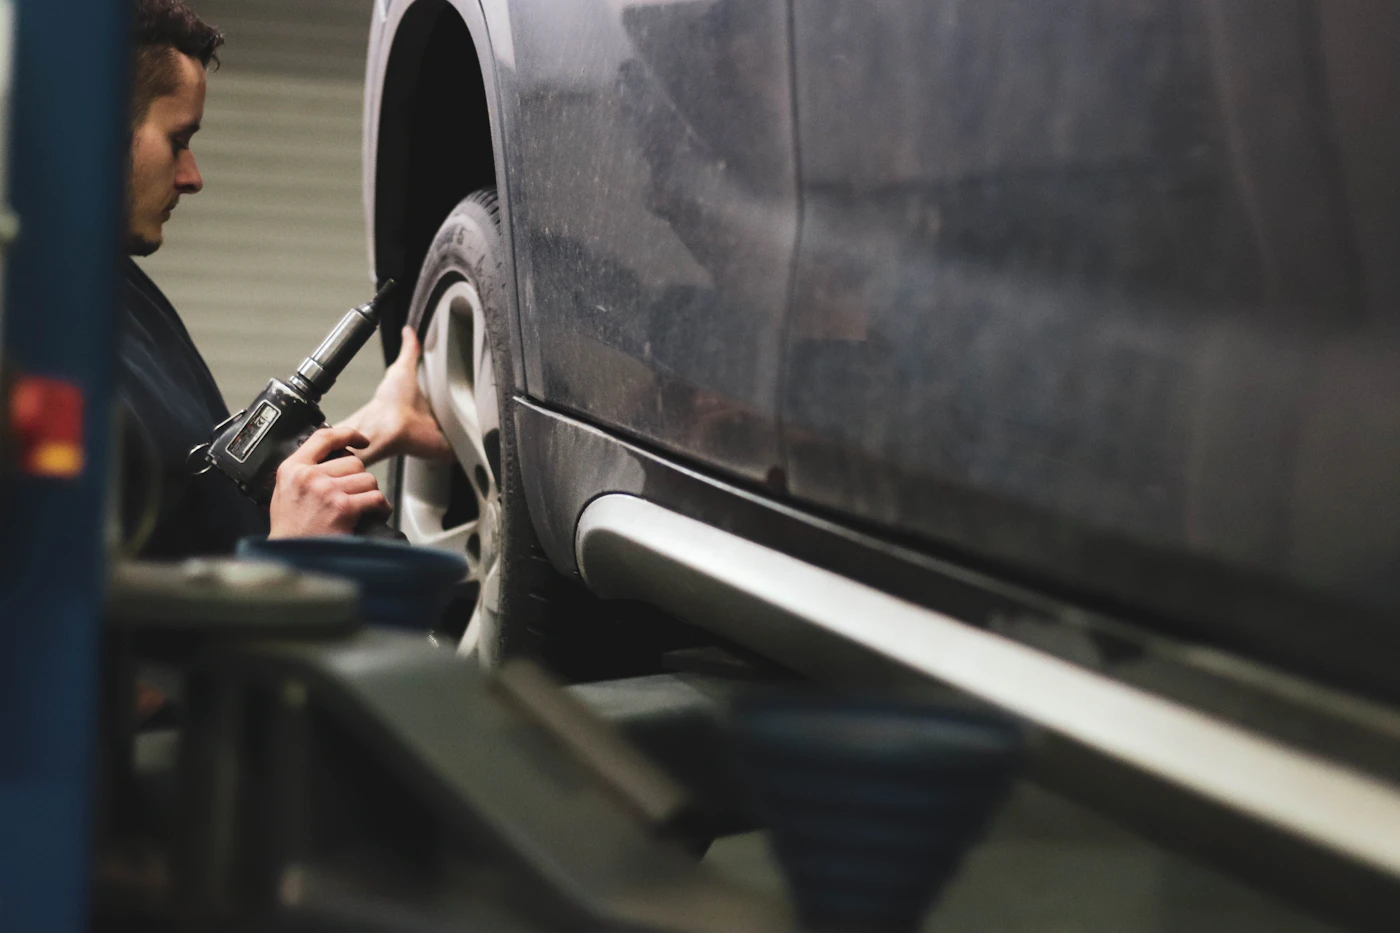
Even a confident home mechanic has a clear boundary line. Under the hood, that line usually runs straight through the parts that keep you alive in a crash or a sudden stop. If a task feels like it needs a second pair of hands, a torque wrench you don’t own, or a service manual you’d have to squint at for an afternoon, treat that as a signal.
- Suspension and steering: If you notice uneven tire wear, a pull to one side, or knocking sounds over bumps, leave the diagnosis to a shop. Spring compressors and ball joint presses are dangerous without training, and a misaligned front end will only ruin new tires.
- Brake hydraulics: Replacing brake pads is a common DIY task, but bleeding the lines or replacing a caliper requires careful procedure. Any softness in the pedal or a visible fluid leak near a wheel should end at a professional’s lift.
- Engine management and warning lights: A flashing check-engine light, overheating, or persistent rough idling often points to sensors, wiring, or internal components that need diagnostic scanners and experience. Guessing here can strand you far from home.
Before you commit to a repair, honestly assess your space, tools, and patience. A driveway brake job in the rain is not the same as a garage on jack stands. And if you’ve never performed a task on your specific vehicle model, a service manual is not a substitute for hands-on familiarity. For most of us, the safest choice is simple: handle oil, filters, wipers, and belt checks yourself, and let a certified mechanic own the systems that demand torque specifications and factory tolerances. The hour or two you save may be lost entirely on the roadside.