Start with a Clean Interior and Clear Sightlines
A clear view is your first line of defense on any long drive. Before you think about tires or fluid levels, take a few minutes to address the glass and the cabin. Dirty windows and mirrors create glare, especially in low sun or at night, and they force you to work harder to track traffic.
Use a good automotive glass cleaner and a microfiber towel. Clean the inside of the windshield thoroughly; that’s where the haze from dashboard materials and dust collects. Wipe down the rearview mirror and both side mirrors, and don’t forget the rear window. If your car has a backup camera, give that lens a quick wipe too.
Next, look at the cabin with an eye for projectiles. That water bottle, phone charger, or loose change on the seat can become a dangerous object in a sudden stop. This is a safe, simple check you can do yourself:
- Secure or remove loose items from seats and the dashboard.
- Use your cupholders or a small bin in the center console for essentials.
- Tuck any cords away so they don’t interfere with the pedals or steering wheel.
- Check the floor mats are properly secured so they can’t slide under the pedals.
A tidy cabin does more than look nice; it reduces distraction and helps you stay alert. Clearing clutter also means you’re less likely to reach for something while driving, which is one of the easiest ways to compromise your focus. If you notice a persistent moisture film on the inside of the glass, that’s often something you can clean, but if it returns quickly, a professional can look into whether the cabin filter needs attention.
Check Tire Health Beyond Tread Depth
Most drivers know the old penny test for tread, but tread depth is only part of the picture. The rubber that makes up the tire’s sidewall does a lot of work, and it ages just like the tread does. Before a long trip, give each tire a slow, careful look while the car is parked on level ground.
Work your way around each tire and check for the following:
- Cracks or cuts: Small weather checks in the rubber are common on older tires, but deep cuts or spreading cracks are a reason to have a professional look.
- Bulges or blisters: A bulge on the sidewall usually means the internal belts have shifted or weakened. This is not something to drive on, especially at highway speeds.
- Embedded objects: Screws, nails, or sharp stones that are stuck in the tread or sidewall may not cause an immediate leak, but they can work their way deeper with heat and motion. If you find one, do not pull it out yourself. Have a shop assess it.
- Valve caps: It sounds minor, but a missing valve cap lets dirt and moisture into the valve stem, which can lead to a slow leak. Make sure each cap is snug, not cross-threaded.
Tire age matters even when the tread looks fine. Rubber hardens and loses flexibility over time, which raises the risk of failure. You can find the manufacturing date in the DOT code on the sidewall; if you are unsure how to read it, a tire shop can help. As a general rule, if you do not know how old the tires are, have a professional inspect them before a long drive. Any sidewall damage or an aging tire is best handled by someone with the tools to check the tire off the rim.
Verify All Lights and Signals, Including Interior
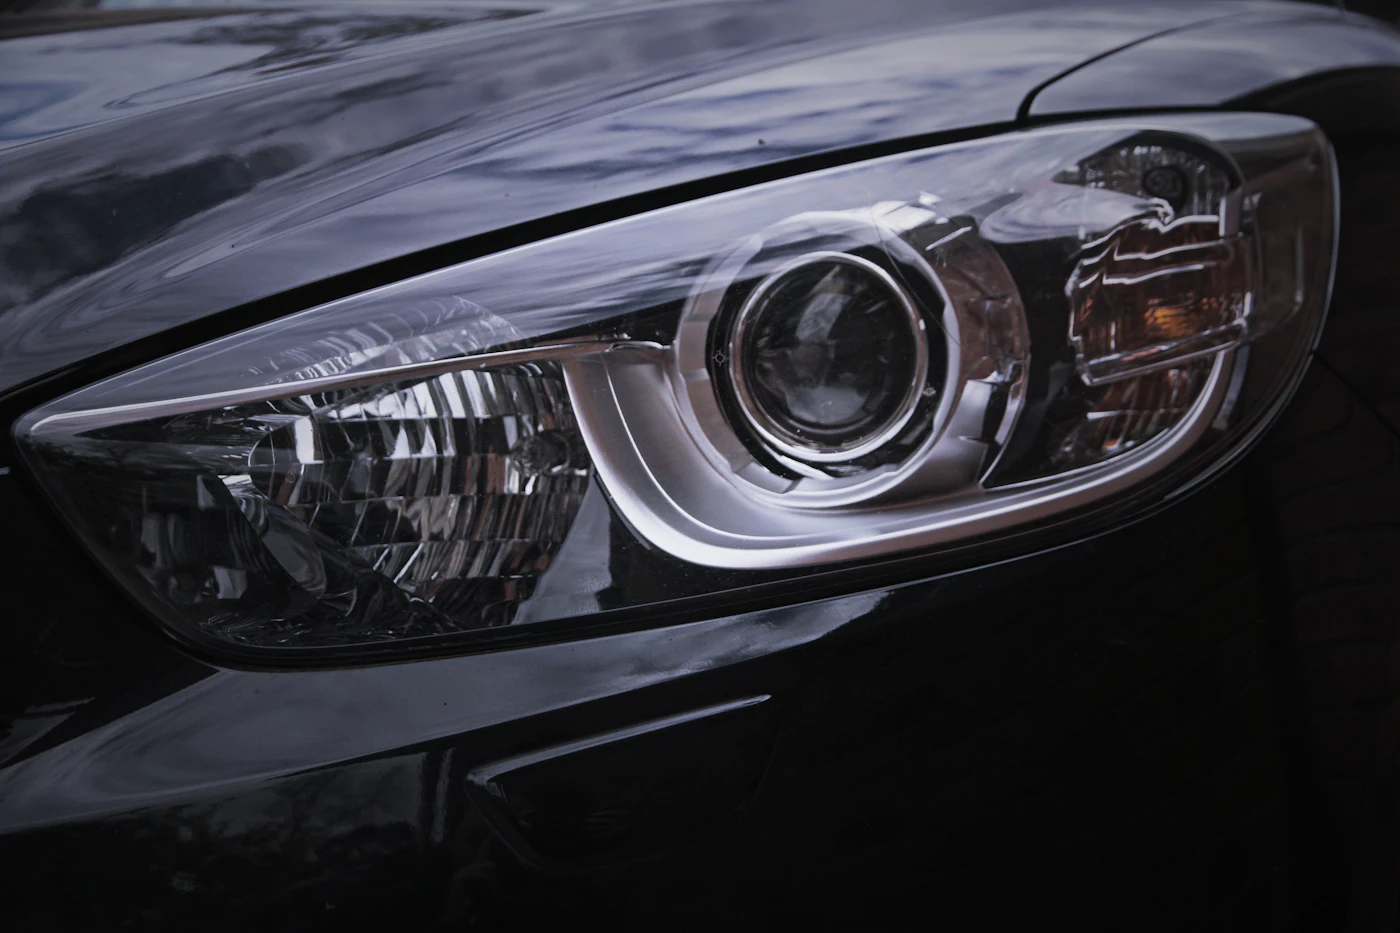
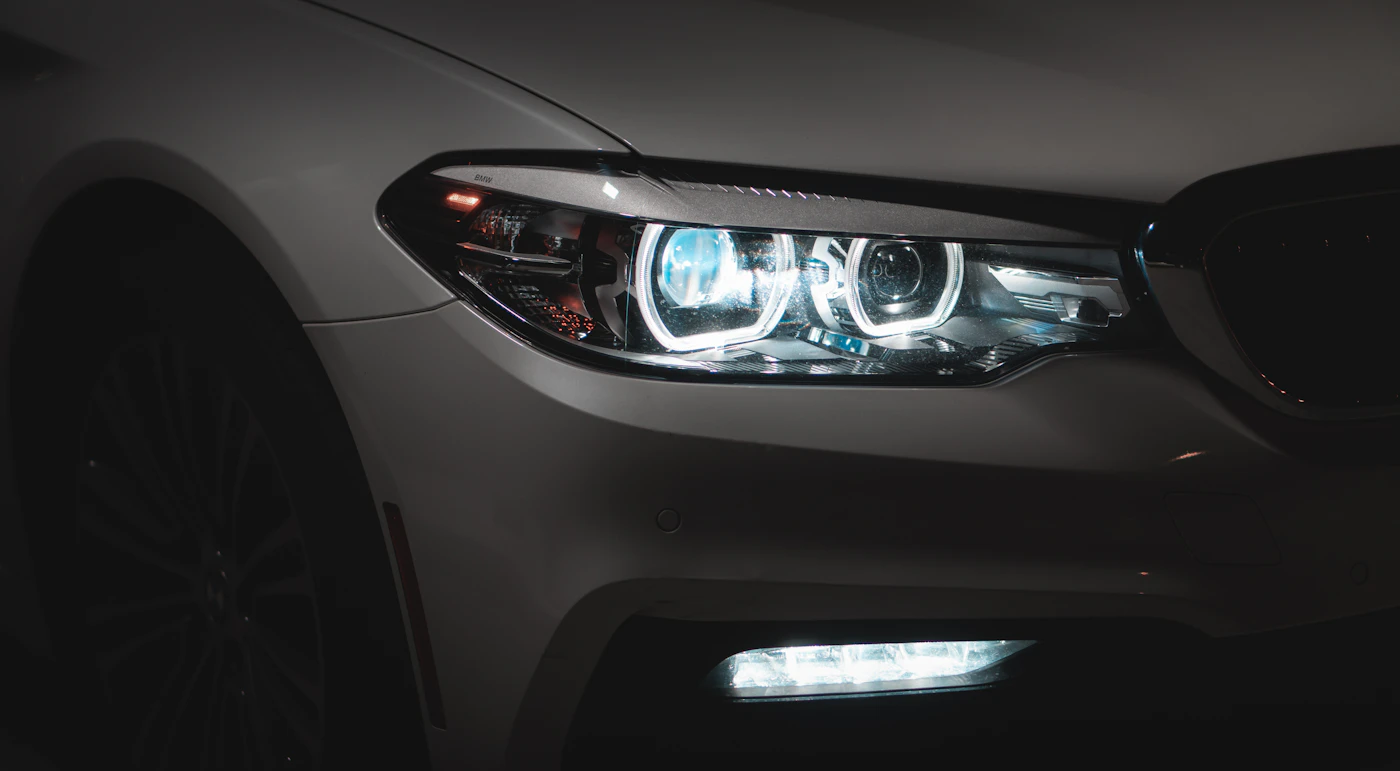
Most drivers remember to check the obvious exterior lights before a long trip, but a quick walk-around often skips a few important ones. Brake lights, turn signals, and headlights are the easy ones. Take a few extra minutes to confirm the hazard lights, reverse lights, and any fog or running lights are working as well. A burned-out bulb in any of these can reduce your visibility to others, especially in changing weather or at dawn and dusk.
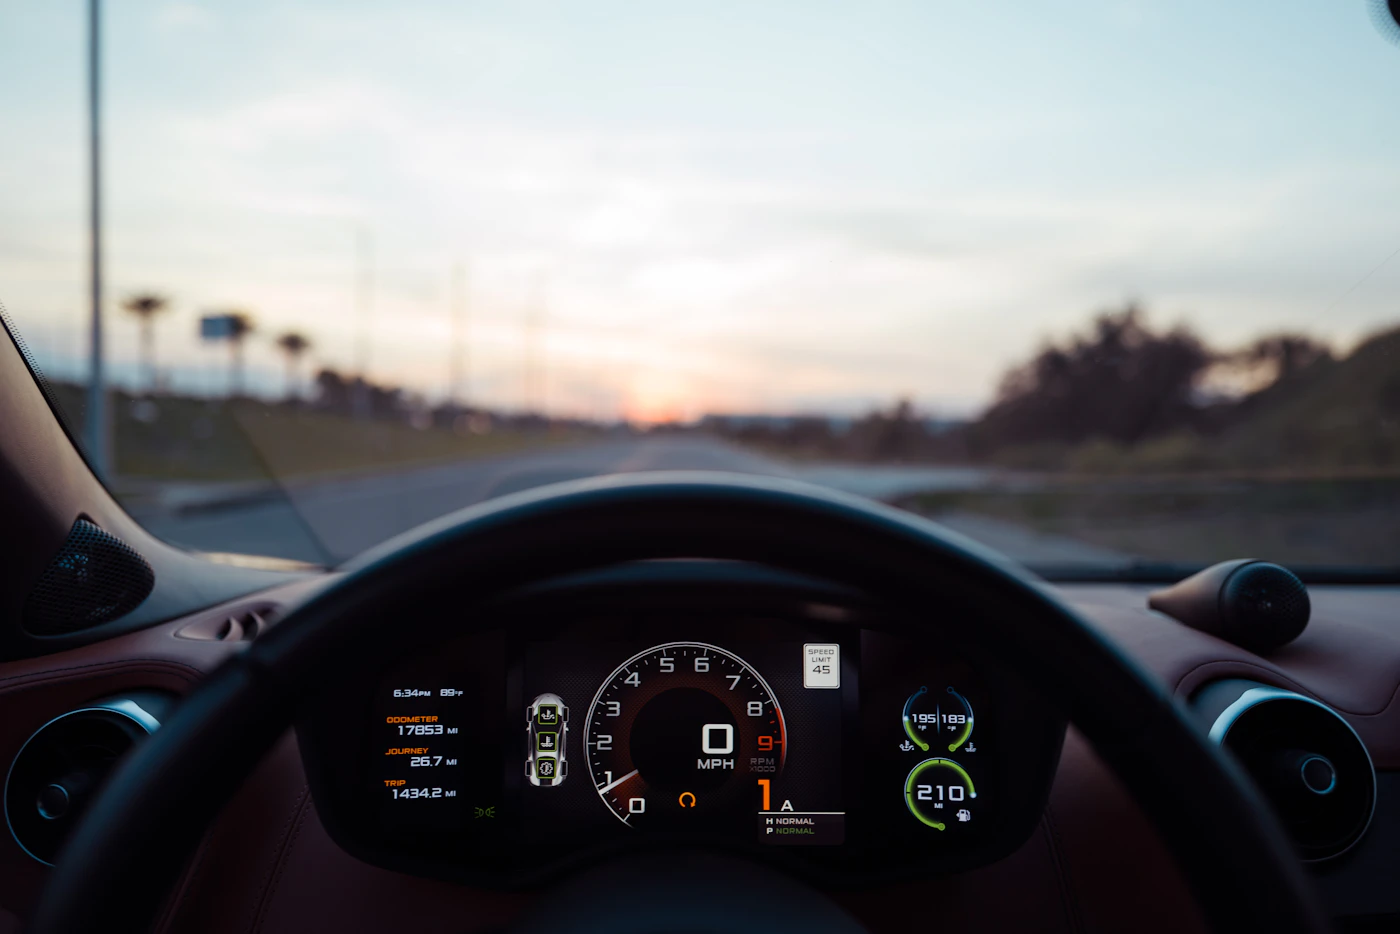
Inside the car, the dashboard warning lights deserve a second look. When you start the engine, all the indicator lights should illuminate briefly, then go out. If any stay on, that’s worth investigating before you leave. Also, check the interior map lights and the dome light. These seem minor, but they matter when you need to read a paper map, find something in the glove box, or load the car in the dark. A dead interior bulb is an easy fix, but it’s annoying to discover it after you’ve left.
Here is a simple way to test everything without help:
- Stand outside and work the turn signal lever in each direction while listening for the clicking relay or watching the dash indicator.
- Press the brake pedal with the car on and check for bright red lights at the rear. If you have a tall vehicle, kneel down to see them at eye level.
- Shift into reverse with the parking brake engaged and check the white reverse lights on a wall or garage door.
- Toggle the hazard light switch and walk around the car to see all four corners flash.
- Cycle through the headlight settings—off, parking, low beam, and high beam—and look for consistent output on both sides.
If any bulb is dim, flickering, or out, replacing it before the trip is usually straightforward for exterior bulbs. Dashboard warning lights that stay on, or any electrical issue that recurs, should be looked at by a qualified mechanic.
Secure Loose Items and Manage Load Smartly
Before you pull out of the driveway, take a few minutes to look inside the cabin and trunk with fresh eyes. Items that seem harmless at a standstill become projectiles during a hard stop or a quick swerve. A water bottle rolling under the pedals, a laptop sliding off the seat, or a bag of groceries tipping over can distract you at exactly the wrong moment. Even small objects matter because they shift momentum and can interfere with your footwork or vision.
When packing, think about weight distribution as much as volume. Heavy items belong low and as close to the center of the car as possible. In a sedan, that generally means the floor of the rear footwell or the bottom of the trunk, pushed forward against the back seat. In an SUV or hatchback, keep the heaviest pieces nearest the rear seatbacks and avoid stacking weight high. This keeps the vehicle’s center of gravity stable and reduces the chance of a top-heavy feel on curves or in crosswinds.
For the trunk, a cargo net or a set of simple straps is worth the minor hassle. Anchor points vary by vehicle, but most cars have loops or hooks meant for this purpose. Secure items that could slide, especially if you carry tools, coolers, or luggage that isn’t packed flush. In the cabin, use the seatbelt to hold a large bag or place items in the footwell rather than the seat. A quick check before you leave—shake the cargo area gently and listen for movement—can save you from an unpleasant surprise on the highway.
If you are carrying something unusually heavy or oddly shaped, and you’re unsure how to restrain it safely, that’s a good time to ask a professional at a local shop or consult your owner’s manual for specific anchor locations. Otherwise, a little forethought keeps the cabin calm and the car balanced for the long miles ahead.
Review Fluid Levels and Know What to Look For
Before any long trip, the fluids under the hood deserve more than a glance. The engine oil, coolant, brake fluid, and windshield washer fluid each do a specific job, and low levels or unusual appearances can tell you a lot about the car’s condition. The owner’s manual is the best guide for how to check each one correctly—some are checked when the engine is cold, others warm, and the dipstick markings matter.
Start with the engine oil. Pull the dipstick, wipe it clean, reinsert it fully, and then read the level. Look at the color and thickness on the rag. Clean oil is usually a light amber and fairly thin. If it looks dark, gritty, or has a milky tint, that is worth a professional opinion rather than a simple top-off.
Next, check the coolant. The coolant reservoir is typically translucent, so you can see the level against the “full” and “low” marks without opening anything hot. Never remove the radiator cap while the engine is warm—pressure can cause serious burns. Coolant should be bright and clear, not oily or full of rust flakes.
- Brake fluid: The reservoir is usually small and near the back of the engine bay. The level should sit near the “MAX” line. If it looks dark brown or cloudy, that is not normal and needs a mechanic’s check.
- Windshield washer fluid: This is the one you can top off freely. Use a fluid rated for the temperatures you expect. A full reservoir is a simple comfort that becomes important on a dirty highway.
If any level drops dramatically between checks or the fluid simply looks wrong, treat that as a caution flag. Topping off might get you down the road, but it does not fix the underlying issue.
Plan for Driver Comfort and Rest Stops
Before you pull out of the driveway, take a few minutes to set up the cockpit for your body. Adjust the seat so your legs have a slight bend at the knee and your arms reach the wheel comfortably without stretching. Set the mirrors for your current seating position, not the one from the last driver. A quick check of the climate controls is worth it, too—a cabin that’s too warm can make anyone drowsy, and a steady, cool airflow helps keep you alert.
On the road, plan for breaks before you feel like you need one. A good rule of thumb is to stop every couple of hours, even if it’s just for five minutes to stretch your legs and walk around the parking lot. Getting out of the car resets your posture and gets blood moving. Use these stops to refill a water bottle, use the restroom, or simply switch drivers if you have a passenger with a valid license.
Know your own limits before you start. If you were up late the night before or feeling under the weather, consider delaying the trip or splitting the drive into shorter legs. Caffeine can give you a temporary boost, but it will not replace sleep. If you catch yourself drifting lanes, missing exits, or constantly adjusting the radio to stay awake, find a safe place to pull over and rest. A short nap at a rest area is often better than pushing through. Arriving a few hours later is always preferable to not arriving at all.