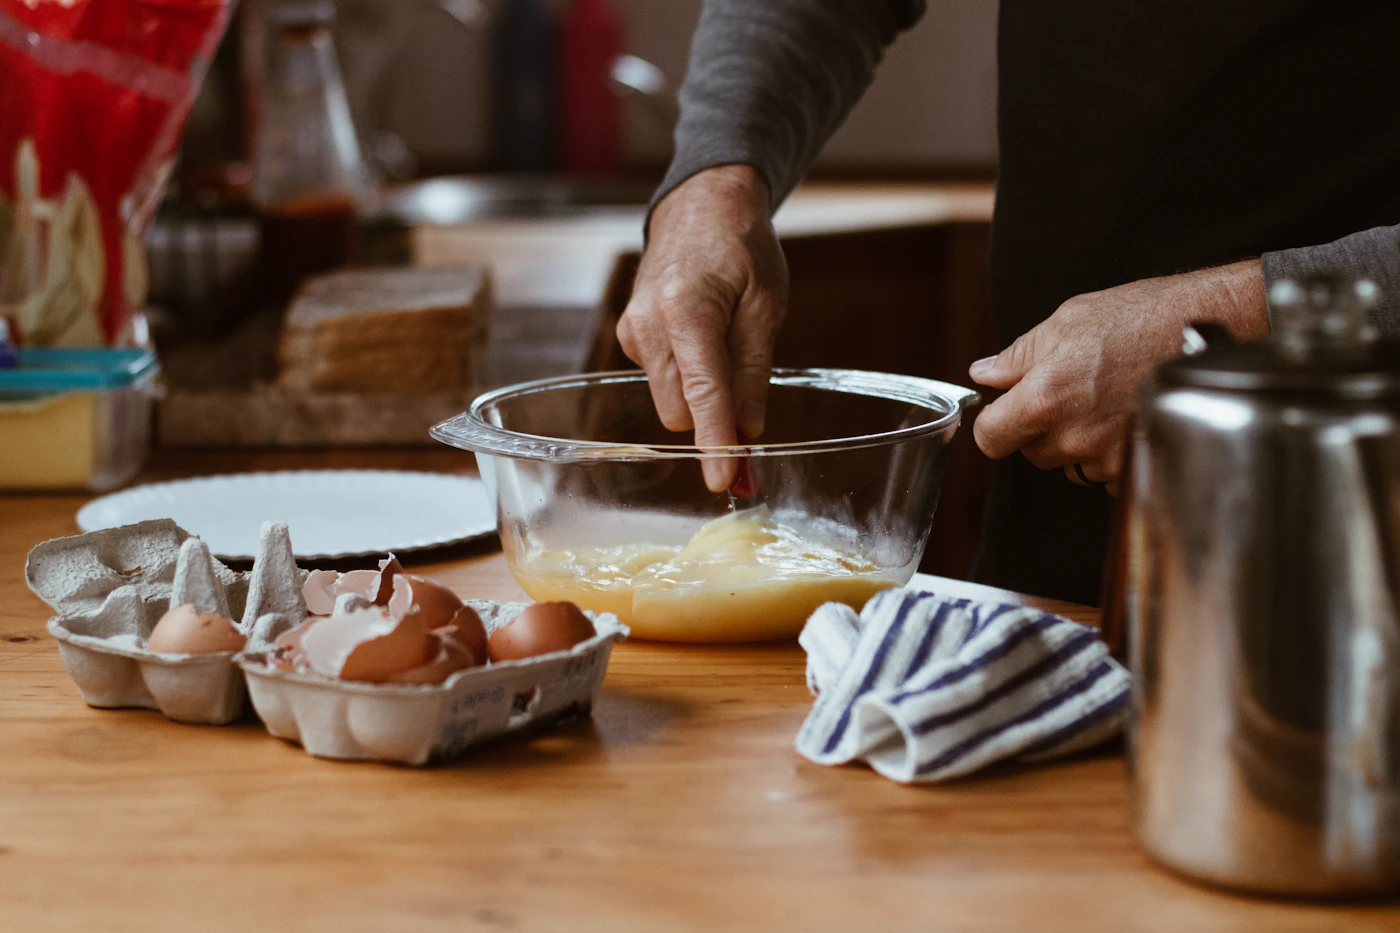
Assess Your Current Routine Before Changing Anything
Before you adjust a recipe or buy new tools, take a close look at how you actually bake right now. Most inconsistent results come from small, repeatable habits that are easy to overlook. The goal here is not to judge your method but to see where variables creep in.
Start by thinking through a typical bake from start to finish. Ask yourself a few direct questions:
- How do you measure flour? Are you scooping directly from the bag, spooning into the cup, or using a scale? Each method gives a different amount, and switching between them changes dough texture and crumb.
- How consistent is your mixing time? Do you mix until the batter "looks right" or for a set duration? Visual cues can shift based on the day, the bowl, or your mood.
- Where do you place the pan in the oven? If you put it on a different rack or rotate it at a different time each batch, browning and rising will vary.
- How long do you wait before slicing or frosting? Rushed cooling traps steam and can make textures gummy or cause toppings to slide.
A simple written log helps you see patterns without relying on memory. Keep a notebook or a note on your phone where you record the date, flour type, exact measuring method, mixing time, oven rack position, bake duration, and how long you cooled the item. That is all. After a few bakes, review your notes. You will likely spot one step that changes more than the others, and that is the place to focus your next attempt.
If you notice major differences from one side of the pan to the other, that may point to an oven hot spot. A separate oven thermometer can help you confirm that, but do not adjust your whole routine until you have a logged pattern to justify the change.
Master the Art of Measuring by Weight for Consistent Dough
Volume measuring is the most common source of inconsistent baking. A cup of flour can weigh differently depending on how it was packed, the humidity in the air, or the brand you bought. Scooping directly from the bag compacts the flour, while spooning it in leaves it lighter. This variability changes the moisture balance in your dough, leading to dense loaves one day and slack, sticky dough the next.
Using a kitchen scale removes that guesswork. When you measure by weight, you are measuring the actual ingredient, not the air around it. The same recipe will behave the same way every time, which makes it easier to learn how dough should feel and when it needs adjustment. It also means fewer bowls to wash—you can add flour, water, and salt directly into the mixing bowl, zeroing the scale between additions.
You do not need a costly digital scale. A basic model with a gram and ounce setting is sufficient. Look for one that reads in single-gram increments and has a flat, stable platform. Place a bowl on the scale, press the tare or zero button, and add your first ingredient. Repeat for each addition.
To convert a recipe that uses cups to weight:
- For all-purpose flour, use a standard conversion of about 120 grams per cup, then adjust based on your results.
- For bread flour, expect roughly 125 to 130 grams per cup.
- For whole wheat flour, plan on about 110 to 120 grams per cup.
- For liquids like milk or water, one cup equals approximately 240 grams.
Write these conversions in your recipe notes so you do not have to redo the math. Start with a recipe you already know, measure both ways, and note which dough feels right. Over time, you will trust weight over volume and your results will stay consistent.
Manage Ingredient Temperatures for Uniform Results
Room temperature ingredients are not a suggestion; they are a functional part of the recipe. Cold butter does not cream the same way, and cold eggs can cause a batter to seize or curdle. When a recipe calls for room temperature ingredients, the goal is emulsification—the stable blending of fat and liquid that gives cakes and cookies their structure and crumb.
For most recipes, the window for "room temperature" is forgiving. Butter should be soft enough to press with a finger but still hold its shape. Eggs should sit out for a short time, or be placed in a bowl of warm tap water for a few minutes before cracking. Milk, cream, or buttermilk can be warmed gently by setting the sealed container in a bowl of warm water for a few minutes—do not microwave them unless you are prepared to stir thoroughly and check for hot spots.
Conversely, some doughs need cold ingredients. Pie crust, biscuits, and puff pastry rely on cold fat to create flaky layers. If your kitchen is warm, chill your flour and bowl before cutting in the butter. Keep the butter in the freezer for a short time if it feels soft, and work quickly to avoid warming it through handling.
- Use a glass or metal bowl to warm ingredients faster than plastic.
- Cut cold butter into smaller cubes to bring it to room temperature more evenly.
- For chilled doughs, refrigerate the mixture briefly before shaping if it becomes sticky or soft.
- Test butter with a gentle press—if it indents easily, it is ready.
A simple thermometer helps, but your senses—sight, touch, and texture—are reliable guides. Temperature control is about reducing guesswork, not adding a new step. Once you build the habit, your batters will blend more smoothly and your doughs will hold their intended shape.
Understand Your Oven’s True Behavior and Calibrate Your Timing
Recipes give you a starting point, not a contract. Every oven runs slightly differently, and the only way to know yours is to test it. Place a simple oven thermometer on the center rack and preheat as usual. Once the oven signals ready, check the thermometer and give it another ten minutes to settle. Compare that reading to the temperature you set. A consistent offset of 25 degrees in either direction is common, and knowing that number instantly improves your judgment on every bake.
Next, look for hot spots. Arrange a light-colored baking sheet lined with a single layer of bread cubes or slices of sandwich bread across the entire rack. Bake at moderate heat until the bread turns golden. The darker pieces reveal which zones run hotter. This one time, five-minute test saves you from rotated pans and scorched edges later.
Use the findings to adjust rack positions:
- Place delicate items that need gentle bottom heat, like custards or pies, on the lower third of the oven.
- Bake cookies and sheet cakes on the middle rack, where heat is most even.
- For browning tops quickly, move the pan to the upper third only during the last few minutes.
Finally, start a baking journal. Note the recipe’s stated time, your actual bake time, your oven temperature offset, and the rack position you used. After a handful of entries, you will see a clear pattern for your kitchen. That record, not the recipe card, becomes the most reliable tool you own. It costs nothing and makes timing second nature.
For any suspicion that the oven’s thermostat has failed, or if the temperature reading swings wildly during preheating, stop using the oven and call a qualified appliance technician. A simple thermometer checks accuracy; it does not repair or diagnose mechanical faults.
Refine Dough Handling and Shaping for Evenness
Uneven dough is the most common cause of inconsistent baking results. A thick center with thin edges bakes at different rates, leaving some parts underdone and others overbaked. Correcting this starts with your work surface and your tools, not with a new mixer.
Before rolling, press the dough into a rough disk with your palm. This gives the rolling pin a uniform starting point. For even thickness, use rolling pin guides—two parallel strips of wood or silicone rings that fit on the pin’s ends. The dough will only compress to the height of the guides, so a quick pass yields an accurate sheet. If you do not have guides, rotate the dough a quarter turn after every couple of rolls. Keep the pin moving from the center outward, and never roll back and forth over the same spot repeatedly, as that develops gluten unevenly.
When shaping by hand, work from the center of the piece outward. Cup your palms and turn the dough as you press, rather than squeezing the sides. This creates a smooth, even dome without trapped air pockets.
- Rest after rolling: If the dough snaps back or shrinks, it needs a rest. Cover it loosely and let it sit for 10 to 15 minutes. This relaxes the gluten and makes the next roll easier.
- Rest before shaping: For filled or free-form items, a short rest after shaping helps the dough hold its form and reduces toughness during baking.
- Touch lightly: Warm hands and heavy pressure toughen dough. Use a light dusting of flour only when sticking occurs, not as a habit.
For complex or laminated doughs, these basics still apply, but the process demands more precision. If your dough repeatedly tears or resists shaping despite resting, a kitchen scale and a thermometer offer better control than guesswork. When commercial-grade consistency matters, consider a professional consult for your specific setup. For everyday baking, steady hands and patient resting yield reliable results without extra cost.
Cool and Store Baked Goods Properly to Lock in Quality
Once your bake leaves the oven, the cooling step matters as much as mixing. Leaving cakes, breads, or muffins in the hot pan traps steam against the sides and bottom. That moisture sinks into the crumb, turning a tender texture soggy and causing the crust to peel away. Instead, transfer items to a wire rack as soon as they are safe to handle. The open air circulates underneath and around each piece, letting excess moisture escape evenly. For most cakes and quick breads, a short rest in the pan—just until the pan is warm but not hot—makes removal cleaner, then move the item to the rack to finish cooling completely.
Storage methods should match the texture you want to protect:
- Firm-crusted breads and rolls: Keep them in a paper bag at room temperature. The paper lets the crust breathe and stay crisp. Avoid plastic, which traps moisture and softens the crust.
- Soft cakes, muffins, and bars: Once fully cool, seal them in an airtight container. A snug lid keeps them moist without turning them wet. If the recipe has a glaze or frosting, store in a single layer or use parchment between layers.
- Crisp cookies and biscotti: Use a container with a loose-fitting lid, or add a piece of bread to absorb excess humidity. Replace the bread as needed.
Do not refrigerate most baked goods unless the recipe specifically calls for it. Cold air dries out crumb and accelerates staling. For longer storage, wrap well and freeze; thaw at room temperature with the wrapping loosened. This simple workflow preserves your effort and keeps every bite as close to fresh as possible.