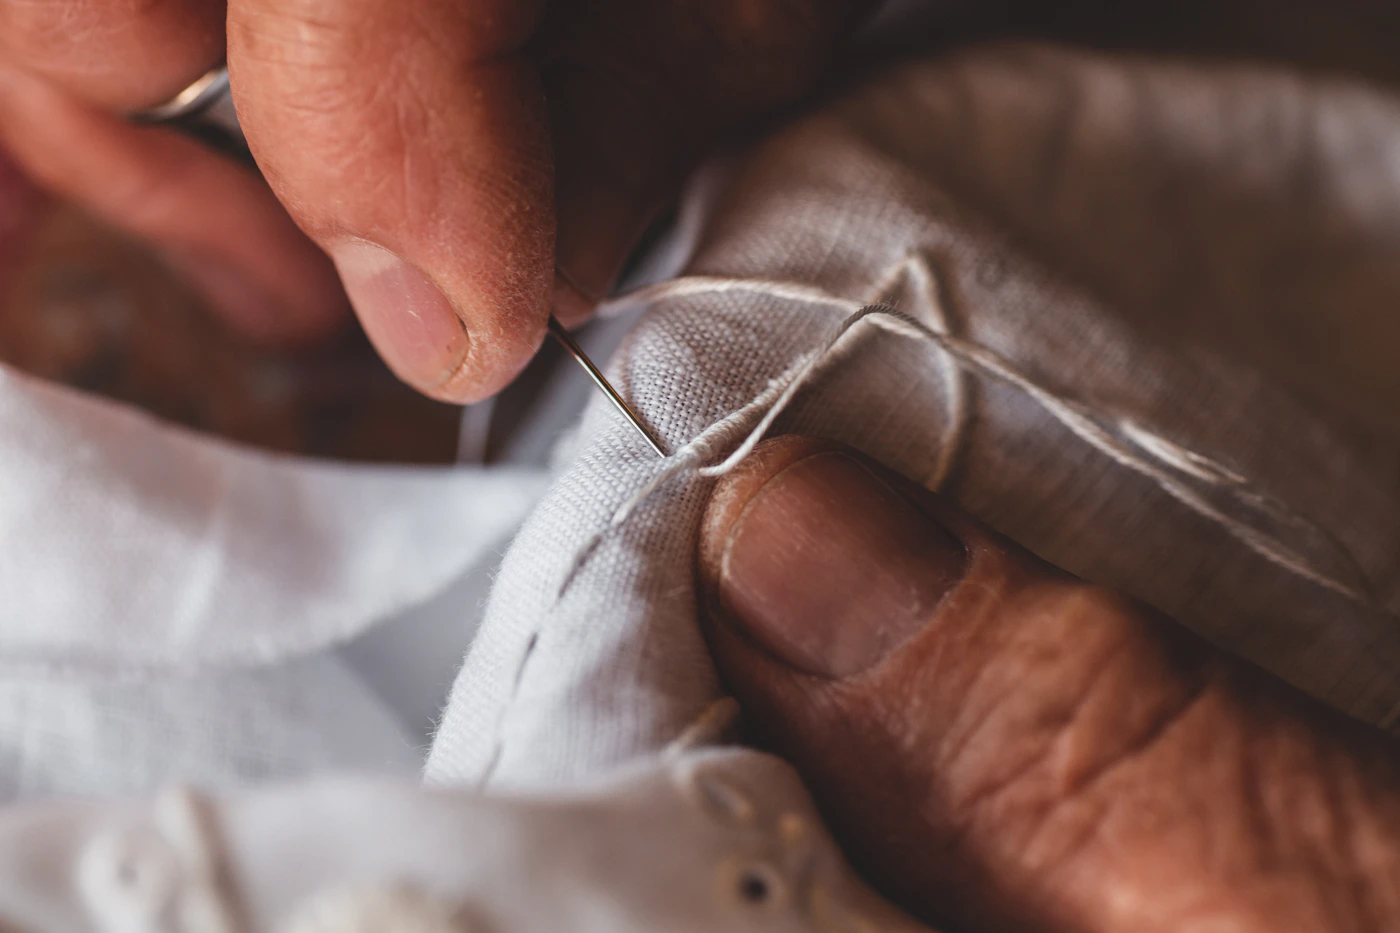
Starting with the Wrong Needle for the Job
It is tempting to grab the first needle you find in a kit or drawer and use it for every mending task. That single needle might work fine for a loose button, but it will fight you on nearly everything else. The most common result is a bent needle, skipped stitches, or fabric that looks puckered and damaged around the seam. The needle is not a one-size-fits-all tool; it is a small but critical piece of equipment that should match what you are sewing.
Needles come in different sizes and point styles for a reason. A fine needle with a sharp point is meant for lightweight woven fabrics like cotton shirting or silk. A heavier needle with a larger eye is built to carry thicker thread and pierce through denim, canvas, or multiple layers of wool without bending. Using a fine needle on thick fabric forces the needle to work too hard, which can snap it or leave visible holes. Using a heavy needle on delicate fabric creates large, ugly punctures that weaken the material.
Match the needle to the fabric first, then to the thread. A good general rule for everyday sewing is:
- Choose a smaller needle for lightweight fabric and thin thread.
- Choose a larger needle for heavy fabric and thicker thread.
- If the thread is too thick for the needle eye, move up to a larger needle instead of forcing it.
- If the needle struggles to push through fabric, do not push harder; switch to a larger size.
Before starting any project, take a few seconds to test the needle on a scrap of the same fabric. It should glide through with gentle pressure, not require force. If it catches or drags, change the needle. This simple check prevents bent needles, frustrated hands, and ruined fabric, and it costs almost no time. A slightly larger investment in a few basic needle sizes will save you from a great deal of rework.
Using Too Much or Too Little Thread Length
One of the most common frustrations in hand sewing is cutting a thread that is either impossibly long or awkwardly short. A very long thread may seem efficient, but it quickly becomes a tangle of knots and frayed fibers that slows you down more than it helps. On the other hand, a very short thread means stopping to re-thread the needle frequently, which breaks your rhythm and makes the work feel tedious.
The practical approach is to work with a comfortable length that lets you sew a reasonable number of stitches without fighting the thread. As a general rule of thumb, a length from your fingertips to your elbow is a good place to start. This keeps the thread manageable and reduces the risk of it twisting into tight loops. If you are doing a longer seam, it is better to re-thread a few times than to struggle with an overly long strand.
If you do cut a thread that feels too long, do not pull the entire length through the fabric with each stitch. Instead, gather the excess into loose loops in your non-dominant hand and let them feed out gradually. This keeps the working end short and prevents the thread from knotting around the needle or the fabric.
- Keep your working thread short enough that you can pull it through the fabric without lifting your elbow.
- Let the needle do the work; do not yank on a long thread to speed up stitching.
- If the thread begins to twist, stop and let the needle hang to untwist it before continuing.
A comfortable working length also gives you better control over tension. With a shorter, manageable thread, you can keep your stitches even and avoid puckering the fabric. You will spend less time untangling and more time sewing clean, reliable stitches.
Pulling Stitches Too Tight or Too Loose
Uneven tension is one of the most common reasons beginner hand sewing projects end up with puckered seams, wavy edges, or a distorted shape. When you pull a stitch too tight, the fabric gathers even if you did not intend any gathers. When you leave it too loose, the seam looks sloppy and lacks the strength to hold two pieces together reliably.
The good news is that even tension is a skill you can build with a little practice. Your natural tendency may be to tug hard at the thread after every stitch to feel secure. A more practical approach is to let the thread rest gently between stitches while you move the needle through the fabric. Try to pull the thread just enough to bring the two fabric layers into contact, with no visible gaps between stitches and no puckering at the seam line.
Fabric type plays a large role in how your stitches should feel. A crisp, tightly woven cotton or linen holds its shape and tolerates slightly firmer tension. A soft, loosely woven or stretchy fabric will pucker almost immediately if you pull too much. On these fabrics, aim for a lighter hand and shorter stitches so the thread does not compress the fibers.
- Relax your grip on the needle and thread between stitches to avoid unconsciously tightening the loop.
- Check your work every few inches by laying the fabric flat on a table. If it ripples, your stitches are likely too tight.
- Use a thimble or finger grip only to push the needle, not to yank on the thread.
If you notice puckering after a few stitches, stop and gently pull the seam apart from the ends to ease the tension slightly. Do not try to force it flat with an iron until the fabric has relaxed, as this can set an unwanted crease. Consistent, moderate tension comes from steady practice rather than a fixed formula, so give yourself time to get a feel for it.
Knotting the Thread Incorrectly or Skipping It
The most common reason a hand-sewn seam pulls out is not weak stitching but a knot that was never tied, or one tied too loosely. A tiny, loose knot can slip through fabric weave after a few tugs, while a bulky knot creates an unsightly bump. Both are easy to avoid with a reliable method.
The secure starting knot: After threading your needle, hold the long end of the thread and wrap it once around your index finger. Roll the loop off with your thumb, pinch it, and pull the thread end gently to form a small, tight knot close to the fabric. Test it with a light tug before you begin. This knot should sit flush against the fabric without creating a noticeable lump.
The bulk-free finish: When you have two or three stitches left, stop pulling the thread all the way through. Instead, leave a small loop on the underside of the fabric, pass your needle through it, and pull snug. Repeat once more in the same spot. This creates a tiny, flat knot that is far less bulky than a traditional tied knot.
When to use a waste knot: For slippery or loosely woven fabrics, a starting waste knot can help. Insert the needle from the top side about an inch from where your seam will begin, leaving the knot on the surface. Sew your seam, then clip the waste knot and its thread tail once you reach the end. This prevents the knot from pulling through the fabric.
What to avoid:
- Do not tie multiple knots on top of each other; one small, flat knot is enough.
- Do not begin with a long thread tail and no knot, expecting friction to hold it.
- Do not use a knot so large that it distorts the fabric or catches on other layers.
If you find your knots slipping, slow down and tie them deliberately. A few extra seconds at the start and finish will save you from re-sewing the entire seam.
Choosing the Wrong Thread for the Fabric
It is easy to grab whatever spool is closest, but thread choice matters more than most beginners realize. A mismatch can lead to puckered seams, snapped stitches, or damage to the fabric itself. The goal is to match the thread’s strength and give to the material you are sewing.
Here are the three common types and where they work best:
- Cotton thread: A good all-purpose choice for natural, woven fabrics like quilting cotton, linen, and stable blends. It lies flat and presses well. It has little stretch, so it is not ideal for knits.
- Polyester thread: Stronger and more flexible than cotton. It is a safe pick for most everyday mending, including clothing with a bit of give, such as jersey or ribbed knits. Its slight stretch helps stitches move with the fabric.
- Silk thread: Fine and strong for its weight. It works well on delicate fabrics like silk charmeuse, chiffon, or fine wool. Silk thread also presses beautifully and is less likely to leave a permanent mark on the fabric surface.
A common error is using a thick upholstery thread on a lightweight cotton shirt. The heavy thread will tear the fibers and cause ugly holes. Conversely, a fine silk thread on a heavy canvas bag will snap under stress. A practical approach: if you can see a clear difference in thickness when you hold the thread next to the fabric, choose something closer in weight.
For stretchy fabric, give the thread a gentle tug before threading your needle. If it snaps immediately, it is too brittle for the job. When in doubt, polyester is the forgiving middle ground. It works for most beginner projects and reduces the chance of seam breakage.
Skipping the Thimble and Other Hand Protections
It is the most common first mistake: pushing a needle through fabric with a bare fingertip. It feels clumsy at first, and many novices assume a thimble is optional. Within a short time, the pad of your finger becomes sore, and you start gripping the needle tighter to compensate. That tighter grip leads to poor stitch control and more hand fatigue.
The right thimble should feel like a second skin, not a loose cap. Look for one that fits snugly on the middle finger of your sewing hand, with a small amount of resistance when you push. Metal thimbles offer the most protection, but many people prefer leather or silicone versions for a better grip on the needle. If you do not like the traditional style, try a “quilting” thimble, which is essentially an open-top ring with a dimpled disc on the pad side. It leaves your fingertip exposed for tasks like tying knots, which many find more flexible.
To use it, push the side of the needle, not the top. The thimble should rest against the needle’s eye end, driving it forward through the fabric with a steady, rocking motion. Your other hand, below the cloth, should guide the needle tip back up, not fight it.
- Hand care: Before a long session, wash and dry your hands thoroughly. Clean skin grips better and reduces the urge to squeeze the needle.
- Take breaks: Stop every twenty to thirty minutes to stretch your fingers and roll your wrists. This simple habit prevents stiffness.
- Moisturize, but not while sewing: Lotion just before stitching makes the needle and fabric slippery. Moisturize after you finish instead.
A sore fingertip is a signal, not a badge of effort. Using a thimble consistently from the first stitch builds better habits and keeps you sewing longer without discomfort.