Why Learn Hand Sewing?
Knowing how to sew a straight stitch by hand is a quiet sort of independence. It means a loose button, a pulled hem, or a torn seam doesn’t have to cost you a trip to a tailor or a wait for a store to open. For simple, everyday fixes, a needle and thread are often all you need, and you can do them on your own schedule.
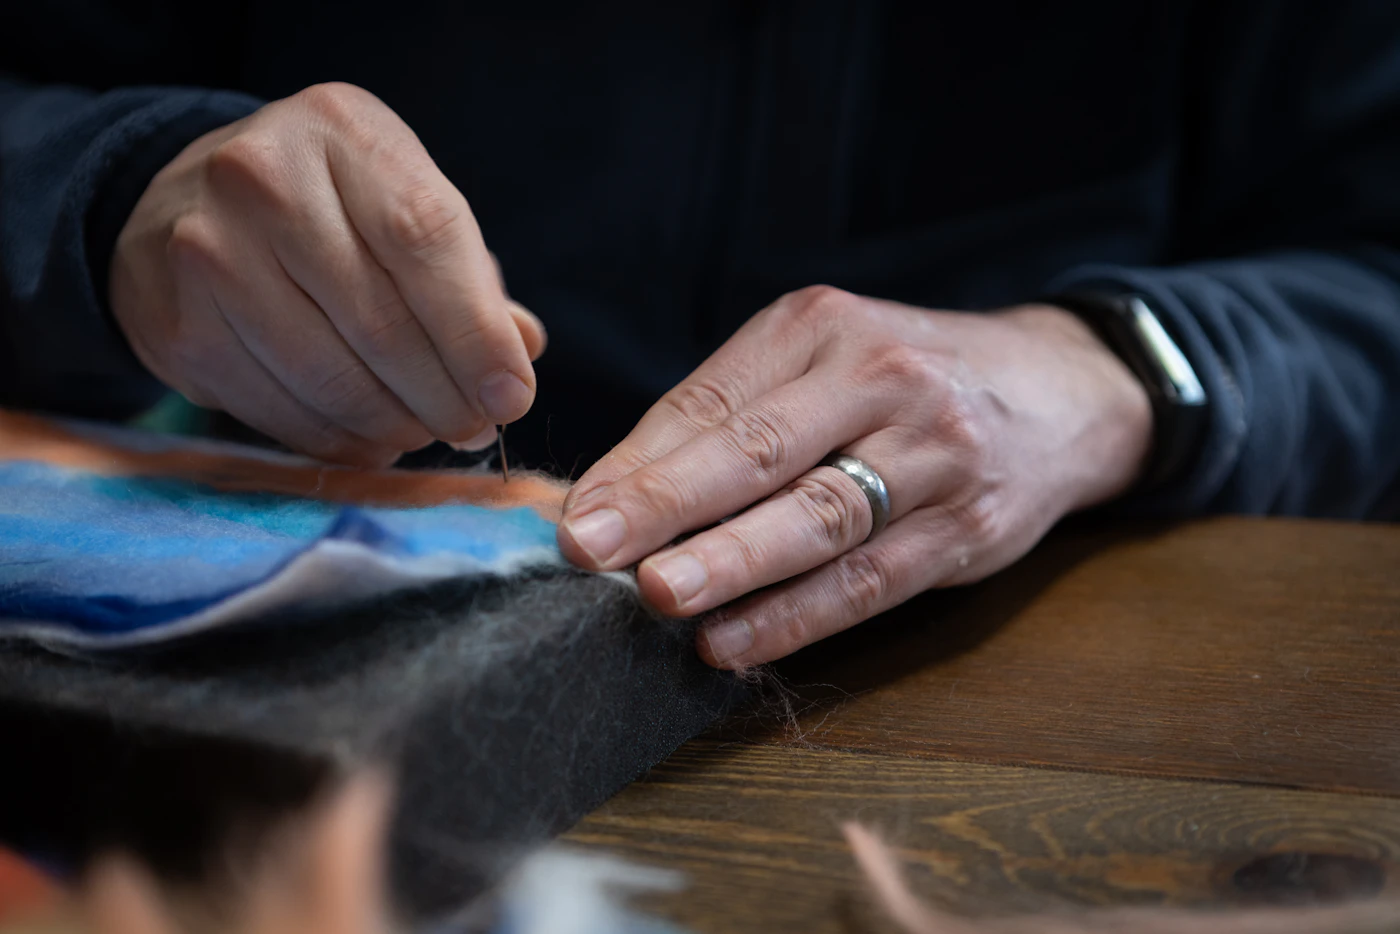
Hand sewing also gives you more control than a machine for certain jobs. It’s the right approach for attaching a button with a shank, repairing a delicate fabric, or working in a tight spot where a machine head won’t fit. You can see each stitch as you place it, which makes it easier to match thread color and keep the repair subtle.
Beyond repairs, hand sewing supports creative work. You can use it for decorative details, hemming curtains to an exact length, or making small gifts like drawstring bags or cloth napkins. Because the barrier to entry is so low—just a needle, thread, and a few minutes—it encourages resourcefulness. You start to look at fabric items differently, seeing where a stitch can extend their life or change their look.
With practice, you’ll learn to judge tension by feel and to work neatly without a hoop or frame. Those skills carry over to other projects too, from mending a camping duffel to altering a thrift store find. It’s a practical, low-cost skill that pays off in convenience and confidence.
Gathering Your First Sewing Kit
You do not need a big investment to begin. A handful of reliable tools will carry you through most repairs and small projects. The goal is to have what you need within arm’s reach, not to fill a drawer with unused gadgets.
- Hand needles: Buy a small assortment pack with a few sizes. A “sharp” needle works for most woven fabrics, while a “ballpoint” needle is gentler on knits and stretchy material. Start with a mixed set so you can feel the difference.
- Thread: Pick up a few basic colors that match common clothing—black, white, navy, and a mid-tone gray cover a lot of ground. A 100% polyester thread is a fine, all-purpose choice; it has a little give and holds up to washing.
- Scissors: Dedicate a pair to fabric only. You do not need expensive shears, but the blades should be sharp and comfortable in your hand. Keep them away from paper and packaging, which dulls them quickly.
- Pins: A small tin of straight pins with glass or plastic heads is plenty. Use them to hold pieces together before you stitch. A pin cushion or a small magnetic dish keeps them from wandering.
- Fabric for practice: Look for plain, medium-weight cotton or cotton-blend cloth. Quilting cotton from a craft store works well. Avoid very slippery, stretchy, or thick fabrics at first; they are frustrating to control.
Store everything in a sturdy box or a simple cloth bag. Keep the needles and pins in a closed container or a dedicated cushion, not loose in the bottom of the bag. A thimble is worth having once you start sewing through multiple layers, but it is not essential on day one. Replace your needle when it feels rough or bent, and your scissors when they no longer cut cleanly—dull tools cause more trouble than they save.
Preparing Fabric and Thread
Before you make a single stitch, take a few minutes to get your materials ready. This step separates tidy work from frustration.
If your fabric is washable, launder and dry it before you sew. This pre-shrinks the material and removes finishes that can make stitches pucker later. Press the fabric flat with an iron afterward; wrinkles make it difficult to cut straight lines and keep seams even.
For cutting, always use sharp fabric shears, not household scissors. A clean, straight edge is essential for hemming and piecing. If you need a straight line, use a clear ruler and a fabric marker or chalk to draw your cutting guide, then cut slowly along that line, keeping the shears flat against the table.
Threading a needle is easier when you prepare the thread first. Cut a single strand at a comfortable working length—roughly the distance from your wrist to your elbow. Trim the end at a sharp angle with sharp scissors; this creates a clean point that slips through the eye more reliably. If you struggle to see the eye, use a needle threader; it is a small tool that costs little and saves time.
Once the thread is through, pull about two inches through the eye and hold both ends together. Then tie a knot at the very end of the doubled thread. A simple approach:
- Wrap the thread end around your index finger twice.
- Roll the loops off with your thumb while pulling the tail through.
- Pull snug, and the knot will form close to the fabric.
To avoid tangles, keep your thread short and let the needle hang free between stitches. Do not pull the thread through the fabric in long, jerky motions. For uneven stitches, check that you are inserting the needle perpendicular to the fabric and keeping your stitch length consistent. If the thread twists, stop, let the needle dangle, and it will usually untwist on its own.
Mastering the Basic Stitches
Before you thread a needle, take a minute to press your fabric and choose a thread color that blends or matches. A clean, flat edge makes every stitch easier to see and keep even. Use a thimble on the middle finger of your sewing hand; it saves your fingertip when pushing the needle through heavier cloth.
Running Stitch. This is the workhorse for gathering, basting, and simple seams. Bring the needle up through the fabric, then back down a short distance ahead. Continue weaving in and out, keeping each stitch about the same length as the gap between stitches. Aim for a rhythm, not a race. The most common mistake is pulling the thread too tight, which puckers the fabric. Keep the tension gentle and even.
Backstitch. For a strong, straight seam, the backstitch is your choice. Bring the needle up, then take a small stitch backward, bringing the needle up again just ahead of the first stitch. Each new stitch overlaps the previous one, creating a solid line of thread. The mistake to avoid is making the stitches uneven in length; a consistent quarter-inch is a reliable guideline, but let the fabric and your task set the spacing.
Whipstitch. This is for joining two folded or finished edges, like closing a seam opening. Hold the edges together and stitch over the top, bringing the needle through both layers at a slight diagonal. Keep the thread tension firm enough to pull the edges together without bunching. Avoid skipping layers; check every loop to ensure the needle passed through both pieces.
Hem Stitch. For a nearly invisible hem, work on the inside of the garment. Secure your thread in the hem fold, then catch just a thread or two of the outer fabric with the needle, followed by a small stitch in the fold. The classic error is catching too much of the outer fabric, which shows a visible line on the right side.
For all stitches, stop and rethread if the thread twists or knots. Practice on scrap fabric until each stitch looks neat before applying it to a real project.
Easy First Projects for Practice
The best way to build hand-sewing skill is to work on something small with a clear purpose. You are not aiming for perfection at this stage; you are aiming for consistent stitches and straight lines. A cloth napkin is a classic starting point. Cut a square of cotton or linen, fold over the edges twice, and pin them flat. Use a running stitch or a whipstitch to secure the hem. Because the project is forgiving, uneven stitches will not ruin the piece, and you get plenty of repetition in one sitting.
A small pouch is another straightforward option. Sew three sides of two fabric rectangles together, then fold over the top edge for a casing. You can thread a ribbon or cord through the casing, or simply leave it open as a glasses or phone holder. This project teaches you to turn corners neatly and manage bulk at the seams. It is a step up from a napkin, but still manageable in an afternoon.
Basic repairs offer immediate payoff and low pressure. Practice these on items that are already worn:
- Sew a loose button back onto a shirt or jacket, leaving a small thread shank so the button has room to move.
- Close a small seam opening in a pillowcase or pajama leg with a ladder stitch.
- Darn a thin spot in a sock or sweater by weaving new thread across the worn area.
Repeat each project until your stitches feel even and your thread stops tangling. There is no need to rush through the list; doing one napkin and one repair with care teaches you more than starting five projects and finishing none.
Knowing When to Call a Professional
Hand sewing is a practical skill for everyday repairs, but it has clear limits. Knowing where those limits sit saves you time, frustration, and sometimes the garment itself. The rule of thumb is simple: if a mistake means ruining the fabric or the fit, it is not a DIY job.
You can safely handle tasks like reattaching a loose button, closing a small seam gap, or fixing a hem that has come undone. These repairs are straightforward because the original stitching or fold line gives you a clear guide. You are restoring something that already exists.
Leave complex alterations to a tailor or seamstress. This includes taking in or letting out side seams, reshaping waistlines, or adjusting shoulders. These jobs require understanding how the garment hangs on the body and often involve multiple adjustments at once. A small error in one seam throws off the whole silhouette.
Delicate fabrics also call for professional hands. Silks, chiffons, and other lightweight or slippery materials resist neat hand stitching. The fabric can pucker, pull, or show every needle hole. Similarly, items with structured linings, multiple layers, or tricky details like zippers and pleats are best left to someone who does this daily.
Before you decide, ask yourself two questions:
- Will the repair be hidden or highly visible if slightly imperfect?
- Is the item expensive, sentimental, or difficult to replace?
If you answer yes to either, take it to a professional. Otherwise, thread a needle and give it a careful try. The worst case is usually a few wasted minutes and a bit of practice.