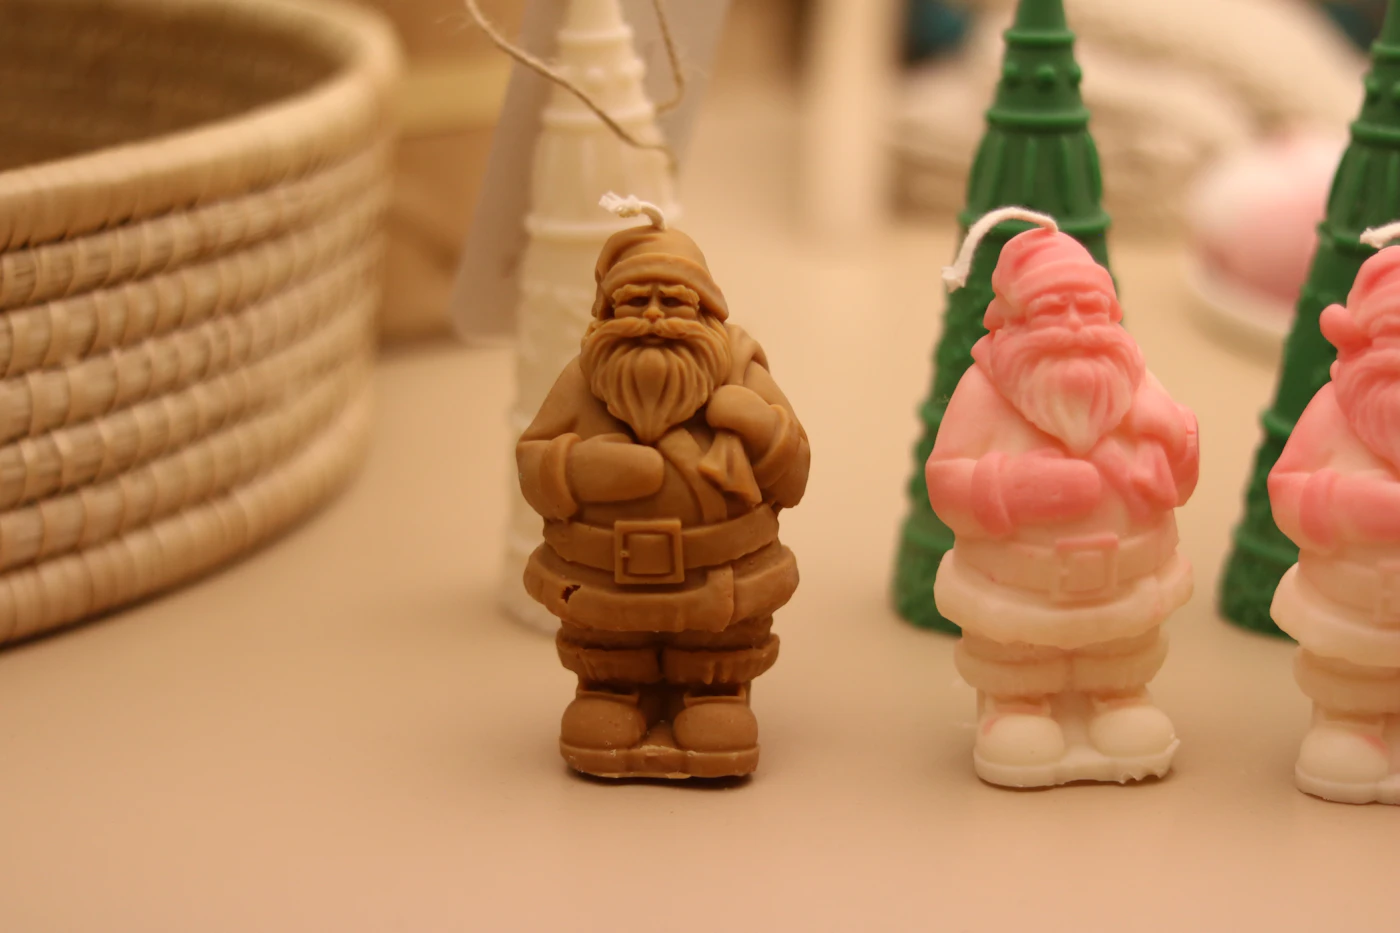
Why Container Candles Are a Good Starting Point
If you are new to candle making, starting with a container candle is the most forgiving way to learn the craft. The jar does much of the work for you. Unlike pillar or molded candles, you do not need to worry about the candle holding its own shape as it cools. The glass simply catches the wax and keeps everything neat while you practice the basics.
Container candles also remove the need for specialized molds and release agents. A clean, dry jar is your mold, and it stays as the final product. That means fewer supplies to buy upfront and less cleanup afterward. You can even save and reuse small glass jars from your kitchen, as long as they are thoroughly washed and rated for heat. Just avoid any with narrow necks or cracks.
The container itself influences how the candle behaves. Because heat builds up inside the jar, the melt pool tends to be deeper and the fragrance throw often feels stronger compared to free-standing candles. You will also want to leave the right amount of headspace at the top. If the jar is filled too high, the wick may struggle to burn properly, and the wax can get dangerously close to the rim.
Here are a few things to keep in mind as you begin:
- Choose a jar that is wider at the top than the bottom, so the candle releases easily if it ever needs to be removed.
- Keep the wick centered and straight while the wax sets, using a wick bar or a simple clothespin across the rim.
- Do not pour hot wax into cold glass; warm the jar gently first to prevent cracking.
That simple setup lets you focus on the two skills that matter most at the start: measuring wax correctly and setting the wick properly. Once those feel natural, you can move on to more elaborate designs.
Choosing the Right Wax for Your Needs
The wax you pick sets the foundation for everything else, so it is worth a little thought before you buy. Most beginners start with one of three common types: soy, paraffin, or beeswax. Each has its own personality, and none is universally “best.”
Soy wax is a favorite for container candles. It comes from soybeans, which appeals to people looking for a renewable resource. It generally has a lower melt point, meaning it melts into a pool fairly quickly when lit, and it tends to cool into a smooth, creamy surface. Soy also has a good reputation for holding fragrance, though some makers find it needs a longer cure time after pouring before the scent fully blooms. It can be softer than other waxes, so it works best in jars rather than freestanding pillars.
Paraffin wax is the old standby, and it is easy to see why. It is mined from petroleum, so it is not renewable, but it is highly predictable. It has a higher melt point than soy, which usually means a slower, steadier burn. Paraffin also takes color very evenly and tends to hold strong fragrance with little fuss. If you are after vivid dyed candles or a very classic look, paraffin is a reliable choice. Just know it is less natural than vegetable-based options.
Beeswax is the most distinct of the three. It is a natural byproduct of honey production, and it has a mild, honey-like scent all on its own. You often need little or no added fragrance. It has a high melt point, so it burns slowly and holds its shape well. It is also the hardest of the common waxes, which makes it messy to work with since it does not melt as easily and can be tough to clean off equipment.
A few general points to keep in mind:
- Higher melt point waxes generally mean longer burn times, but they also require hotter pouring temperatures.
- Softer, lower-melt waxes are easier to work with in containers but may need more careful wick selection.
- Fragrance load—how much scent oil the wax can hold—varies, but all three handle reasonable amounts if you follow basic guidelines.
For your first batch, pick one wax and stick with it until you learn how it behaves. Switching between them without adjusting your process will only cause frustration.
Wick Sizing and Placement: The Heart of Candle Performance
The wick is the most misunderstood part of container candle making. It is not a one-size-fits-all component. Its job is to create a melt pool wide enough to release fragrance without causing soot, mushrooming, or a tunnel that wastes wax. Wick size depends on a combination of your chosen wax type, the diameter of your container, and the fragrance load you plan to use. Two candles with the exact same jar but different waxes can require very different wicks.
You can test wick sizes without a lot of specialized equipment. Start by preparing identical containers with the same wax and fragrance. Then, pour a small batch and insert two or three different wick sizes in separate jars. Light them side by side and let each burn for about an hour at a time. Watch for three things: how deep the melt pool gets, whether the flame flickers or smokes, and how much carbon builds up on the wick tip. A steady flame with a full melt pool that reaches the jar’s edge before the candle is halfway done is a good sign.
- Centering matters more than you think. An off-center wick will cause uneven melting and a candle that burns faster on one side, often leading to a wasted edge of wax.
- Matches the wick to the container, not the scent. Heavy fragrance oils can affect burn behavior, but the container diameter is the primary driver for wick width.
- Trim before every burn. Keeping the wick at about a quarter-inch shortens the flame and reduces soot.
If you are new to this, buy a wick variety pack rather than guessing. Burn testing is the only reliable way to learn your setup. A wick that looks too thin in the package may still perform well if your container is narrow.
Understanding Fragrance and Color Safety
Fragrance oils and colorants made for candles are not the same as those used in cosmetics, lotions, or food. Candle-safe fragrance oils are formulated to bind with wax and release scent when heated, while many cosmetic or perfume oils can behave unpredictably in a flame. The same goes for color: regular craft paints, food dyes, or crayons are not appropriate. Always look for dyes or pigment blocks labeled for candle use. These are designed to disperse evenly through the wax without clogging the wick or creating soot.
Skin-safe does not mean candle-safe. Some products are safe on your hands but not for burning. Conversely, a fragrance oil intended for candles may contain ingredients that are fine to smell but not to apply directly to your skin. Keep your supplies separate and clearly labeled. When measuring, use dedicated tools that you reserve for candle making only.
Testing fragrance throw is a straightforward but necessary step, especially for container candles. Here is a practical approach:
- Cold throw: Smell the candle before lighting. It should have a noticeable scent, but not be overpowering or sharp.
- Hot throw: Light the candle and let it burn long enough to melt a full surface pool of wax. Wait a few minutes, then step back and assess the scent in the room.
- Adjust gradually: If the scent is weak, increase the fragrance oil slightly in your next test batch. If it smells soapy or chemical, reduce it. Small changes matter more than large ones.
Remember that wax type, wick size, and jar shape all affect how the fragrance releases. Test one variable at a time. A simple notebook with dates, wax type, oil percentage, and your impressions will save you from repeating mistakes.
If you are new to candle making, start with a plain, unscented test candle first. Once you confirm that burns cleanly and evenly, then add fragrance and color one at a time. That way, you will know what is causing any problem rather than guessing.
Your Home Setup: Tools, Temperatures, and Fire Safety
Before you melt your first batch of wax, gather the basics. You will need a double boiler setup—a dedicated pouring pitcher or metal container that sits in a pot of simmering water. A kitchen scale is essential for weighing wax and fragrance by grams, not volume. You’ll also want a heat-safe thermometer that clips to the pitcher, a stirring utensil reserved for wax work, and a way to anchor wicks, such as wick stickers or a dab of melted wax on the jar bottom.
Temperature control is the difference between a smooth burn and a wasted pour. Wax must be heated evenly and slowly. Never melt wax directly on a burner or in a microwave; hot spots can cause scorching or, worse, a fire. Let your thermometer guide every step—wax should be fully melted, then cooled to the right pouring range for the specific wax you are using. Fragrance oils have their own flash points, so incorporate them at the temperature your wax supplier recommends. If you don’t know that number, look it up before you begin.
Fire safety is non-negotiable in a home kitchen. Keep these practices routine:
- Stay in the room while wax is heating, and never leave it unattended.
- Keep a working fire extinguisher within reach, not buried in a cabinet.
- Clear your work surface of paper towels, cloth, or packaging that could drift into the heat source.
- Use a dedicated thermometer and pitcher—do not reuse them for cooking food afterward.
- Pour slowly and steadily to avoid splashes, and keep pets and children out of the room until everything is cool and solid.
If you notice scorching, smoke, or a burnt smell, shut off the heat immediately and let everything cool far from your face and hands. Melting wax is a calm, methodical process; rushing or guessing at temperatures is where accidents start. If you ever feel unsure about your equipment or your workspace, pause and reassess before proceeding.
Step-by-Step: Pouring Your First Container Candle
Start by protecting your work surface with newspaper or a silicone mat, and set out your container, wick, and wick sticker. Clean the glass or tin thoroughly with rubbing alcohol to remove dust and oils; this helps the wax and wick adhere properly. Secure the wick tab to the center of the container bottom, then wrap the top of the wick around a pencil or skewer laid across the rim to keep it straight and centered.
Next, set up a double boiler. Place your wax in a heat-safe pouring pitcher or metal melting pot, and set that inside a saucepan with an inch or two of water. Heat slowly on medium-low, stirring gently with a dedicated spoon, until the wax is fully liquid. Do not leave melting wax unattended, and do not microwave wax unless the manufacturer explicitly allows it.
Once melted, let the wax cool slightly before adding fragrance oil. Stir for one to two minutes to ensure even distribution, but avoid vigorous mixing, which creates bubbles. Carefully pour the wax into your prepared container, leaving about half an inch of headroom. Let it cool undisturbed for several hours—overnight is safest—until the surface is firm and no longer warm to the touch.
- Common error: pouring too hot can cause sinkholes or cracking as the wax contracts.
- Common error: moving the candle while it sets will leave uneven tops or ruffled edges.
After curing, trim the wick to about a quarter-inch before the first burn. This keeps the flame steady and reduces soot. Your candle needs time to cure—wax hardens quickly, but fragrance binding improves over a few days, so resist lighting it right away for the best scent throw.