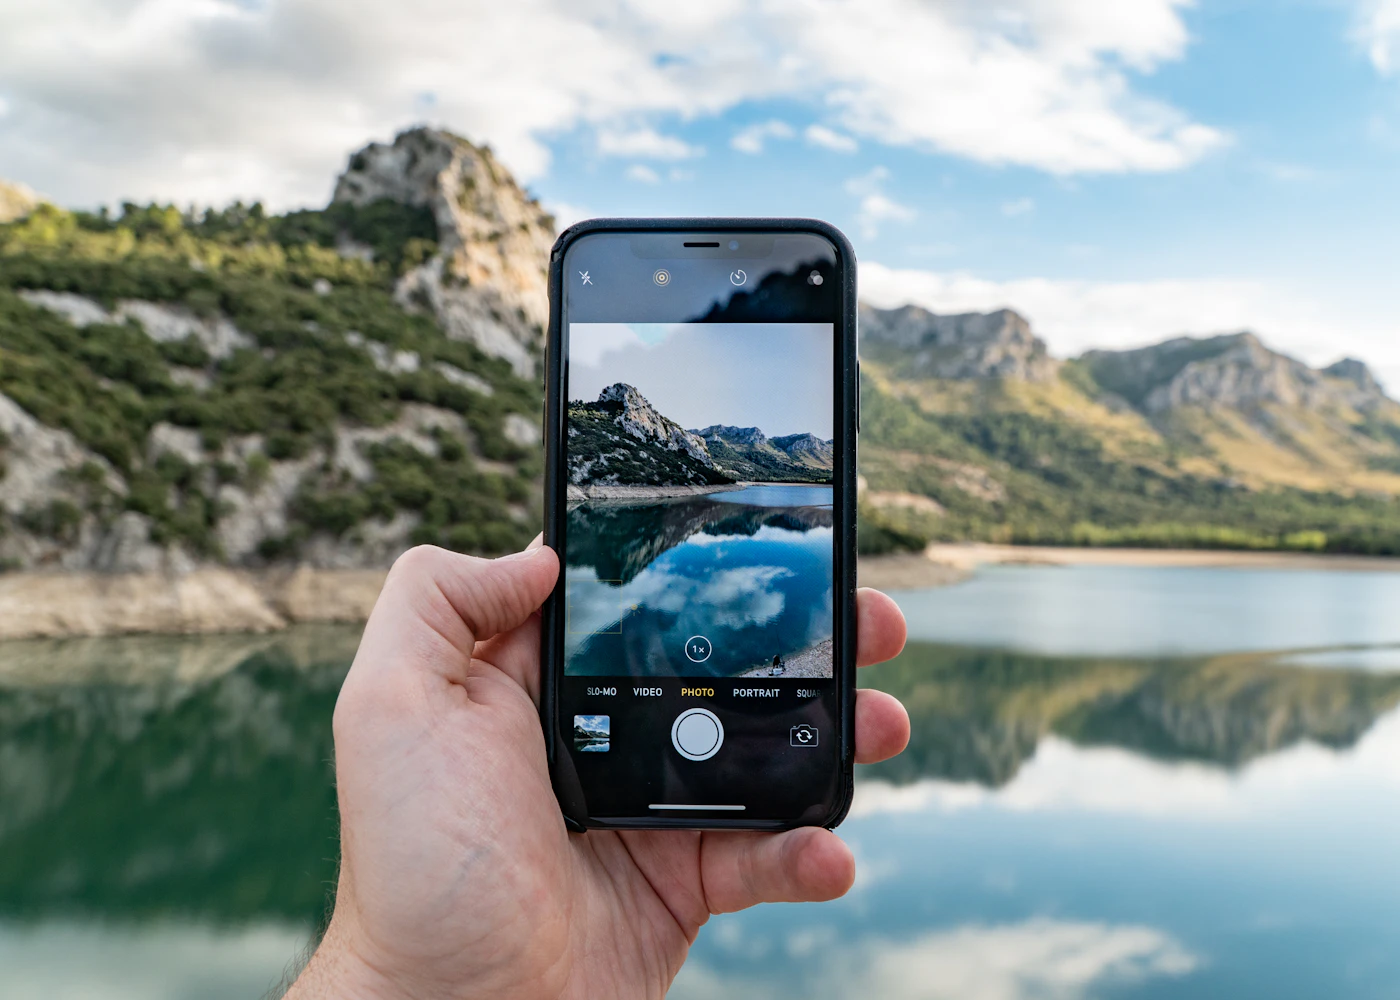
Relying on the Default Camera App Without Adjusting Settings
It is easy to open the camera, point it at the moment, and press the shutter. The phone does the thinking, and the image usually looks acceptable on the small screen. The problem is that “acceptable” is not the same as “good.” Default settings are a compromise, designed to work in average light with a moving subject. For a quiet scene or a portrait with a bright window behind the subject, that compromise often produces a flat, washed-out image or a face lost in shadow.
Before you tap the shutter, take one second to intervene. Tap the subject on the screen. That single action tells the phone what matters, and it adjusts focus and metering together. After tapping, a small sun icon usually appears next to the focus square. Drag that icon down to darken the exposure slightly, or up to brighten it. A subtle drag is often enough to keep clouds from blowing out or to pull detail out of a dark jacket. This is a safe, reversible adjustment that you can do in any light.
Also, check the resolution setting in the camera menu. The default format balances file size and quality, which is fine for social media or text messages. For a photo you plan to print or edit later, switch to the highest available resolution and, if offered, a less compressed file type. Consider this:
- Use the default format for quick sharing.
- Switch to high resolution for keepsakes.
- Review the aspect ratio; the default is often a cropped widescreen, while the full sensor captures more of the scene.
Changing these settings takes a few seconds. It does not require special tools, and there is no risk of damaging the phone. If you are unsure which option to use, keep the default for casual shots, but practice the tapping and exposure slide on your next few photos. That habit alone will improve the look of your images more than any accessory.
Ignoring Light Direction and Quality
The most common reason a phone photo looks flat or harsh has little to do with the camera itself and everything to do with the light. Overhead sun at midday creates hard shadows under eyes and noses, while mixed indoor lighting—warm lamps plus cool overhead fixtures—produces an unnatural color cast that is difficult to correct later.
Start by noticing where the light comes from before you raise your phone. Look for a window with soft, diffused daylight. Position your subject so the window is to the side, not directly behind them. This creates gentle modeling on the face and adds depth without blowing out highlights. If the light is too harsh, pull a sheer curtain across the window or move the subject a few feet back from the glass. These are safe, everyday adjustments you can make without any special equipment.
When shooting under direct sun, shift your angle so the sun is behind you and slightly to one side. Have the person turn their face toward the light rather than squinting into it. For indoor shots, turn off one light source to reduce competing color temperatures, or move closer to the dominant window and let it become your main light.
Some situations need more care. Strong backlight—a subject against a bright window or sky—will often trick the phone into darkening the face. You can try tapping the screen on the face to adjust exposure, but true backlit portraits often require HDR mode or manual edits afterward. Do not rely on your phone’s automatic settings to handle this reliably; instead, recognize when light is beyond simple repositioning and accept that post-processing may be necessary.
Check your results immediately. If highlights look washed out or shadows are muddy black, move the subject or change your position before shooting again. Light is your first tool, not something to fix later.
Overlooking Focus and Depth of Field
The most frustrating part of everyday phone photography is when the camera decides to focus on the wrong thing. In a cluttered scene or with any movement, the autofocus often locks onto the background or a passing object, leaving your intended subject soft. The fix is straightforward: tap and hold on your subject on the screen. This locks the exposure and focus so the camera stops hunting. You will see a small indicator, and the focus stays put even if you recompose the shot or your subject shifts slightly.
Many people also assume that “portrait mode” magically creates a beautiful blur. It can, but it has limits. The effect works best when you are reasonably close to your subject and there is clear separation from the background. If you stand too far away, the software has little to work with, and the blur looks fake or simply doesn’t appear.
Before you rely on software, check the actual scene. A busy background—tree branches, patterned walls, or bright signs—will fight for attention no matter how good the blur is. Here is a practical sequence to follow:
- Move your feet, not just the zoom. Step closer to reduce background clutter physically.
- Tap and hold to lock focus on the subject’s face or key detail.
- Use portrait mode only when the subject is within a few feet and the background is clearly farther away.
- If the background is still busy, change your angle. Kneel, step left or right, or shoot from a higher position to find a cleaner line of sight.
True background blur depends on physical distance, not just a setting. The closer you are to your subject and the farther the background is from them, the softer that background naturally becomes. Managing that distance—with your own movement—is the most reliable way to get the look you want without relying on software tricks or waiting for a perfect scene.
Composing Every Shot with the Subject Dead Center
The quickest way to make an otherwise good photo feel flat is to place your subject smack in the middle of the frame every time. While centering can work for portraits or symmetrical architecture, relying on it for every shot removes the eye’s natural path through the image. The result is a static snapshot rather than a photograph that holds attention.
A useful starting point is the rule of thirds. Most phone cameras offer a grid overlay in the settings. Turn it on and place your subject along one of the vertical lines or at one of the four intersecting points. This simple shift gives the image breathing room and often makes it feel more balanced without any extra effort.
You can also guide the viewer’s eye with what is already around you. Look for roads, fences, railings, or shadows that lead toward your subject. Position yourself so these lines start at the edge of the frame and point inward. Another easy trick is to use a foreground object—a tree branch, a doorway, or a low wall—to frame the subject. This adds depth and makes the photo feel intentionally composed rather than accidental.
Practice these techniques one at a time. Do not try to use all of them in a single shot. Pick one idea, take a few frames, and review them on your phone. The goal is to build a habit, not to complicate every moment you want to capture.
One caution: resist the urge to fix a poorly composed shot by cropping heavily in editing. Aggressive cropping quickly reduces image resolution and can leave your photo looking soft or pixelated. It is far better to move your feet or adjust your angle at the time of capture. A well-composed original file will always be more useful than a heavily cropped version later.
Using Digital Zoom and Flash Incorrectly
It is tempting to pinch the screen and zoom in on a distant subject, but digital zoom does not actually bring you closer. Instead, the phone simply crops into the existing image and enlarges the pixels. The result is a softer, grainier photo that often looks worse than a straight shot you could have trimmed later. The straightforward fix is to move your feet. Walk closer to the subject when it is safe and practical to do so. If you cannot get near, take the photo without zooming and crop it afterward in your editing app. You will have more control over the final composition and will not be stuck with extra digital noise baked into the file.
The built-in flash is another common source of disappointment. In a dark room, the flash often fires directly at the subject, creating harsh shadows, washed-out skin tones, and the familiar red-eye effect. The flash is rarely your best option for general indoor shots. It is more useful as a fill light when the subject is in shadow but the general scene is still fairly bright, such as on a porch in late afternoon or beside a window on a cloudy day.
- Keep the flash off in dim but not pitch-black conditions; look for available window light or lamps.
- When you truly need extra light, turn on your phone’s torch and hold it off to the side, or ask someone else to hold their phone’s light at an angle.
- If you must use the flash, move a few steps back and let the camera focus and expose before shooting.
Simple setups with another light source will give you a softer, more natural result without the flat, harsh look of the built-in flash.
Skipping Editing or Overdoing Filters
The most common phone photo mistake is treating editing as an all-or-nothing decision. You either upload a flat, lifeless image straight from the camera, or you drown it in a preset that turns skin orange and skies neon. Neither serves your subject. The fix is not avoiding editing altogether; it is learning a short, restrained sequence of corrections.
Start with the basics in any free editing tool on your phone. Adjust exposure first if the image is noticeably dark or washed out. Then nudge contrast to add depth without crushing the shadows. Finally, check the white balance—a simple temperature slider helps remove a blue or yellow cast from indoor lighting. These three moves correct the camera’s limitations rather than mask your subject.
Then stop. Do not touch the saturation slider beyond a slight increase, and avoid HDR presets that create an artificial glow around edges. Heavy filters kill the subtle color shifts that make a photo look real. If you are tempted to use a “vivid” setting, dial it back by at least half.
A second warning: only edit a photo that is worth keeping. If the original was taken at low resolution or heavily cropped, aggressive editing amplifies noise and makes the image look gritty or smeared. A slightly imperfect, clear photo beats a heavily processed mess. When in doubt, perform only the exposure and white balance corrections, then save the file as a new copy so you keep the original untouched. That gives you a clean base to revisit later without losing quality.