Match The Trail To Your Current Fitness
Choosing a hike that fits your usual activity level is the single best way to ensure a comfortable day outside. Trail ratings—easy, moderate, or strenuous—are helpful, but they are relative. A “moderate” trail in one region can feel very different from the same rating elsewhere.
Before you commit, look at the three key numbers on any trail description:
- Distance: Round-trip mileage matters more than one-way distance. Double it before you estimate time.
- Elevation gain: This is the total feet you will climb. A short hike with steady climbing can be harder than a longer, flatter one.
- Terrain: Rockiness, root density, and exposure to sun or wind change the effort required. A smooth dirt path is not the same as a boulder field.
Be honest with yourself about stamina and any health conditions. If you are just starting out or returning after a break, pick a trail that feels almost too easy on paper. A shorter, gentler hike that leaves you wanting more is a win. You can always add distance or elevation next time. Trying to push through a hike that is above your current level usually leads to discomfort, fatigue, and a long afternoon of counting steps.
Use your own experience as the baseline. If you regularly walk a few miles on pavement, start with a trail of similar length but expect to move slower on uneven ground. Plan for breaks, carry extra water, and allow more time than you think you need. The goal is not to finish fast—it is to finish comfortable and eager to plan the next one.
Understand The Terrain And Elevation
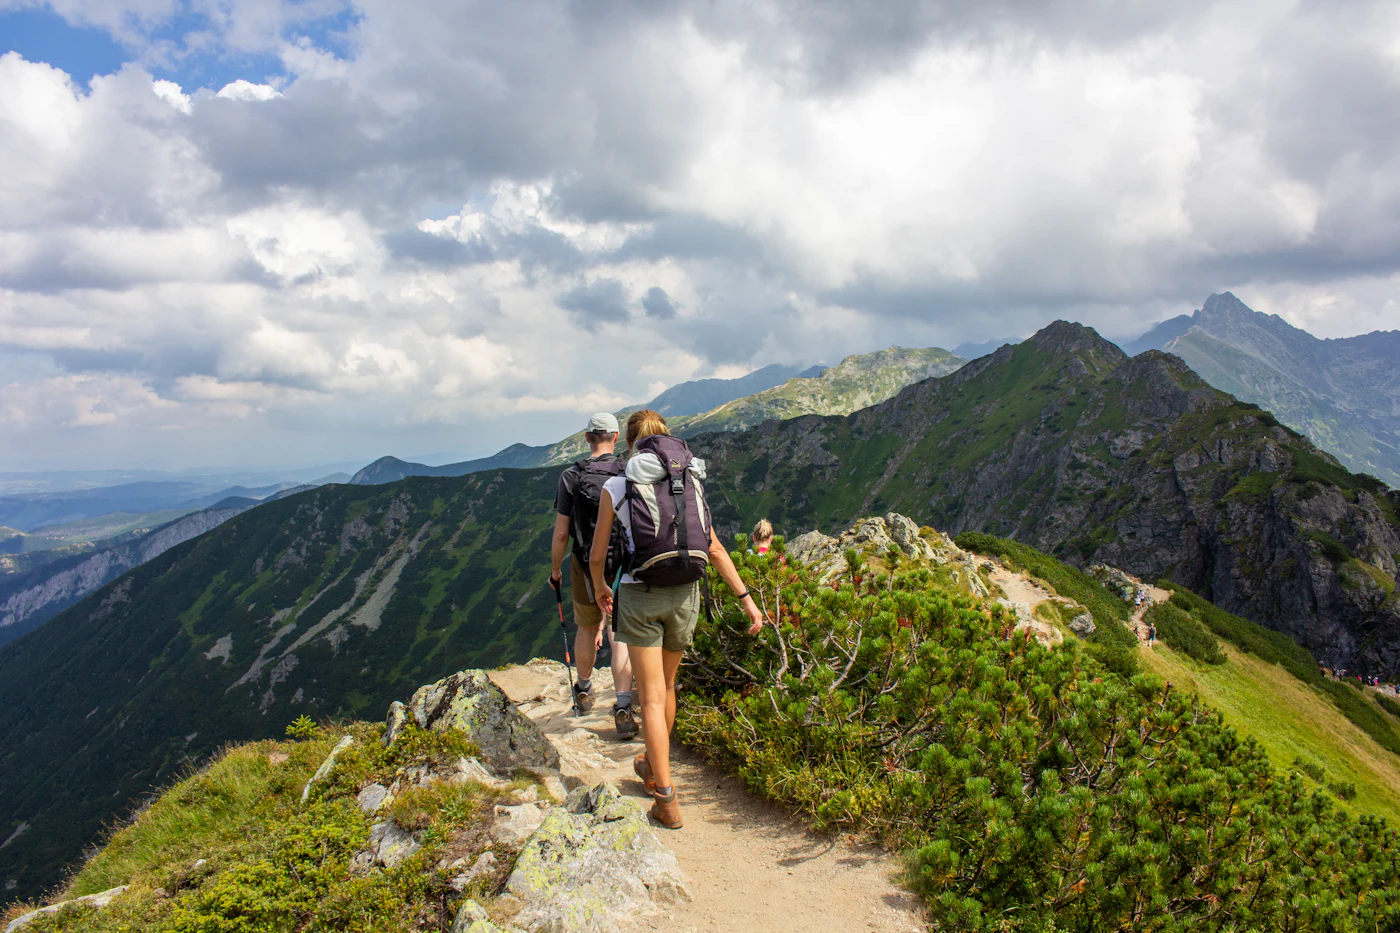
Trail descriptions often mention rocky paths, exposed roots, steep sections, or river crossings. These details matter more than total mileage because they directly affect your footing and energy. A flat, smooth three-mile walk feels very different from three miles of uneven, climbing trail. Before you go, take time to read the full trail notes and look for terms like “scramble,” “switchbacks,” or “washouts.”
Elevation gain affects effort more than distance. A steady climb over a long stretch is usually easier than a short, steep pitch, but both will raise your heart rate and slow your pace. Learn to read a topographic map or use a trail app that shows an elevation profile. Look for the total gain and the shape of the climb—a sharp upward line early in the hike means you will be working hard before you warm up.
Underfoot conditions also influence comfort. Loose gravel, slick rock, mud, or wet leaves all require slower, more careful steps. For rougher terrain, sturdy footwear with good tread helps more than extra cushioning. Trekking poles can reduce strain on your knees during descents and improve balance on uneven ground.
- Check the elevation profile before choosing a route.
- Expect rocky or rooted sections even if the overall trail is rated easy.
- Allow extra time for slow, deliberate movement on slippery or loose surfaces.
- If you are unsure about a technical section, plan to turn around rather than push through.
For anything beyond a well-marked, maintained path—such as off-trail travel or significant exposure—consult a qualified guide or local ranger station. Your comfort depends on matching the terrain to your current ability, not just the distance.
Check The Weather And Plan For Changes
Weather in the outdoors can shift faster than most forecasts suggest, especially in mountains, along ridgelines, or near large bodies of water. Before you commit to a route, look at conditions not just for the trailhead but also for the highest elevation you plan to reach. A sunny start at the car does not mean the summit will be warm or dry.
When reading a forecast, pay attention to four things: temperature range, wind speed, chance of precipitation, and how those change through the day. Wind is often the factor people underestimate. It can make a 60-degree morning feel much colder, and it can arrive suddenly in exposed areas. Precipitation matters less for its total amount and more for what it does to traction, visibility, and your body temperature once you are wet.
Use the forecast to build a packing list, not just to pick a start time. If the afternoon calls for a chance of showers, bring a lightweight rain layer even if the morning is clear. If wind speeds are high, add an insulating mid-layer even when the air feels mild at home. A comfortable hike depends on being able to adapt while you are out there.
- Check forecasts from at least two sources, and look for the “hourly” breakdown instead of just the daily high and low.
- Plan your turnaround time around the worst expected weather, not the best.
- Always carry a backup plan: a shorter loop, a lower-elevation alternative, or a designated stopping point where you can wait out a passing storm.
Treat the forecast as a guide, not a guarantee. If skies look unstable, adjust your route or your expectations before you leave. Turning back early is never a failure; it is a decision that keeps the day comfortable and safe.
Pack The Essentials For A Day Hike
Your daypack should cover the basics beyond water and snacks, but it does not need to be heavy. Think in terms of layers, sun protection, first aid, and navigation. Each item earns its place by solving a likely problem, not by filling space.
- Layers: Weather can shift quickly, especially with elevation or shade. A light base layer, an insulating mid-layer, and a waterproof shell give you options. Add or remove as you warm up or cool down.
- Sun protection: Sunscreen, sunglasses, and a wide-brim hat are non-negotiable, even on overcast days. Reapply sunscreen as the day goes on, particularly if you sweat.
- First aid basics: Carry adhesive bandages, blister care, antiseptic wipes, and any personal medication. You do not need a full medical kit for a day trip, but you should be able to handle minor scrapes and hot spots.
- Navigation: A physical map and a compass are lightweight and dependable. A phone with a downloaded map is useful, but it can lose power or signal. Know how to use what you carry before you leave.
- Extras: A headlamp with fresh batteries, a small repair kit, and a whistle add negligible weight and can be essential if plans change.
To lighten your load, consider a hydration reservoir instead of multiple bottles—it reduces weight carried in your hands and balances the pack. For food, choose trail snacks that need no cooking, such as nuts, dried fruit, or energy bars. These provide steady fuel without requiring extra gear or stove time.
A well-packed pack should feel organized and snug against your back. If you are unsure about fit or loading, check with an outfitter or an experienced hiker before you head out. For any safety questions about terrain, weather, or your health, ask a qualified professional.
Time Your Hike For Comfort And Light
Start early. A morning departure keeps you ahead of the day’s heat and, in many regions, gives you a better chance to finish before afternoon thunderstorms develop. Early light is also easier on your eyes, and trails are usually quieter.
To estimate your finish time, begin with a realistic pace. On flat, well-maintained trails, most hikers move faster than they expect. On rocky, steep, or uneven ground, slow down and plan for it. Your own fitness level matters more than any general rule, so be honest about how you feel after an hour of steady walking.
Use this simple approach:
- Pick a comfortable pace for the first mile or two, then adjust based on how your body responds.
- Add at least 10–15 minutes of rest for every hour of hiking. That covers water breaks, snacks, and short photo stops.
- For steep climbs, double your usual time per mile. Descending can be slower on your knees, so do not assume it is always faster.
Once you have a rough finish time, add a buffer of at least one hour. This safety margin accounts for unexpected muddy sections, a longer lunch, or simply needing to slow down. Compare your adjusted finish time against daylight hours, and turn around at a set time—not a set destination—if you are running late. A comfortable hike ends with light to spare, not a race against sunset.
Know Your Limits And Turn Around In Time
The most comfortable hike is the one where you still have energy to enjoy the drive home. That means planning a decision point before you leave the trailhead, not just a destination. A good rule of thumb is to set a specific clock time to turn around regardless of how far you have come. Choose this time based on three factors: your usual energy level, how much water you are carrying, and the remaining daylight for the trip back.
When the trail is tougher than expected or the weather turns, adjust your plan early. It is far easier to shorten a hike than to push through a bad stretch. You are not giving up; you are making a smart choice for your own comfort.
- Watch your feet: Frequent stumbling or heavy footfalls are often the first sign that your legs are tiring.
- Check your water: If you have drunk more than half your supply before the turnaround point, slow down and plan a shorter loop.
- Listen to your head: A dull headache, chills, or feeling unusually warm despite a breeze can signal dehydration or overheating, even if you do not feel thirsty.
- Use the “talk test”: If you cannot speak in full sentences without gasping, you are pushing too hard for a comfortable day.
When you reach your set time, stop. Turn around even if the next viewpoint looks close. The trail will still be there another day, and the memory you want is of a relaxed outing, not a survival story. If conditions change after you turn back, such as a sudden drop in temperature or a heavier pack than planned, take a short break to reassess. It is always acceptable to refine your plan mid-hike as long as you prioritize getting back to the trailhead with a margin of comfort to spare.