Start With a Clear Floor and Work Surface
Before you can decide what stays, you need to see what you actually have. The first move is to lift everything off the floor and clear the desk completely. This means books, papers, spare cables, coffee mugs, and the stack of mail that has been sitting by the monitor. Put it all somewhere else for now—a spare table, a cleared section of the bed, or even a few sturdy boxes on the floor of the hallway. The goal is a bare room and an empty desk surface.
With the space cleared, you get a realistic sense of what you are working with. You might notice scuff marks on the floor, a layer of dust on the desk, or that the trash can is tucked where you can barely reach it. Take a few minutes to wipe down surfaces and sweep or vacuum. This clean canvas makes the next step—sorting—much easier.
Once the room is empty, bring items back in three broad groups:
- Keep: Things you use at least once a week and have a logical home for.
- Relocate: Items that belong elsewhere in the house, like books for the living room shelf or dishes from lunch.
- Remove: Trash, recycling, and anything worn out or clearly broken beyond repair.
Work in passes rather than trying to finish everything in one sitting. Start with the obvious trash and relocation pile, then handle the keep pile in smaller batches. With the floor and desk clear, you will find it much easier to assign each item a proper home without stacking new clutter on top of old.
Sort Into Four Simple Categories
When a home office is tight on space, the fastest way to get stuck is to ask yourself, “Do I need this?” for every single item. That question is too broad and leads to second-guessing. Instead, set up four boxes or bags and label them clearly: Keep, Toss, Donate, and Relocate. This simple split keeps your decisions quick and practical.
- Keep: These are items you used in the last month or two and actively reach for during a typical workweek. This includes your keyboard, a current planner, reference binders, and everyday pens.
- Toss: Old receipts, dried-out markers, broken cables, and worn-out folders go here. If it’s clearly junk and past its useful life, don’t give it another thought. Tear up anything with sensitive information first.
- Donate: This is for items that still work well but no longer fit your routine. Maybe it’s a printer you rarely use, books you’ve already read, or office supplies that were gifted and never opened. If it’s in good condition, someone else can use it.
- Relocate: These are things that belong in your office but not on your desk or in the immediate work area. Think of family photos, seasonal supplies, or extra paper stock. Move them to a shelf, closet, or storage bin outside the room to free up your primary surfaces.
Work through one drawer or one shelf at a time, not the whole room at once. Once you finish a section, immediately take the toss bag out to the trash and put the donate box in your car or by the front door. The relocate pile goes straight to its new spot. Keeping the categories separate from the start stops you from re-sorting the same stack twice and gives you a clear sense of what actually earns a place in your workspace.
Use Vertical Space for Storage
When the floor is full, the walls are your next best surface. A home office with limited square footage usually still has plenty of unused wall area above desk height. Putting that space to work clears off your work surface and keeps everyday items within easy reach.
Start with floating shelves above the monitor or along an empty wall. Use them for items you reach for regularly but don’t need on the desk itself: a small lamp, notebooks, a mug of pens, or a stack of current files. Keep the shelves shallow enough that things don’t get lost behind one another, and leave a little breathing room between objects so the display doesn’t feel crowded.
Wall-mounted organizers are another strong option. A small pegboard or a set of hooks can hold scissors, headphones, or a calculator, while a slim file holder attached to the wall keeps active paperwork upright and off the desk. Over-door racks work well on the back of the office door for supplies like paper, envelopes, or cleaning wipes. These racks are useful but can swing or catch on the doorframe, so check that the door closes freely before loading them up.
- Mount shelves at a height you can reach without straining, especially if you’ll use them daily.
- Group items by how often you need them, not by how nice they look.
- Use clear bins or labeled baskets on shelves so you can find things without pulling everything down.
Anchor anything wall-mounted into studs or use appropriate drywall anchors. If you’re unsure about the wall type or the weight a fixture can hold, it’s worth getting a second opinion from a hardware store or a handy neighbor. A little planning here means your walls do the heavy lifting, and your desk stays clear for the actual work.
Create a Daily Reset Routine
A five-minute reset at the end of your workday does more for a small office than a full weekend purge ever will. The goal is simple: return the room to a neutral state so you start fresh tomorrow. Choose a consistent trigger, such as finishing your last email or shutting down your computer, and work through the same three zones each evening.
Begin with the desk surface. Set aside any coffee mugs or water glasses and take them to the kitchen. Toss obvious trash, then group loose pens, sticky notes, and other tools into a single tray or cup. If an item has not been used in a week, it probably does not need to live on the desktop at all.
Next, sort the paper pile. This is rarely a deep filing session. Instead, create two simple outcomes: recycle what is clearly outdated, and place anything that still needs action into a single, labeled tray. Resist the urge to read every page during the reset; scanning for a date or a bold heading is enough for now.
Finally, put supplies back where they belong. Scissors, staplers, and charging cables tend to drift. Assign each item a home inside a drawer or on a shelf, and spend a minute returning them before you log off.
- Keep one tray for "to-do" paper and nothing else.
- Wipe down the keyboard and mouse only if you notice visible marks.
- Leave a small empty spot in the center of the desk as a visual cue that the day is done.
A nightly routine like this works because it is short and repeatable. Over a few weeks, it becomes automatic, and the clutter never gets a chance to accumulate in the first place.
Go Paperless for the Most Common Files
The biggest space hog in most home offices isn’t the equipment—it’s the paper. Old bills, tax records, instruction manuals, and reference printouts pile up because they feel too important to toss. The goal is not to eliminate every sheet but to get the bulk of it out of your immediate work area.
Start with a simple sorting rule: keep only what you handle weekly or monthly within arm’s reach. Everything else moves to a scanner or a storage box. For documents you need to keep for records but rarely touch—past tax returns, paid invoices, warranty paperwork—scan them at a comfortable resolution and save them with clear file names like “2023-Tax-Return” or “Fridge-Warranty-2021.”
Set up a folder system on your computer or cloud drive that mirrors your physical files: one for household, one for finance, one for work, one for medical. Spend twenty or thirty minutes a week on this, not a whole weekend. A portable sheet-fed scanner works well for most pages. If you don’t have one, a flatbed scanner or even a clear photo on your phone is fine for short documents.
- Remove staples and paper clips before scanning—they jam feeders and damage originals.
- Shred anything with account numbers or personal identifiers after you confirm the scan is readable.
- Keep a single, slim binder for active documents you sign often, like current contracts or school forms.
For the rare items that must stay in original form, such as a signed lease or a vehicle title, use one accordion file or a fire-resistant envelope. Label it clearly and store it in a drawer or closet away from your desk. Once your digital copies are saved and backed up, you can recycle the paper without a second thought.
If you are unsure whether a document is legally required in hard copy, check with the issuing agency or a relevant professional. Do not guess on items related to property, estates, or ongoing legal matters. For everyday mail and routine bills, paperless statements and online confirmations are widely accepted, but verify what your own providers offer.
Keep Only What You Use and Love
The final step in reclaiming your home office is to stop treating it as a storage room and start treating it as a workspace. Once you have cleared the obvious trash and sorted the piles, go through what remains with a stricter eye. The goal is a minimal set of tools and decor—enough to work comfortably, but not so much that dust gathers on things you rarely touch.
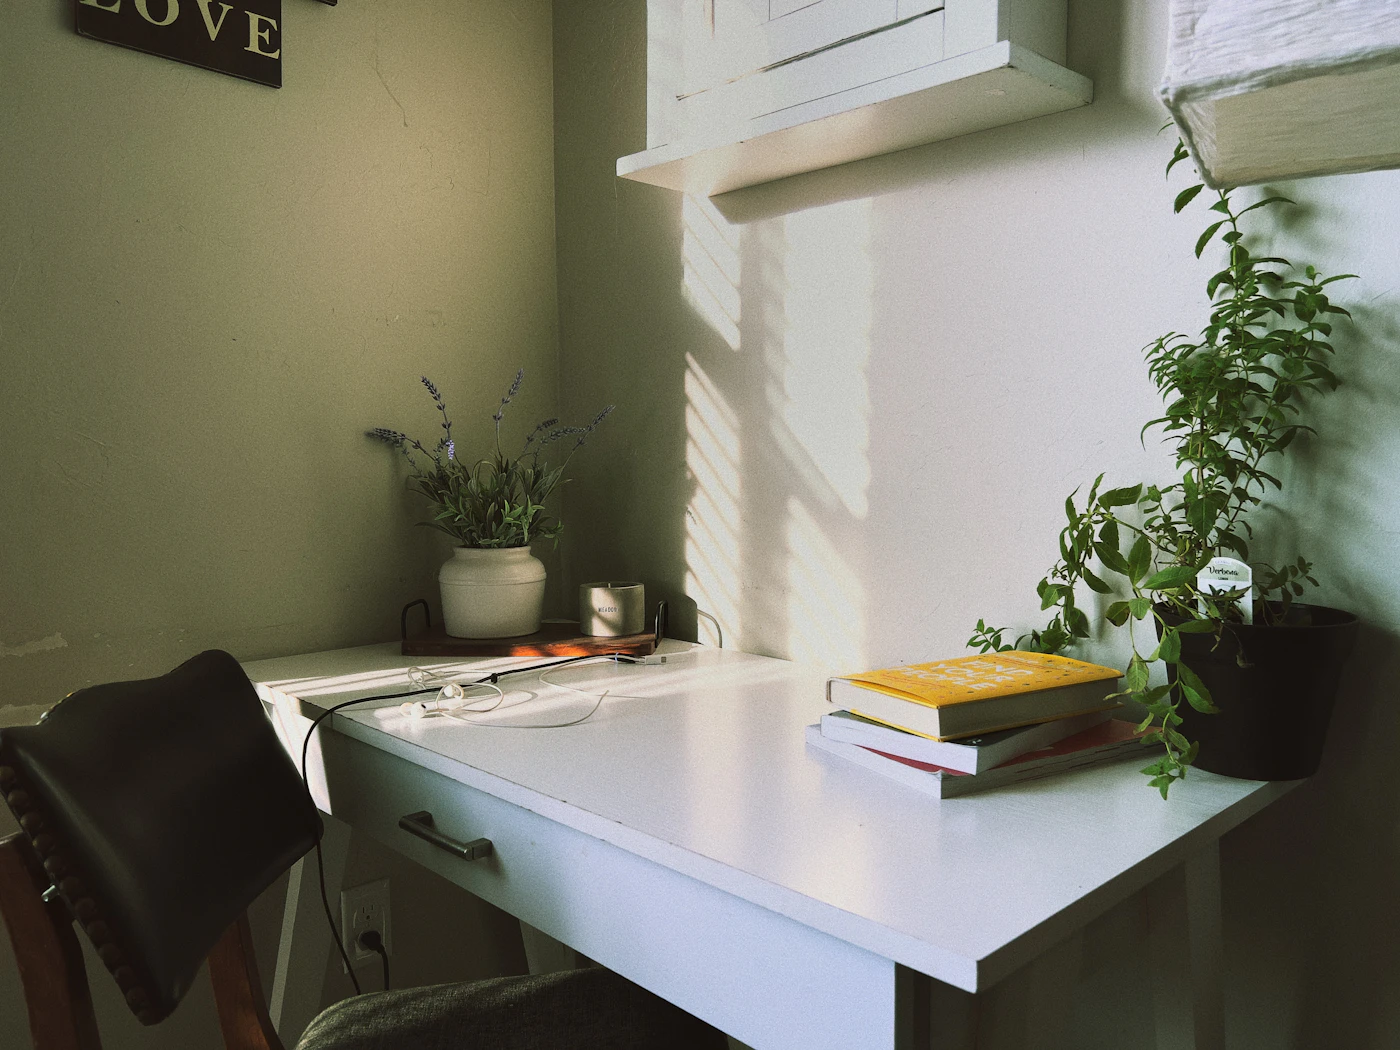
Begin with the desk surface. If you haven’t used a particular stapler, paperweight, or decorative tray in the last month, it probably doesn’t need to sit in front of you. Keep within arm’s reach only the items you reach for daily: a pen, a notepad, your keyboard, and a mug for coffee or water. Everything else can move to a drawer or a shelf.
For decor, apply the same rule. A framed photo, a small plant, or a single piece of art can make the room feel yours without adding visual noise. If a shelf holds more than three or four decorative pieces, consider removing the extras. You should not need to dust around a collection of objects you walk past without noticing.
Practical benefits follow quickly. A clear desktop wipes down in under a minute. With fewer objects, you will also spot stray paperwork or a dropped paper clip sooner. To keep it that way, adopt a simple habit: once a week, take five minutes to return pens, chargers, and notebooks to their designated spots. When everything has a home, the clutter cannot silently rebuild itself.