Before You Start: Know Your Floor's Finish
The single most important step before you touch a mop or a spray bottle is identifying the finish on your hardwood floors. This is not a formality—it is the difference between a routine cleaning and a costly mistake. Many homeowners assume all wood floors are the same, but the protective top layer dictates what products are safe to use.
There are two broad categories: surface finishes and penetrating finishes. Surface finishes, such as polyurethane or modern water-based sealers, sit on top of the wood and form a waterproof barrier. Penetrating finishes, like wax or certain oils, soak into the wood and leave it more porous. If you treat a waxed floor with a water-based cleaner, you can dull the surface or leave streaks that are difficult to remove. Conversely, using a wax product on a polyurethane floor can leave a cloudy film that attracts dirt.
Here is a simple, safe way to identify your finish:
- Place a few drops of room-temperature water on an inconspicuous area, such as inside a closet or under a rug.
- Wait about ten minutes.
- If the water beads up and stays on the surface, you have a surface finish. If the water soaks in, darkens the wood, or leaves a mark, you have a penetrating finish.
If the water soaks in, stop cleaning immediately and use only products labeled specifically for waxed or oiled wood. For a surface finish, you can proceed with a damp—never wet—mop. Knowing this first prevents you from using the wrong method and needing a costly refinishing job later. When in doubt, check with the floor installer or a local flooring professional before you begin a deep clean. This small step protects your floors and your effort.
Everyday Maintenance: Dusting and Sweeping Done Right
For day-to-day care, your goal is to remove loose grit before it can scratch the finish. A soft-bristle broom or a microfiber dust mop works well on most hardwood surfaces. The key is to use light, even strokes and to sweep in the direction of the floorboards when you can. This helps lift dust from the slight grooves between planks without forcing debris deeper.
Vacuuming is also perfectly safe, provided you turn off the beater bar or rotating brush. Most modern vacuums have a hard-floor setting or a dedicated brush attachment. Using this mode ensures the vacuum relies on suction alone, which protects the finish from scuffs. If you are unsure whether your vacuum has this setting, simply use the bare-floor attachment that comes with the machine.
High-traffic entryways deserve extra attention. These areas collect dirt, sand, and tiny pebbles from shoes, and these are the primary culprits behind dull patches and fine scratches. A quick daily sweep of the entry mat and the first few feet of flooring will make a bigger difference than a deep weekly clean.
Here is a simple routine that keeps things manageable:
- Morning or evening: Give entryways and kitchen paths a two-minute sweep with a soft broom.
- Twice a week: Run a microfiber dust mop over the main living areas to capture fine dust.
- Once a week: Vacuum all hardwood floors using the hard-floor setting, paying attention to corners and baseboards.
Remember, dry methods are your first line of defense. They remove the abrasive particles that wet cleaning simply pushes around. Save any liquid cleaner for a separate, less frequent step, and always check that your cloth or mop head is only slightly damp, never wet.
The Gentle Wet Clean: When and How
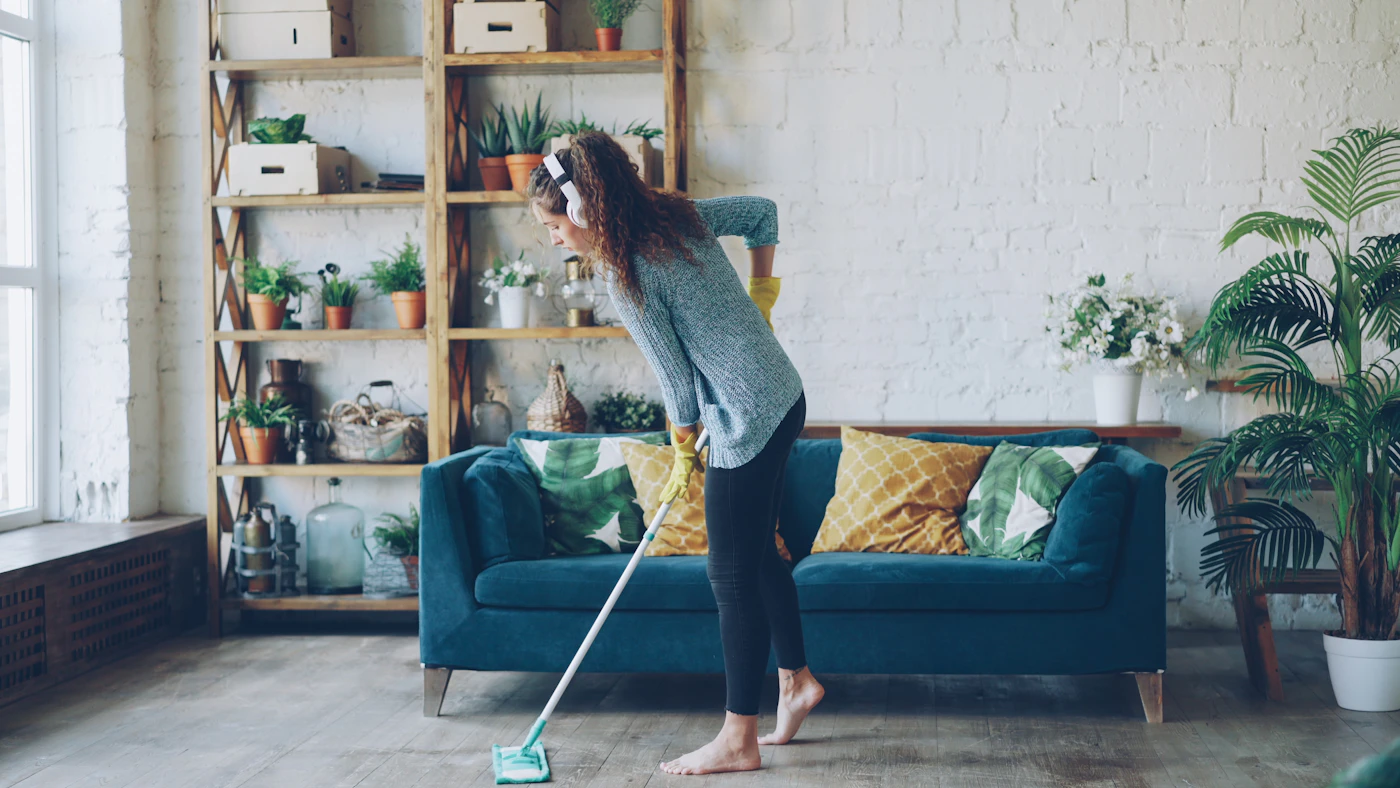
Even the most careful sweeping routine will eventually hit its limit. A dry cloth or vacuum picks up dust and grit, but it won’t dissolve sticky spots, dried-on juice, or the dull film left by foot traffic. That’s when a damp mop becomes necessary. The key word is damp, not wet.
Before you reach for a bucket, check the floor’s finish. If water beads up and sits on the surface, you have a sealed floor that can tolerate a light wet cleaning. If water sinks in or darkens the wood quickly, stop. That floor needs professional attention, not a mop.
When a wet clean is appropriate, keep the solution simple. A mild pH-neutral floor cleaner is a good choice, or you can add a few drops of dish soap to a bucket of warm water. Avoid vinegar, ammonia, or any product labeled for “shine” or “polish.” These can dull the finish over time or leave a residue that attracts more dirt.
For the best technique:
- Use a well-wrung microfiber mop, so it feels barely damp to the touch.
- Work in small sections, starting at the far corner of the room and moving toward the exit.
- Rinse and wring the mop frequently, as dirty water leaves streaks.
- Dry any visible puddles immediately with a clean, soft cloth.
Do not flood the floor or leave it wet overnight. Standing water is the fastest way to warp boards and lift finishes. If you notice a mop leaving beads or puddles, you are using too much liquid. Wring it out more, or switch to a spray mop that lets you control the amount.
In most homes, a gentle damp clean once per week, or even every other week, is plenty. The rest of the time, stick to dry sweeping and spot cleaning. Less moisture genuinely is more when it comes to protecting hardwood for years to come.
Dealing With Spills and Stains: Immediate and Stubborn
The first rule of hardwood floor care is speed. The longer a liquid sits on the finish, the more time it has to seep into seams and dull the surface. When a spill happens, grab a clean, dry cloth or paper towel immediately. Blot the area firmly, working from the outside edges toward the center. Do not rub. Rubbing pushes the liquid deeper into the grain and can abrade the finish, leaving a cloudy patch that is harder to fix than the original spill.
For most everyday accidents—a splash of coffee, juice, or wine—blotting followed by a wipe with a slightly damp microfiber cloth is all you need. Follow with a dry pass to remove moisture. For food that has dried or left a sticky residue, use a plastic scraper or your fingernail to gently lift the solids before wiping. Avoid metal tools, which scratch.
Pet accidents require more attention because the liquid carries odor and can stain if left. Blot up as much as possible, then clean with a solution of mild dish soap and water, applied sparingly with a soft cloth. Rinse the cloth and wipe again with plain water to remove soap film, then dry thoroughly. If an odor persists, you may need a finish-safe enzyme cleaner, but test any product in an inconspicuous corner first.
For stubborn stains like dark water rings or set-in spots, a gentle paste of baking soda and water can help. Apply the paste to the stain, let it sit briefly, then rub with a soft cloth in the direction of the wood grain. Wipe clean and dry. If the stain remains after a couple of attempts, it has likely penetrated the finish. This is a refinishing job, not a cleaning task. Call a professional rather than resorting to abrasives, which will strip the floor’s protective layer and create a bigger problem.
Keep a dedicated spill kit—cloth rags, a plastic scraper, and baking soda—near your cleaning supplies so you can respond without hunting for tools.
Common Mistakes That Damage Hardwood
Many routine cleaning habits can slowly strip the finish from hardwood floors, leaving them looking dull and vulnerable to moisture. Knowing what to avoid is just as important as knowing what to use.
- Vinegar solutions. Despite its popularity as a natural cleaner, vinegar is acidic. Over time, repeated use can etch and dull the protective finish, making the wood more susceptible to stains and wear.
- Steam mops. Steam forces heat and moisture deep into the wood grain. This can cause boards to swell, cup, or warp, and it can break down the adhesive holding planks together. If the finish has any micro-cracks, the moisture will find them.
- Excessive water. A soaking wet mop leaves puddles that seep into seams and edges. This is a leading cause of discoloration, raised grain, and peeling finish. Hardwood should always be cleaned with a barely damp cloth or mop.
- Abrasive scrubbers. Steel wool, scouring pads, and stiff-bristled brushes create micro-scratches on the finish. These tiny scratches accumulate into a hazy film that reflects light poorly and gives the floor a worn look long before its time.
- Wax-based sprays. Many dusting sprays leave a waxy residue that attracts dirt and dulls the surface. This buildup is difficult to remove and can interfere with future recoating or refinishing, requiring extra labor to strip away.
The damage from these methods is often cumulative. While the floor may not look ruined after one cleaning, the finish gradually loses its integrity. Once the topcoat is compromised, the wood itself is exposed to daily foot traffic and spills. For routine maintenance, stick to dry dusting or a vacuum designed for hard surfaces. When a damp mop is needed, use one that is well wrung out, and move with the grain of the wood to minimize water contact time.
When to Call a Professional and How to Prevent Wear
Most cleaning is simple maintenance, but the finish itself has a lifespan. You’ll know it’s time for professional help when the floor stops responding to regular care. Dull, hazy patches that don’t lift with a proper cleaning solution often mean the topcoat has worn thin. If you see scratches that catch a fingernail, or if individual planks have a hollow or dipped look (called cupping), the wood itself may be compromised. These are signs that a screening and recoat, or a full sand and refinish, is needed—work best left to someone with the right equipment and experience.
Attempting a DIY refinish on a floor that has deep scratches or moisture damage is rarely successful. It creates a patchy appearance and can trap contaminants under a new layer of finish. A professional will assess the thickness of the wood, identify the existing finish type, and match the appropriate coating for your household conditions.
To extend the time between refinishing jobs, a few simple habits matter more than any special product:
- Protect high-traffic paths. Use area rugs in hallways, in front of sinks, and near entryways. They catch grit before it hits the finish.
- Use felt pads on all furniture legs. Check them regularly and replace them when they become dirty or worn through.
- Control humidity. Wood expands and contracts with moisture. Use a dehumidifier in humid summers and a humidifier in dry winters to keep the planks stable and prevent gaps or warping.
- Keep entry mats outside and inside. A two-mat system is the most effective way to reduce the sand and soil that causes fine scratches.
These measures won’t make the floor immortal, but they will dramatically slow the dulling process, allowing you to clean less aggressively and refinish less frequently.