Why Seasonal Storage Feels Overwhelming (and How a Checklist Helps)
Seasonal clothing storage has a way of sneaking up on you. One weekend, the closet is fine; the next, you are staring at puffy coats next to sundresses, and the whole room feels cramped. The stress rarely comes from the clothes themselves. More often, it comes from not having a clear starting point. Without a routine, your brain has to make dozens of small decisions at once: What stays? What gets washed? Where does this hat go? That mental load makes the job feel bigger than it is.
A checklist works well because it removes the guesswork. Instead of viewing storage as one giant project, you break it into flat, repeatable steps. Clear off the bed. Pull out the out-of-season bin. Sort by category, not by outfit. Wipe down the shelf. Zip the bag. Write the label. Each item is small enough to finish without losing momentum.
This approach also helps with decision fatigue. When you follow a list, you are not rethinking the process each season. You are simply executing a system that already works. Over time, the checklist becomes a sustainable habit rather than a dreaded annual event.
To keep it realistic, focus on one drawer or one bin at a time. If you only have twenty minutes, complete one step and stop. The goal is progress, not perfection.
- Store only clean, dry items to avoid stains and mildew.
- Use clear bins or labeled bags so you can see contents at a glance.
- Keep a “maybe” box for items you are unsure about, and revisit it next season.
For anything that needs professional cleaning or repair, set it aside in a separate pile. That is a safe habit you can manage at home. Just remember to drop it off promptly so the pile does not become a permanent fixture.
The Preliminary Sort: What to Keep, Donate, or Repair
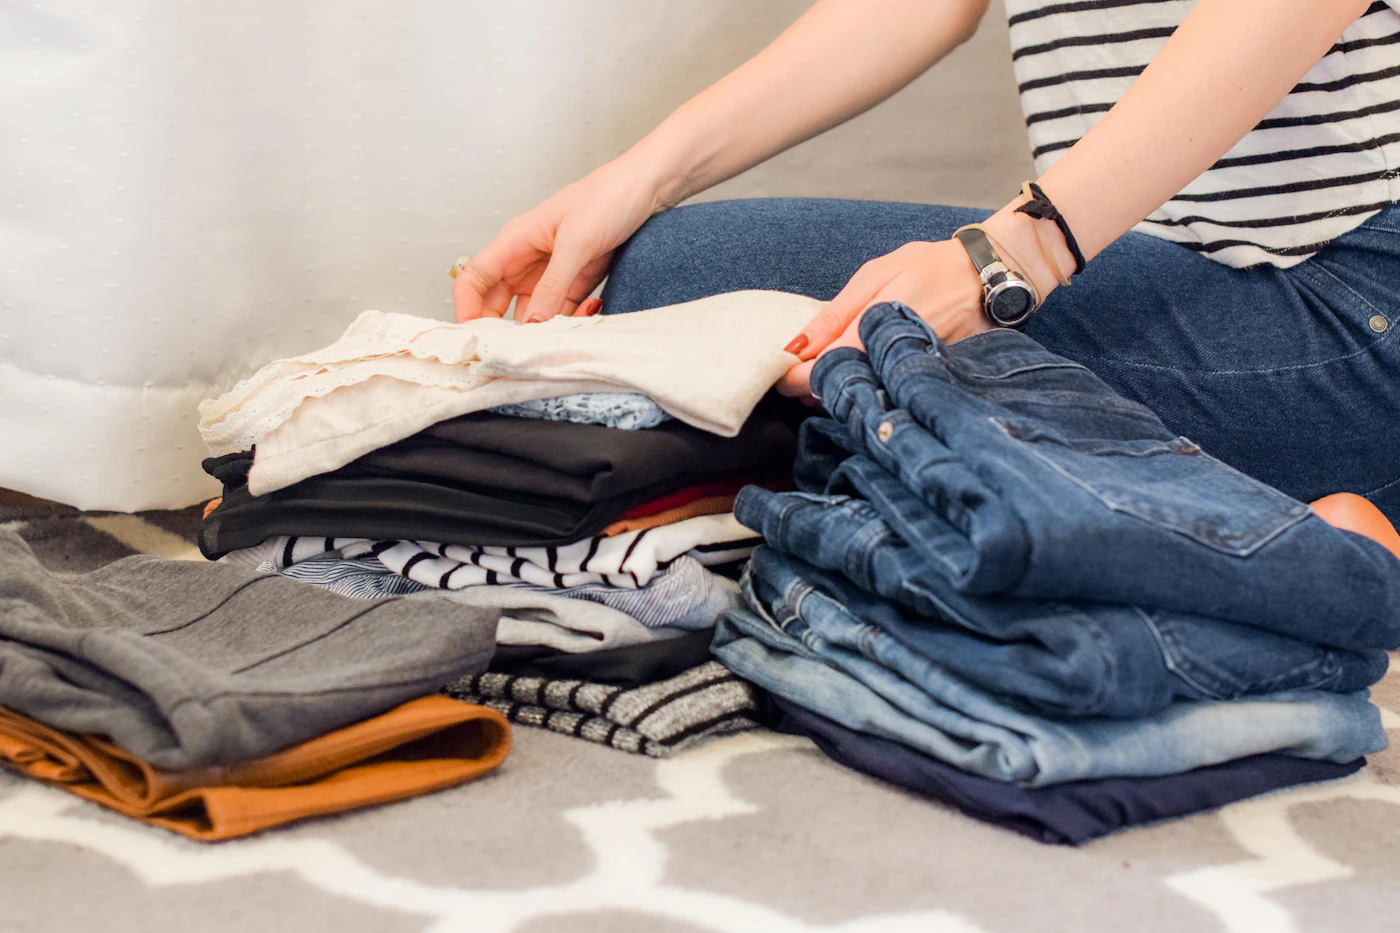
Start by pulling every piece of seasonal clothing out of its usual storage spot—whether that is a closet shelf, under-bed bin, or hallway cabinet. Work in one clear area, such as a bed or a clean floor space, so you can see the full volume at once. This step is not about folding or organizing; it is simply about gathering everything so you can make decisions without digging through layers later.
Pick up each item once and ask yourself three quick questions:
- Did I wear this during the past season?
- Does it still fit comfortably and look presentable?
- Is it free of stains, tears, or worn-out elastic?
If the answer to the first question is no, and the item is in decent shape, place it in a donate bag without second-guessing. If it is damaged beyond easy repair, set it aside for fabric recycling or a rag bag. For pieces you love but that need minor work—a loose hem, a missing button, or a zipper that snags—create a separate “repair” pile.
Resist the urge to overthink. Quick, decisive sorting keeps the process manageable. The exception is sentimental items, like a well-worn holiday sweater or a child’s outgrown coat. Give those a few extra minutes, but set a rule for yourself: if you are not going to hang it, store it, or wear it this year, it still needs a clear decision.
For repairs, handle simple fixes at home with a needle, thread, or iron-on tape. Take anything requiring structural changes—sleeve shortening, seam reweaving, or lining replacement—to a tailor. When in doubt, ask a professional before committing time to a risky fix.
Cleaning and Prepping: The Non-Negotiable Step
Storing clothes that aren’t clean is the single fastest way to ruin them. Body oils, food spills, and even invisible sweat residue are magnets for fabric-eating pests and can set into yellow or brown stains that are nearly impossible to remove later. The goal is to put each item away in the same condition you’d want to pull it out next season.
For most everyday fabrics—cotton, linen, wool, and sturdy synthetics—your usual home laundering routine works fine, provided you allow everything to dry completely. A damp item, even slightly, invites mildew. Check pockets, empty them, and turn knitwear inside out to protect the surface. Run a gentle cycle with a mild detergent, then hang or lay flat to dry in a well-ventilated area. Iron or steam if needed, but wait until the piece is fully dry before folding.
Some pieces should skip the washing machine entirely. Take a professional cleaner:
- Tailored blazers, suit jackets, and trousers with structured padding or interfacing.
- Dresses with beading, sequins, or delicate trims.
- Silk, viscose, or rayon items that list “dry clean only” on the care tag.
- Any garment with a stubborn stain you haven’t successfully removed at home.
Before storage, do a quick once-over. Check seams for loose threads, reattach any dangling buttons with a few strong stitches, and snip away small snags rather than pulling them. A five-minute inspection now prevents a frustrating repair job later.
Choosing the Right Containers and Storage Spots
Before you buy anything, think about what you are storing and where it will live. Plastic bins with secure lids are the most reliable choice for items that need protection from dust, pests, and humidity. They stack neatly on high shelves and hold up well in attics or garages. For everyday access in a bedroom closet, clear bins let you see what is inside without pulling everything down. Fabric boxes look softer and fit well on open shelving, but they do not block moisture or pests as effectively. Use them for items you rotate often and keep in dry, climate-controlled rooms.
Garment bags are practical for coats, dresses, and suits that should stay wrinkle-free. Choose breathable fabric bags for long-term storage. Plastic garment bags trap moisture and can cause mildew, especially in humid climates. Vacuum-seal bags are excellent for bulky blankets and winter comforters because they shrink the volume considerably. Avoid using them on delicate knits or down jackets for long stretches, as the compression can damage fibers and reduce loft.
- Label everything. Use a permanent marker on tape or a paper tag. Write the contents and the season.
- Under-bed boxes work well for sweaters and jeans, provided they are flat and low. Slide them out twice a year to check for dampness.
- High shelves are best for rarely used items in stackable bins. Keep heavier boxes on lower shelves.
- Closet rods should hold only the current season. Move off-season clothes elsewhere to keep daily choices easy.
If your storage space feels unmanageable, consider custom shelving or a professional closet design. This is worth the investment when you have awkward corners or a growing wardrobe. For most homes, though, a consistent labeling system and a few good bins solve the problem without major changes.
The Room-by-Room Walkthrough: Where to Keep What
Think of your home as a series of climate zones. The goal is to match each piece of clothing with a spot that respects how often you reach for it and how much moisture that room holds. Start in the bedroom, where your everyday off-season items should live. Use the top shelf of your main closet for lightweight sweaters or short-sleeve shirts you’ll grab first when the weather shifts. A clear bin or a stack of cotton canvas bins works well because you can see the fabric without digging. Keep this zone small and honest: if you didn’t wear it last season, it doesn’t earn prime shelf space.
Move to the entryway coat closet for transitional jackets and rain shells. These are items you need without warning, so hang them on the rod nearest the door. Reserve the floor for shoes and boots only. If the closet runs damp in summer, skip storing wool or leather here; the moisture will leave a musty smell.
For a guest room wardrobe or a spare closet, store longer-term items like heavy winter coats or formal wear. Use breathable garment bags for anything with beading or delicate fabric. Add a few cedar blocks or lavender sachets to discourage moths, but refresh them yearly.
- Attic or basement corners: only for sturdy, non-delicate items like extra blankets or ski pants, and only if the space stays dry year-round.
- Avoid garages and uninsulated sheds entirely; temperature swings and humidity will damage fabric.
Whatever room you choose, label bins on two sides and keep a small “donate” bag nearby. When you swap seasons, pull out the bag first — it simplifies the whole rotation.
Year-Round Habits That Keep the System Working
The trick to avoiding a seasonal clothing pile-up is not a single marathon cleaning day. It is a set of small, repeatable habits that fit into a normal week. These routines take less effort than a full reorganization and prevent the bins and shelves from becoming a black hole.
Start with a five-minute tidy each week. Pick one day, perhaps Sunday evening, and walk through the closet or storage area. Return any stray hangers, fold a lone sweater, and drop any item that clearly needs washing into the hamper. This does not require deep cleaning, just resetting the visual order. The goal is to stop the slow drift of clothes from drawer to chair to floor.
Once a month, do a quick inventory check. Open the bins or storage boxes and scan the contents. Make a short mental note of what is actually there. This habit catches problems early, such as a damp smell from a stored jacket or a bin that is visibly overflowing. It is easier to deal with one damp jacket than a whole box of musty clothes.
Schedule a seasonal swap day, twice a year, on a weekend. This is a longer session, but it has a clear start and finish. Take everything out, sort by category, and put the off-season items away. This is also the time to remove anything that no longer fits or is worn out.
Sometimes, an out-of-season item is needed unexpectedly, like a warm coat during a cold snap in early fall. Keep a small “bridge” bin near the front of storage with one or two transitional items. A light jacket or a pair of gloves within easy reach prevents you from digging through every box.
Involve the family by giving each person their own labeled bin or shelf. Even young children can manage a simple rule: put one thing away before taking another out. For persistent clutter that keeps returning despite these habits, consider a professional organizer. They can help identify a layout flaw or a buying pattern that a simple routine cannot fix.