Start With a Simple Planning Session
Before you buy a single piece of gear, sit down with a notebook or a note on your phone and work through the basics. This isn’t about making lists of equipment yet. It’s about answering three quiet questions: where are you going, how long will you stay, and what is the weather likely to do while you’re there?
Where you’re headed matters more than you might think. A state park an hour from home has different demands than a remote forest road or a beachside campground. Think about the drive, the walk from the car to the tent pad, and whether there’s running water or a restroom nearby. These simple facts shape almost every packing decision that follows.
Next, pin down your stay. A single overnight is forgiving. Three or four days means you’ll need more food, more layers, and a plan for managing trash and dirty clothes. Be honest about your group’s skill level and energy. A first trip works best when it’s short, close, and easy to leave early if things go sideways.
Finally, check the forecast, but don’t stop there. Look at the nighttime low, not just the daytime high. In many places, evenings cool off sharply even in summer. Consider rain chances, wind, and how much sun the campsite gets during the day.
- Write down your drive time and arrival window.
- Note the low temperature for each night of your stay.
- Jot down any weather alerts for the area, not just the town nearby.
- Set a loose daily plan, but leave room to adjust.
This short session does two things. It keeps you from buying gear you don’t need, and it gives you a clear reason behind every item you do pack. When you know the conditions, the choices feel obvious.
Build a Sleeping and Shelter Kit That Fits Your Spot
Your tent, sleeping bag, and pad are the core of your camp, so they deserve a little thought before you head out. The goal is to match your gear to the season and the specific site, not just to the forecast you saw on your phone. Start by checking the expected nighttime low, but also remember that valley floors and open fields run cooler than sheltered tree lines. When in doubt, plan for the colder end of that range.
For the tent, give it a quick setup in your yard or living room before you leave. This is the time to confirm you have all the poles, stakes, and guylines, and to remind yourself how they fit together. Practicing at home is far easier than figuring it out in the dark or wind. If your site is on sand, gravel, or a wooden platform, bring the right stakes for that surface—standard ones may not hold.
Your sleeping bag should be rated for temperatures a bit lower than what you expect. If the bag is older or compressed, its warmth may have dropped, so consider adding a liner or an extra blanket for insurance. Your sleeping pad matters just as much for warmth as for comfort, since the ground pulls heat away from you. A thicker or insulated pad makes a real difference on a cold night.
- Match your bag’s rating to the planned low, not the daytime high.
- Test your tent setup once at home, including rain fly and guylines.
- Bring a repair kit with a patch, extra webbing, and a spare pole sleeve.
- Check your pad for slow leaks by inflating it the day before.
Finally, practice packing everything so your sleep setup is easy to reach when you arrive. A little organization at home means you can spend less time guessing and more time enjoying the trip.
Plan Meals That Are Easy, Safe, and Satisfying
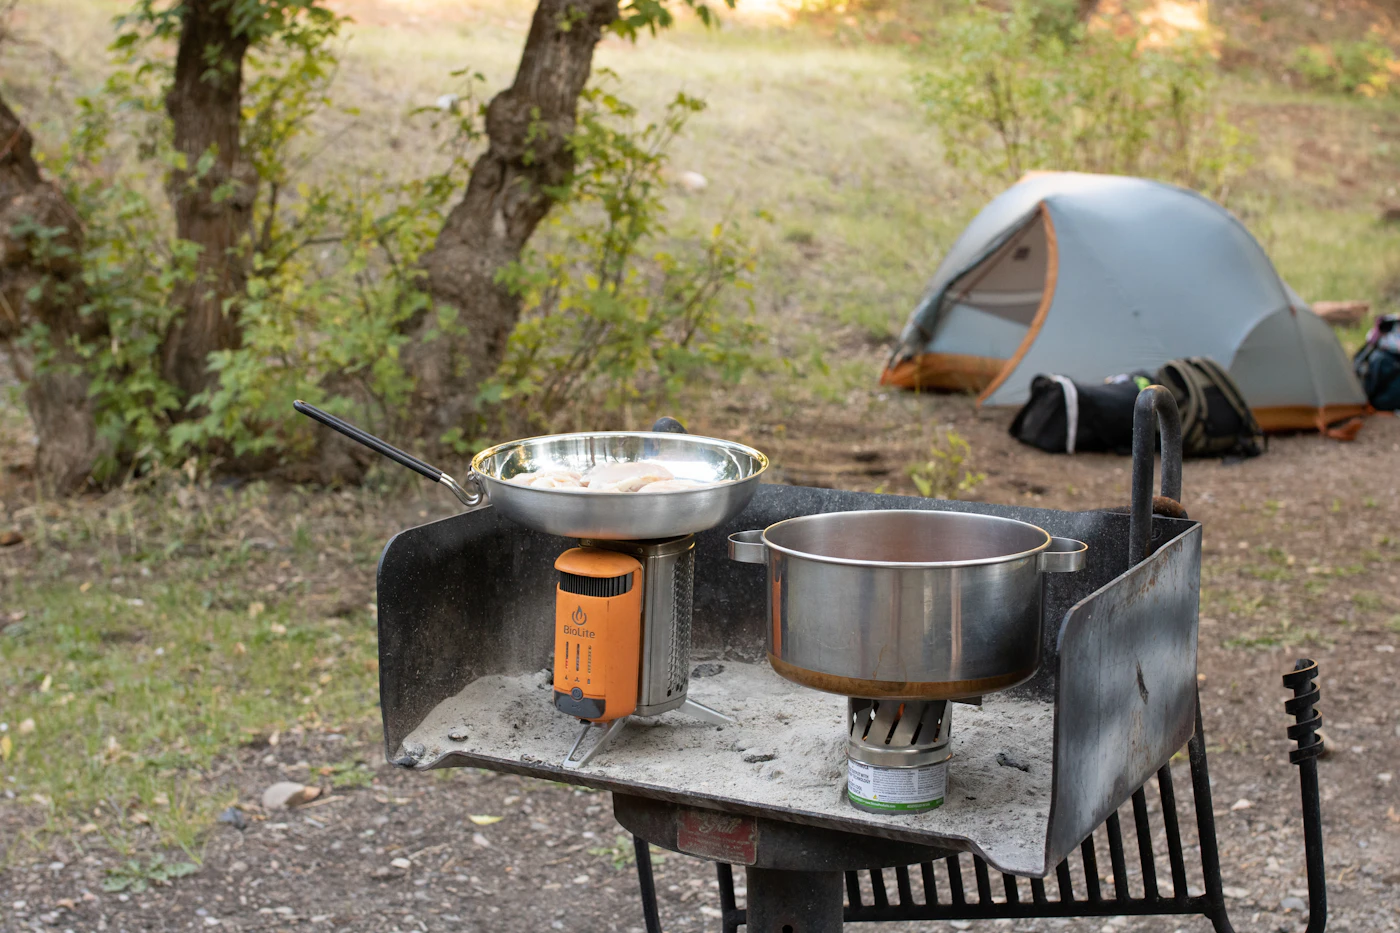
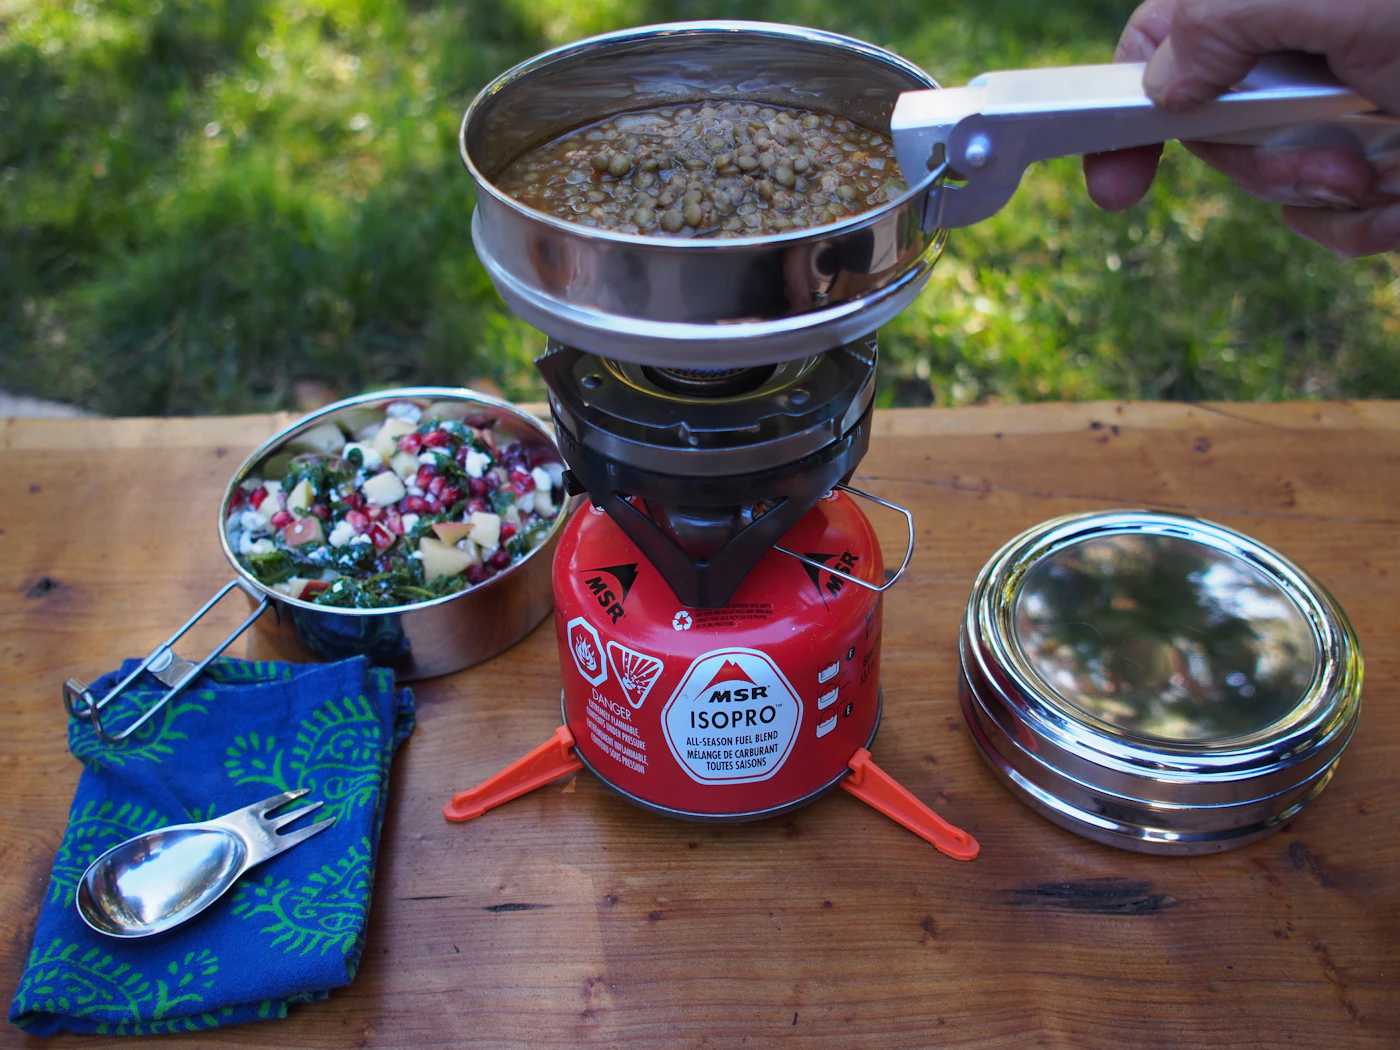
Keep your first camping menu simple. The goal is to spend your time enjoying the outdoors, not fussing over a complicated stove setup. A little planning ahead of time makes a big difference in how relaxed you feel.
Start by thinking in terms of one-pot meals. Things like chili, pasta with sauce, or a hearty soup cook up quickly and create less cleanup. Prep what you can at home: chop vegetables, measure dry ingredients into reusable bags, and marinate meat in a sealed container. When you get to camp, you just add it to the pot.
You don’t need to cook every meal, either. No-cook lunches and breakfasts are your friend. Think:
- Peanut butter and jelly on tortillas (they don’t squish like bread)
- Hard cheese, salami, and crackers
- Pre-made tuna or chicken salad packets
- Fresh fruit, applesauce cups, and trail mix
- Instant oatmeal or cold cereal with shelf-stable milk
Safe food storage is just as important as the food itself. Keep a dedicated cooler for drinks so you don’t open the food cooler as often. Pack raw meat in a leak-proof container at the bottom, separate from ready-to-eat items. Use plenty of ice or frozen water bottles, and keep the cooler in the shade. A simple thermometer helps you know if perishables are staying cold enough, but if you’re ever unsure, throw it out.
Bring extra snacks beyond what you think you need. Hiking, fresh air, and cooler weather can build up a real appetite. A simple plan with familiar foods will keep everyone happy and make your first trip feel like second nature.
Pack a Daily Carry Bag for Comfort and Convenience
You don’t need to lug everything you own on a hike. A small daypack with the right essentials keeps you ready without turning every trail into a workout. The trick is to pack for the day’s reality, not the whole trip’s possibilities. Start with water. Carry more than you think you’ll drink, especially on warm days or if the trail is hillier than expected. A simple refillable bottle works fine for most outings.
Next, layer up. Even a mild forecast can change quickly once you’re in the shade or up on a ridge. A lightweight jacket or an extra long-sleeve shirt takes up little room and makes a big difference if the wind picks up. Tuck it in even if you’re sure you won’t need it. The same goes for a hat and sunscreen—they’re easier to apply at the trailhead than to wish you had them halfway up the path.
Snacks should be simple and non-perishable. Trail mix, granola bars, or a piece of fruit hold up well in a pack and give you quick energy when your stomach starts grumbling. Choose items that won’t melt or get crushed easily.
Finally, a basic first aid kit is non-negotiable. You don’t need a hospital in a bag, just the essentials: adhesive bandages, antiseptic wipes, gauze, and medical tape. For everyday bumps and blisters, this will handle most situations. For anything more serious, that’s when you rely on your phone and a plan to get help.
- Keep the pack light enough that you don’t mind carrying it all day.
- Restock snacks and water each morning so the bag is ready to grab.
- Leave non-essentials like heavy books or extra shoes at camp.
Gear Up for Weather and Safety Without Overdoing It
Most first-timers pack like they’re heading into the wilderness for a month. The truth is, a few well-chosen items handle most surprises, and the rest just weighs down your bag. Start with clothing that layers. A base layer that wicks sweat, a mid layer for insulation, and an outer shell that blocks wind and rain will carry you through a wide range of temperatures. Cotton gets cold when wet, so leave the jeans and heavy sweatshirts at home.
For safety, keep it simple. A small headlamp with fresh batteries means you can find your way to the bathroom at 2 a.m. without fumbling. A whistle is lighter than a voice and carries farther if you get turned around on a trail. A fire starter—whether waterproof matches or a small ferro rod—gives you a way to warm up or signal for help if conditions turn. These three items fit in a pocket.
Skip the extras: the multi-tool with fourteen attachments, the backup lantern, the folding shovel. You likely won’t use them.
- Bring one extra pair of socks, not five. Dry feet matter more than variety.
- Check the forecast the morning you leave, and pack for the coolest night, not the warmest afternoon.
- Store your headlamp and fire starter where you can reach them without unpacking everything.
What you don’t need is just as important as what you bring. If you’re car camping, a basic first-aid kit and a rain tarp cover most problems. Leave the specialized gear for later trips, once you know what you actually reach for. You’ll move lighter, stay drier, and enjoy the trip more.
Do a Final Walkthrough Before You Leave
A little time spent checking things in the same order every trip pays off. It doesn’t matter whether you start at the truck or at the tent pad—just pick a route and stick with it. That consistency is what keeps you from driving forty miles wondering if you left the camp stove on the picnic table.
Begin with your site. Walk the perimeter slowly. Look under the tent and around the chairs for anything that has worked its way into the grass or dirt: a stray spoon, a water bottle cap, a carabiner. Give the fire ring a last glance, especially if you cooked over it the night before. Run a hand along the clothesline and inspect the spot where you hung towels or a washcloth.
Next, move to the vehicle. Check the roof rack or cargo box first, since those are easy to overlook. Then open the tailgate or trunk, and go through your checklist out loud. Say the item names as you look at them: tent bag, sleeping bags, cooler, camp chairs, lantern. Hearing yourself say “propane tank” while looking at an empty spot is a lot better than realizing it an hour down the road.
Before you pull out, do a three-part final check that takes less than a minute:
- Inside the cab: Phone, wallet, keys, and anything you set in the cup holders or door pockets.
- Just outside: Walk around once more, this time looking at ground level for anything that rolled under the bumper.
- Reservation details: Confirm your site number and departure time if you booked through a park office or online system.
That last pass is quick, and it catches the small stuff that adrenaline and a fun weekend can mask. A steady routine turns a rushed departure into a simple set of steps, and it leaves you free to enjoy the drive home.