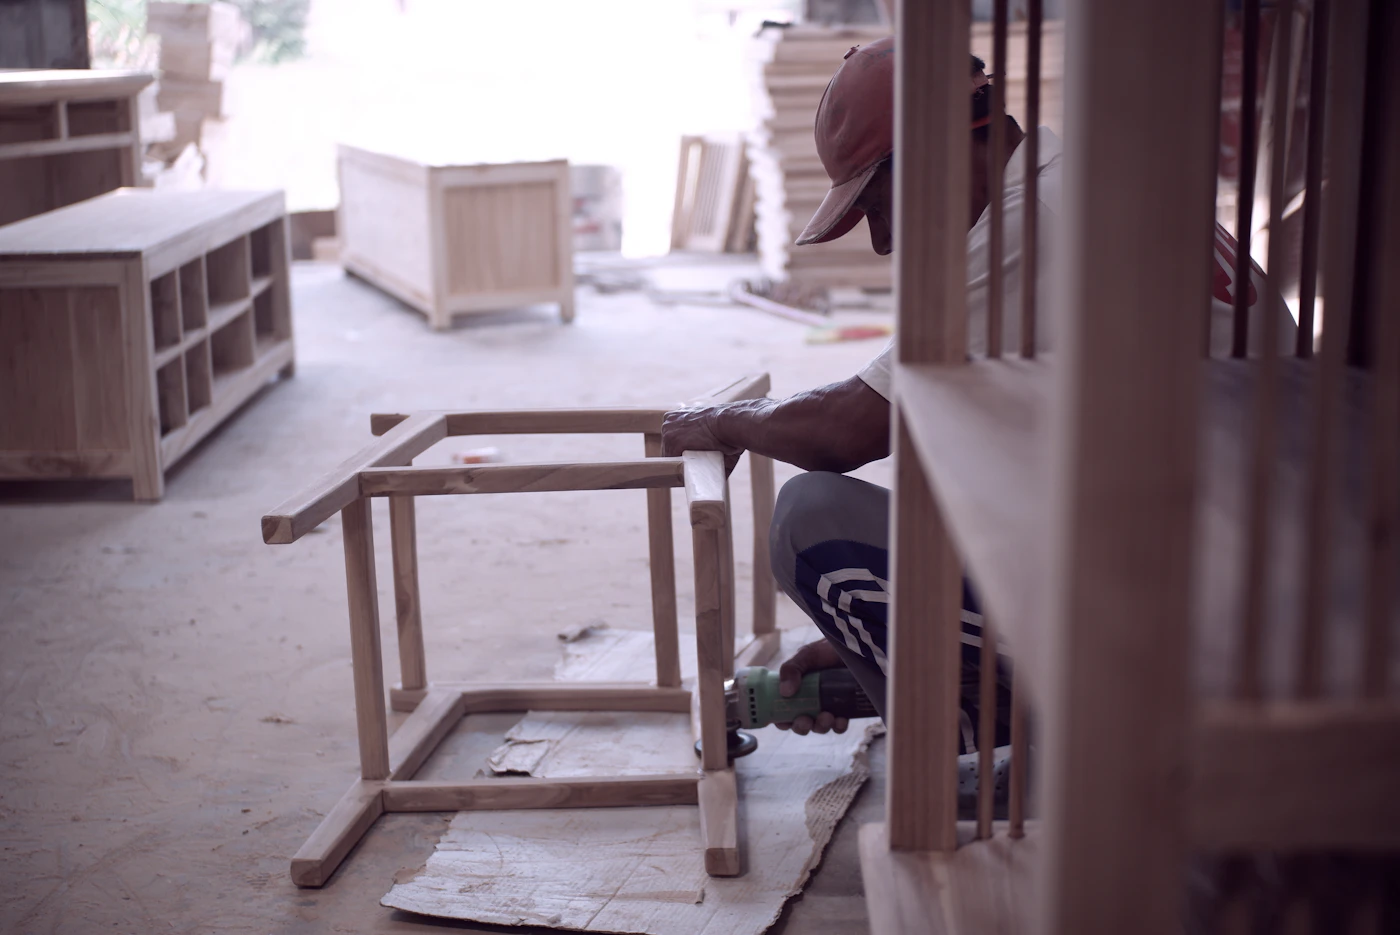
Assessing Structural Soundness Before You Start
Before any sanding or painting, set the piece on a flat, level surface. Press down on the top, then on each side, and watch for rocking or shifting. Rocking often points to uneven legs, but it can also mean a loose joint is allowing movement in the frame. Give the piece a gentle push from side to side. Any wobble or creak warrants attention before you proceed.
Next, inspect every joint where legs meet rails, where drawer fronts meet sides, and where the back panel meets the carcass. Look for gaps, hairline cracks, or fresh-looking wood dust, which indicates active rubbing. Check chair rungs and stretchers by grasping them and applying a slight twist; they should feel rigid, not spongy. Drawers should slide without binding, and their bottoms should be secured, not just resting loosely in their grooves.
- Run your fingers along all edges to catch splinters or hidden cracks.
- Tilt the piece slightly to listen for loose components rattling inside.
- Look for previous repair work; glue lines or mismatched screws suggest a weak point that may need redoing.
If you find loose joints, decide whether they need simple regluing or more involved repair. For minor looseness, you can often work fresh wood glue into the joint with a thin blade, clamp it, and let it cure. For cracked wood, split tenons, or missing chunks, the structural work should come first; reinforce it with appropriate wood filler or new joinery before you sand. Stabilize the piece now, and the finish work will be straightforward. Ignoring these issues will only transfer the movement into the new paint or finish, causing it to crack and peel long before it should.
Spotting Veneer and Laminate Issues Early
Veneer and laminate surfaces hide their weaknesses until a small flaw becomes a larger repair. On vintage furniture, the most obvious signs are raised blisters, chipped edges, and corners that have started to lift. Catching these early often means the difference between a straightforward glue job and a full replacement of the surface layer.
Run your hand slowly across the top and sides. A blister feels like a soft bubble under the finish. Press gently. If it moves or sounds hollow, the adhesive beneath has failed. Lifting edges usually appear at the front lip of a drawer or the outer corners of a tabletop, where years of handling and humidity take their toll. Chips are easier to see: look for missing slivers at the edge, especially along high-traffic areas.
What You Can Check Yourself
- Look for discolored lines or dark spots that trace the seams between veneer sheets.
- Check for hairline cracks that run parallel to the wood grain; these often precede lifting.
- Tap lightly with a fingernail or a small screwdriver handle. A solid thud means the veneer is still bonded; a hollow rattle points to separation underneath.
For a small, intact blister or a slightly lifted edge, a careful repair with wood glue and a clamp may hold for years. You can also press a warm, dry iron over a cloth to reactivate old hide glue, though results vary. But if the veneer is brittle, cracked along the seam, or missing in multiple spots, the surface has likely passed the point of simple repair. At that stage, plan for partial or full replacement by a professional. Trying to force glue under a large area often causes more chipping, and over-sanding can wear through the thin veneer entirely, exposing the cheaper wood underneath.
Inspect the piece twice a year, particularly after seasonal humidity changes. The earlier you spot a problem, the more options you keep.
Identifying Finish Problems: Discoloration, Crazing, and Alligatoring
Before you reach for chemical strippers or sandpaper, take a few minutes to inspect the existing finish under bright, raking light. The type of wear you see determines how aggressive you can safely be. Three common conditions show up in older furniture, and each needs a different approach.
Discoloration often appears as a warm amber or orange cast on lighter woods, or as dark, cloudy patches where moisture has gotten under the lacquer or varnish. General darkening from age is normal and often desirable. But uneven blotches or white rings usually mean the finish itself is compromised. If the color change is even and the surface is smooth, you may be able to leave it and just add a fresh topcoat. If it is blotchy, you will likely need to remove the finish completely to get an even tone.
Crazing shows as a fine network of tiny cracks, like shattered glass, across the surface. This happens when the finish has become brittle and shrinks faster than the wood underneath. Light crazing that you cannot feel with a fingernail can often be leveled by rubbing with fine abrasive and polishing. Deep crazing that catches your fingernail means the finish has lost its bond and should be stripped.
Alligatoring creates a bumpy, leather-like texture with larger, more distinct ridges. This occurs when a hard topcoat cracks as a softer undercoat continues to cure or expand. It is always a sign that the finish is failing and will not smooth out with polishing. Plan on full removal.
- Check with your fingernail: if it catches in a crack, the finish is too weak to salvage.
- Do not use heat guns or chemical strippers on surfaces you plan to keep; remove only what is failing.
- Leave veneer work or pieces with heavy carving to a professional if the finish is lifting in large sheets.
Checking Hardware and Moving Parts
Before you sand or apply any finish, look closely at the hinges, drawer slides, knobs, and locks. These parts often have issues that affect how the piece goes back together, so catching them now helps you budget for replacements and prevents damage to the surrounding wood.
Open every door and drawer slowly. Listen for scraping and feel for wobble. Missing screws are common, but a stripped screw hole is a bigger problem that needs filling with wood glue and dowels or toothpicks. Corrosion, usually from humidity, can appear as white powder on metal or rust that stains the wood. A little surface rust may come off with fine steel wool, but deep pitting means the part is weaker and likely needs replacing.
Misalignment is another frequent issue. A door that sags or a drawer that catches on the frame usually means a hinge has shifted or a slide has bent. Do not force the part into place by prying against the frame or cabinet face. That chips the finish and cracks the wood, turning a simple fix into a repair job. Instead, trace the outline of the plate with a pencil before removing it, so you can see whether the original hole spacing is standard or was modified in the past.
- Check that knobs and pulls are tight but not so tight that they compress the wood.
- Look inside the lock mechanism for visible rust or broken springs; if it sticks, do not oil it until you confirm it is not just a misaligned strike plate.
- Keep all removed hardware in a labeled plastic bag, and tape the screws to their matching plates.
If a hinge pin is frozen or a slide is disassembled, stop and take the part to a hardware store for a match. Forcing a corroded mount out of the wood with pliers risks splintering the panel. Safe everyday checks are tightening visible screws and lubricating a clean, dry slide. Anything involving a stuck screw, a cracked plate, or a lock cylinder that turns with resistance is best left to a furniture repair shop, where they can drill out a broken screw without ruining the piece.
Detecting Past Repairs and Hidden Damage
Before you sand or strip anything, examine the piece closely in good light. Past repairs are not always obvious, but they often affect how new finish will adhere and how the piece will hold together once you start working.
Look first for mismatched wood patches. A filled gouge, a replaced corner, or a spliced rail may show a slight color or grain difference from the surrounding wood. These patches may be stable, but they are worth testing for solidity. Press gently around the edges; if the patch moves or feels soft, it will need to be removed and re-glued before finishing.
Glue lines are another clue. A thin, dark line running along a joint often means the piece was re-glued at some point. A clean, tight glue line that has held for years may not need attention, but a thick, light-colored line usually signals excess glue that has prevented a proper bond. Check these joints for movement by applying light pressure. If there is any give, the joint should be taken apart, cleaned, and re-glued properly before you proceed.
Pay attention to areas where screws, nails, or brads have been added. These often indicate a prior attempt to fix a failing joint or a crack that did not hold. Common trouble spots include:
- Back panels held with extra nails or screws
- Legs with visible screws driven at an angle into the rail
- Mitered corners with small nails or staples hidden on the back or underside
If a screw is holding wood together that should be edge-glued, the underlying joint may still be weak. Remove the hardware if practical, inspect the joint, and decide whether it needs fresh glue and clamping or a more careful repair. Also check for thin veneer patches over damaged areas; these can hide hollow spots beneath.
Finally, scan for any new wood mixed with old. A recently added repair block, a replacement rail, or a spliced foot may not have been matched for color and may show as a brighter or lighter area. These pieces can be refinished successfully, but they will need extra attention to blend in. Catching these issues early saves you from stripping and repainting a piece only to find a loose joint or a failing patch underneath.
Evaluating Safety and Environmental Concerns
Before you sand, scrape, or strip anything, take a close look at the finish. Old furniture can carry layers of paint or varnish that contain lead or other harmful substances. You cannot always tell by looking, and no home test kit gives a definitive answer for every situation. If the piece predates the late 1970s, or if the finish is cracked, chalky, or shows an alligator-like pattern, treat it as potentially hazardous until proven otherwise.
Your first safe step is a visual inspection in good light. Look for peeling paint in irregular, geometric shapes—a common sign of lead-based paint. A powdery white residue on the surface may indicate old oil-based finishes breaking down. Do not touch, scrape, or sand these areas. Keep children and pets away from the work area entirely.
If you suspect a hazardous finish, you have two options: hire a professional to test and handle removal, or proceed only under strict containment. For professional testing, a certified lead inspector can take samples and provide reliable results. For removal, a contractor trained in hazardous material abatement is the safest choice. This is not an area for improvisation.
If you decide to work with the piece yourself after professional testing confirms it is safe, use these everyday precautions:
- Work outdoors or in a well-ventilated space away from living areas.
- Wear a properly fitted respirator rated for particulate filtration, not a dust mask.
- Damp-wipe surfaces frequently to keep dust down; never dry-sand or use a heat gun.
- Dispose of all debris and wipes in sealed plastic bags marked for hazardous waste.
Any uncertainty warrants stopping and calling a professional. The cost of testing is far less than the health risks of exposure.