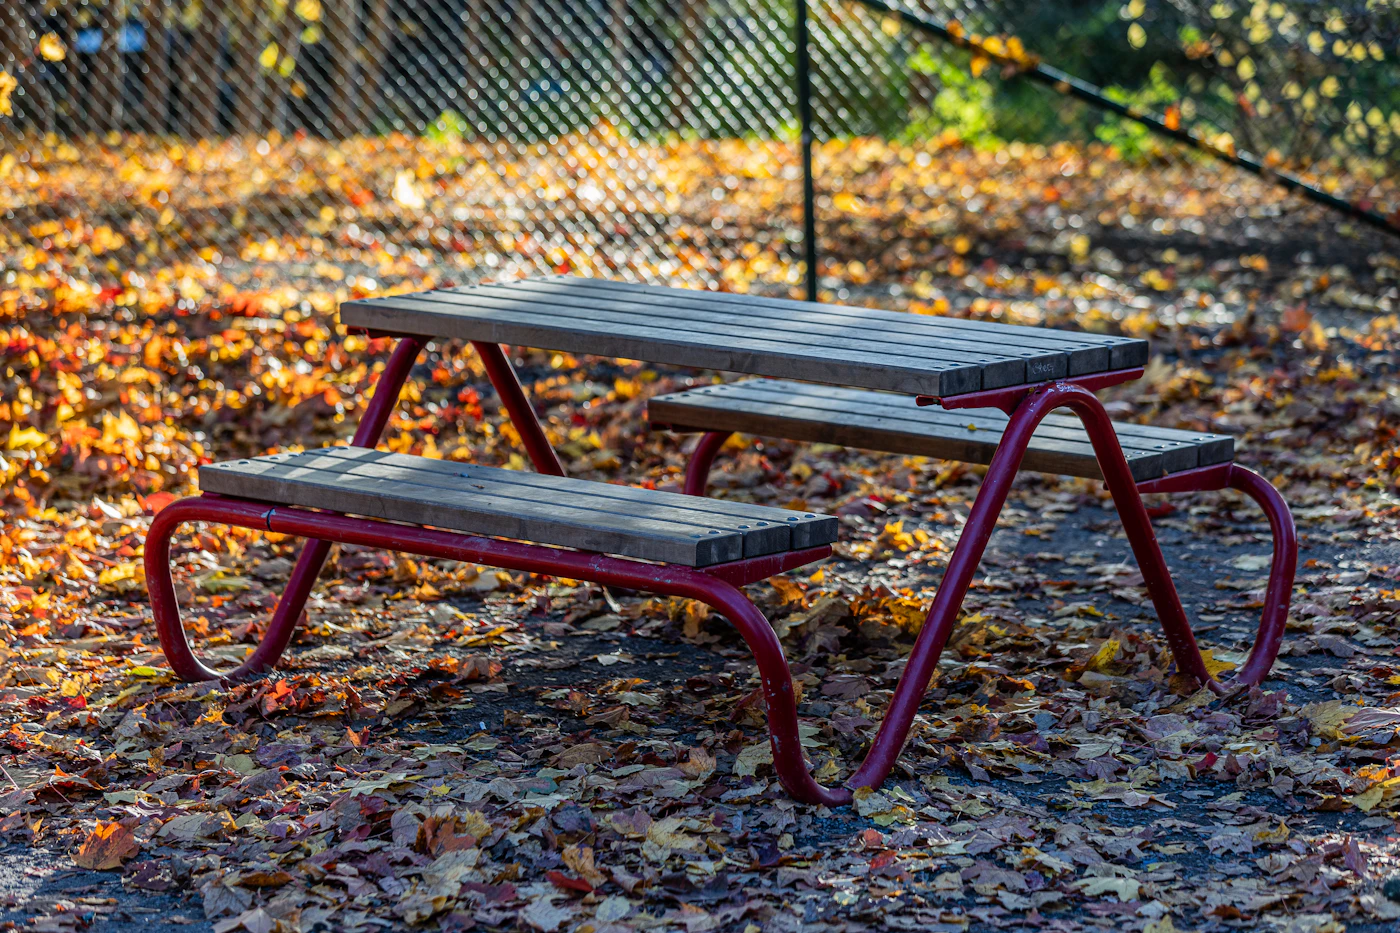
Ignoring the Sun’s Path and Shade Timing
Choosing a picnic spot because it looks pleasant at noon is a common mistake. The sun does not stay still, and a table that starts in full shade can be baking in direct light by the time you finish your main course. This is less about predicting the weather and more about watching how light behaves in a specific area.
Before you lay down your blanket or claim a table, spend a few minutes observing the immediate surroundings. Look for large trees, buildings, or hills that cast consistent shadows. Notice the direction the shadows fall and how wide they are at that moment. A small tree may offer a shrinking pocket of shade as the afternoon wears on, while a dense grove or a structure on the east side of your spot often provides longer-lasting cover.
- Check the angle: If the sun is high and shadows are short, you are likely seeing the most intense part of the day. Expect light to shift noticeably within an hour or two.
- Look for depth, not just coverage: A thin, leafy canopy may look fine but can allow dappled light to creep in. Denser foliage or a solid overhang blocks more heat.
- Plan for the late afternoon: If you intend to linger, position your seating so the sun will be at your back or behind a natural screen as it lowers, rather than directly in your eyes.
Once you have chosen a spot, do not assume it will work for the entire meal. Set up your food and seating, then quickly confirm whether the shadow line is advancing toward or away from you. If it is moving away, you know you have limited time. A simple, low-cost umbrella or a lightweight blanket you can drape over a branch can be a sensible backup. The goal is to plan for changing light, not to fight it. With a few minutes of observation, you can turn a potential sunburn into a relaxed, comfortable gathering.
Using the Wrong Blanket or No Ground Cover
A picnic blanket is your first line of defense against the ground, and choosing the wrong one—or skipping it entirely—can turn a pleasant afternoon into a session of shifting, squirming, and damp clothing. Thin cotton throws, while attractive, do little to buffer you from hard roots or chilly soil. They also absorb ground moisture quickly, leaving you wet before the first course is served.
For comfort, think in layers rather than relying on a single fabric. Start with a dedicated waterproof barrier. Many outdoor blankets are made with a nylon or polyester backing that blocks moisture from seeping upward. If you prefer a traditional look, you can bring a separate plastic tarp or shower curtain liner to place underneath your primary blanket.
On top of that barrier, choose a thicker material for cushioning. Wool, fleece, or quilted options provide far better padding than a flat sheet. The extra loft helps level out small stones and dips in the terrain, making it far easier to sit for an hour or two without your legs falling asleep.
Keep these points in mind when assembling your setup:
- Check the underside: If the blanket has a slick backing, it will slide on grass; look for one with a textured bottom or weigh down the corners.
- Use a topper: In cooler weather, add a second fleece or knit layer that you can also use as a wrap.
- Bring spare coverage: A few small, foldable foam pads are useful for extra cushioning under your hips or for guests who prefer firmer support.
Before laying anything down, scan the area for wet patches, ant hills, or stray twigs. Even the best blanket cannot fix a poorly chosen spot. When in doubt, place your barrier down first and test the give of the ground with your hand—if you can feel the shape of the earth through it, add another layer before you settle in.
Forgetting to Support Your Back
Sitting flat on the ground with your legs stretched out may look relaxed, but it puts steady strain on your lower back. Without support, your spine rounds, your shoulders slump forward, and the muscles along your lower back work overtime just to hold you upright. After twenty or thirty minutes, that casual posture turns into a dull ache that distracts from the meal and the company.
The fix is not to abandon picnicking altogether but to give your back something to lean against. A low camp chair with a firm seat keeps your hips slightly higher than your knees, which encourages a natural curve in your spine. If a chair feels too bulky, bring a portable backrest or a firm cushion designed for outdoor use. Even a folded jacket or a rolled blanket placed behind your lower back can make a noticeable difference when placed against a sturdy object.
When no chair is available, choose a spot near a tree trunk or a large rock. Sit with your back flat against the surface, and place a folded blanket or bag between your lower back and the trunk for extra cushioning. Keep both feet flat on the ground and your knees bent, rather than stretching your legs straight out. Shift your weight every ten minutes or so, and stand up briefly to reset your posture.
- Position your seat so your hips sit slightly higher than your knees.
- Place firm support behind your lower back, not just your shoulders.
- Avoid leaning forward over a low blanket for long stretches; use a low table or lap tray if needed.
For anyone with a history of back problems, or if pain persists after adjusting your setup, consult a physical therapist or physician before planning longer outdoor seating.
Packing Food Without a Temperature Plan
It is easy to load a picnic basket with sandwiches, dairy, and cut fruit without thinking about how long those items will sit in the sun. Perishable foods can spoil quickly when they stay warm for too long, and there is no reliable way to tell by sight or smell that they are no longer safe. The goal is to keep cold food cold and to reduce the time it spends in what is called the temperature danger zone.
Start with a cooler, even for a short outing. Pack it in the order you plan to eat. For example, place drinks and items you will grab first at the top, so you are not digging through the cold goods to find them. Keep raw meats, if you bring them, wrapped tightly and stored at the very bottom so their juices cannot touch ready-to-eat food.
- Use separate coolers: One for drinks, which people open often, and one for perishable food. This keeps the food cooler closed and cold longer.
- Fill empty space: A cooler with a lot of open air loses cold faster. Use extra ice packs or even frozen water bottles to fill gaps.
- Keep it shaded: Place the cooler under a tree, table, or umbrella, not in direct sunlight. A light-colored blanket over the top adds another layer of insulation.
If you do not have a cooler, plan a menu that does not depend on refrigeration. Think shelf-stable crackers, whole fruit, nuts, and sealed snacks. For anything that needs to stay cold, serve it early in the outing and keep the remainder in a shaded, insulated bag until then. When in doubt, throw it out; a ruined picnic is far easier to handle than a case of food poisoning.
Overlooking Wind and Insect Disturbances
A steady breeze can turn a relaxed meal into a game of chase, sending napkins, plates, and light wrappers across the lawn. Before you spread out your blanket, look at the surrounding area. Open fields and hilltops tend to catch the most airflow, while the lee side of a large tree, a sturdy fence, or a parked car offers a more sheltered spot. Position your setup so the prevailing breeze is at your back, not blowing directly across your food.
Anchoring loose items is simple and doesn’t require special gear. Clips from the kitchen—the kind used for closing chip bags—work well on cloth napkins and tablecloths. For a blanket, tuck a couple of filled water bottles or a heavy book onto the corners. If you are using a low table, a lightweight tablecloth can be held down with small binder clips or weighted fabric clamps sold for outdoor use.
Insects are a separate nuisance that often pairs with wind. Instead of relying on sprays that may leave residue on food or skin, consider these options:
- Keep food covered with mesh food domes or overturned bowls until serving.
- Place a small, unscented candle or a dish of apple cider vinegar a few feet away from the eating area to draw flying pests away from plates.
- Wear light-colored, loose clothing, which tends to attract fewer biting insects than dark, tight fabrics.
- If you prefer a repellent, choose a product labeled for picnic use and apply it to clothing or exposed skin well before you sit down to eat, following the label’s instructions.
For serious stinging pests—like wasps or hornets—do not attempt removal yourself. Move your setup to a different area or pack up and eat elsewhere. Persistent nests near your spot are best handled by a professional, not by swatting or spraying from a distance.
Skipping a Pre-Picnic Site Check
It is easy to spot a promising patch of grass from the car and make a beeline for it. But that view from a distance often hides the details that make or break a picnic. You arrive with loaded baskets and blankets, only to find wet grass that soaks through, an anthill in the middle of your spread, or shards of glass near where children will sit.
Before you commit to a spot, take a minute to walk the immediate area. This short inspection costs nothing but saves you the hassle of relocating once you are settled.
- Scan for hazards. Look down and around for broken glass, sharp sticks, exposed roots, or animal droppings. Also glance upward for dead branches or heavy fruit that could drop.
- Check the ground feel. Run your hand across the grass. If it feels damp or spongy, a blanket won’t keep you dry for long. Look for worn, bare patches that could be dusty or muddy.
- Watch for insect activity. A trail of ants nearby is a warning. Also avoid spots near standing water, which tends to attract mosquitoes.
- Consider the slope and sun. A slight tilt may seem fine, but it becomes noticeable after an hour. Think about whether you want morning shade or afternoon sun, and how that will change.
Take your time choosing. A sturdy, level patch with dry grass and no visible activity is worth a few extra minutes of walking. This kind of inspection is safe for anyone to do and does not require tools or special knowledge.