Why Material Choices Make or Break a First Project
When beginners start a DIY project, the instinct is to invest in a good drill or study technique videos for hours. But the quiet variable that decides whether a piece looks polished or ends up in the garage corner is the material itself. Choosing lumber, fabric, or metal without thinking about the project’s demands is how small jobs become frustrating battles.
Many early mistakes trace back to buying the cheapest option available. It feels sensible, but low-grade materials often hide defects that complicate cutting, joining, or finishing. A board that looks fine on the rack might warp after a week indoors, ruining a frame or shelf you spent a whole Saturday building. The other common misstep is ignoring the environment where the piece will live. An untreated wood planter will absorb moisture, and a lightweight shelving bracket that holds decorative items may not handle the weight of books.
Before you buy anything, take a few deliberate steps:
- Read the project plan twice and note the recommended material grade, thickness, or finish.
- Handle your options in person whenever possible. Warps, rough grain, and uneven cuts are easier to spot than in online listings.
- Ask the staff at a lumberyard or hardware store about indoor versus outdoor ratings. Their guidance is usually reliable.
- Buy one extra piece of any consumable material, like trim or dowels, so a small error doesn’t stall your progress.
Material choice also affects your tools. Dense hardwoods require sharper blades and more patience, while soft, knotty pine is forgiving for practice but prone to splitting. If a project calls for a specific plywood or composite, trust that requirement. The right material makes the work feel manageable, and the finished result looks intentional rather than accidental. Spending an extra hour at the supply store choosing wisely pays off in the final coat of finish.
Mistake 1: Choosing the Wrong Wood Species or Grade
There is a particular kind of optimism that arrives with a first DIY project, and it often leads straight to the lumber aisle with a cart that is too big. The most common stumble is reaching for pressure-treated lumber because it feels sturdy and promises durability. However, that promise is meant for outdoor decks and fence posts, not living rooms. Pressure-treated wood is wet, heavy, and prone to dramatic shifting as it dries. Bringing it indoors for a bookshelf or a coffee table invites warping, cracking, and a distinctly chemical smell that lingers for months. Save it for the garden.
On the opposite end, many beginners fall for the beauty of a hardwood like oak or maple for a simple floating shelf. That is a costly and frustrating path. Hardwoods are dense and unforgiving; they dull blades quickly, resist screws, and require sharp, precise joinery to look good. A beginner project should not be a battle with the material.
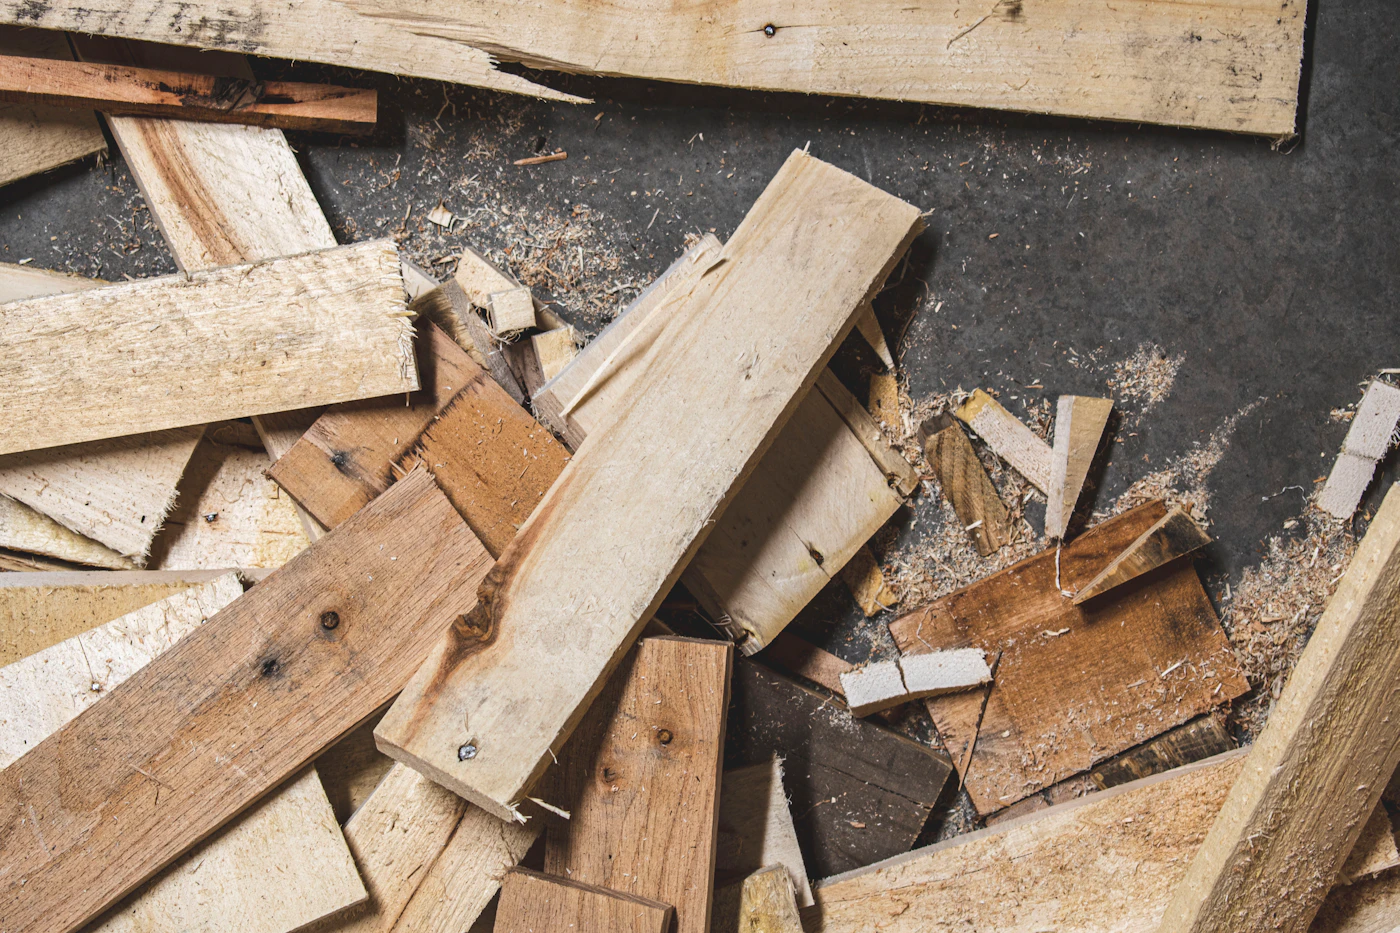
Instead, make friends with common softwoods. Pine and fir are forgiving, lightweight, and pleasant to cut. They take screws well and sand smoothly, which matters when your measurements are less than perfect. For most first projects, choose a #2 or better grade and sort through the stack yourself to find boards that are straight and free of large knots or cracks. That few minutes of inspection saves real frustration later. Practice on pine to learn how wood moves, how your tools feel, and how to hide a mistake with paint or a little patience. The project will look great, and you will gain confidence without the risk of a costly call to the lumber yard again.
Mistake 2: Overlooking the Impact of Moisture and Environment
It is easy to choose materials based on color, texture, or cost while standing in a dry, climate-controlled store. But the moment a project moves outdoors or into a damp room, the environment becomes the real test. Humidity, rain, direct sun, and temperature swings all take a steady toll on materials that were never meant for those conditions.
Bathrooms are a classic example. A decorative wall shelf or a simple stool can look perfect for weeks, then slowly begin to swell, warp, or peel once exposed to daily steam and splashes. The same applies to exterior projects. A birdhouse, planter box, or porch sign that seemed finished and sturdy may start to gray, crack, or soften after a few seasons of weather.
Before buying anything, ask where the finished piece will live. That single question changes nearly every material choice.
- For outdoor projects, choose exterior-rated lumber, weatherproof hardware, and sealants labeled for outdoor use.
- For bathrooms or laundry rooms, look for moisture-resistant materials and finishes that tolerate steam.
- Do not assume “treated” lumber is automatically suitable for every outdoor application. Some treatments resist rot but still need a protective topcoat to hold up well against sun and rain.
A simple habit helps: read the fine print on the label before checkout. If the can or tag does not mention outdoor or damp conditions, plan to add a sealant or pick a different material.
When in doubt, ask a staff member at a hardware store or lumberyard about local climate conditions. A two-minute conversation can save a weekend of work and disappointment.
Mistake 3: Choosing the Wrong Adhesive or Fastener
It’s tempting to grab whatever glue or hardware is closest to the register, but that shortcut often leads to a project that wobbles, creaks, or comes apart entirely. The three big adhesives—wood glue, construction adhesive, and epoxy—each do a specific job, and they are not interchangeable.
Wood glue is for bare wood-to-wood joints. It soaks into the grain, bonds strongly, and is perfect for furniture and indoor shelving. However, it will not grip metal, plastic, or painted surfaces. Construction adhesive is the heavy-duty option for bonding large panels, molding, or subfloors to framing. It works on wood, drywall, and some masonry, but it remains slightly flexible and isn’t ideal for fine joinery. Epoxy is the all-purpose champion: it fills gaps, bonds almost any material, and resists moisture. It’s your go-to for repairs involving metal or for outdoor pieces where waterproofing matters. Using epoxy on every joint, though, is overkill—and messy.
Fasteners carry their own set of rules. Screws grip and hold far better than nails for most DIY furniture because they pull boards together and can be removed if you misalign a hole. Nails are better for quick framing and trim where sheer strength matters more than precision. For outdoor projects, corrosion resistance is not optional. Standard steel screws will rust, stain the wood, and weaken over time. Look for coated deck screws or stainless steel, and use them even if the project sits under a covered porch—humidity finds a way.
Before you buy, ask yourself: Will this joint bear weight? Will it see rain or damp air? Do I need it to come apart later? The answers will steer you toward the right adhesive and fastener, saving you a wobbly shelf or a snapped bracket later. When in doubt, a quick call to the hardware store’s lumber desk beats a guess every time.
Mistake 4: Ignoring the Finish: Stains, Paints, and Sealants
The wood you selected, the metal you sanded, the concrete you patched—none of it is truly finished until it has a protective layer. Skipping this step, or reaching for the wrong can, is a common way to watch a brand-new project age in fast-forward. A beautiful bookshelf left bare will absorb moisture, show every fingerprint, and fade in direct sunlight. The finish is not an afterthought; it is the armor that lets your work last.
The most frequent error is assuming all finishes are interchangeable. Interior paint, for example, is formulated to be scrubbed and to resist scuffing, but it lacks the UV blockers and flexibility needed to survive outdoor weather. Using it on a porch planter or garden bench means the color will chalk, crack, and peel within a season or two. Always match the product’s labeled environment to the project’s final home.
You will also face the choice between oil-based and water-based products. Water-based finishes, often acrylic or latex, dry quickly, have low odor, and clean up with soap and water. Oil-based finishes penetrate deeper, tend to level out more smoothly, and can offer a richer, warmer tone on hardwoods. The trade-off is longer drying time, stronger fumes, and mineral spirits for cleanup. Neither is universally superior; the right pick depends on your comfort level and the surface you are covering.
Do not skip a primer, either. It is not busywork. A good primer seals porous surfaces, covers old stains, and gives paint or stain something to grip. Without it, you will likely need extra coats and may still end up with blotchy color. A little time spent at the prep stage saves you from a redo later.
How to Plan a Material Budget and Shopping List Without Overbuying
The fastest way to drain a weekend and a wallet is to guess at quantities. A little forethought keeps you from making two extra trips to the store and leaves your garage free of orphaned boards and half-empty cans of finish. Start by measuring the space twice, then write down every dimension on a single sheet of paper. This is not the time for mental math; a clear list is your best defense against both shortfalls and surplus.
When you estimate, resist the urge to round up dramatically. For lumber, account for real-world cuts and slight imperfections by adding a modest allowance, not a full extra sheet or bundle. That buffer covers a miscut or a knot that splits, but it should not double your order. For paint or adhesive, read the label carefully. Coverage figures printed on the can are based on smooth, primed surfaces; rough wood or drywall will drink more, so factor that in honestly rather than assuming a perfect finish. For tile, flooring, or paneling, the label’s square footage or board feet is your guide, but remember to add for waste on cuts and breakage—again, a small percentage is reasonable, not a lavish cushion.
Before you buy, confirm the store’s return policy for unused materials. Many allow returns on unopened cans and full bundles, which makes a slightly conservative purchase safer. Keep your receipt and check each item at checkout for damage; a warped board or dented can is harder to return later. Finally, buy in logical phases. Get the core material first, then pick up adhesives and fasteners once the main build is underway. This keeps your cash fluid and prevents the common error of owning six types of screws when you needed one.