Start with a Simple Vision for the Day
Before you check the weather or rummage through a gear bin, pause for a minute. The most useful first step is deciding what you actually want from the day. Are you hoping for a steady hike with a view, a slow picnic in the shade, a quiet morning of birdwatching, or a loose mix of walking and resting? None of these is better than another, but they lead to very different plans.
Write down one or two words that capture your aim, such as “explore” or “relax.” Then set a realistic time frame. Think about how much time you can comfortably spend away from home, including travel and cleanup afterward. A clear window, even a short one, helps you avoid the common trap of trying to do too much.
With that vision in place, every later decision becomes simpler:
- You will know whether to prioritize sturdy shoes or a comfortable blanket.
- You can choose a location that matches your activity rather than the reverse.
- You can pack only what supports that one goal, cutting down on clutter and worry.
- You will have a natural stopping point, so the day feels complete rather than rushed.
Keep this intention loose enough to adapt. If the trail is muddier than expected or the picnic spot is windy, you can shift your plan without losing sight of what mattered most. A simple vision gives you direction without locking you into a rigid schedule.
Choose a Date and a Backup Window
Start by picking one primary date for your outdoor day, then immediately choose a backup date within the same weekend. This simple step removes much of the pressure because you are no longer betting everything on a single forecast. If Saturday looks uncertain, Sunday becomes your natural fallback without needing to rearrange your whole week.
When you have your two dates, check the weather from more than one source. Look at the forecast for the general region and also for the specific park, trailhead, or recreation area you plan to visit. Local conditions can differ noticeably from what a city forecast predicts, especially near water, in valleys, or at higher elevations.
Beyond weather, take a few minutes to verify practical details:
- Confirm the park or trail is open on your chosen days, including any seasonal closures or restricted entry times.
- Check for recent alerts about trail conditions, fire risk, or facility maintenance.
- Note whether parking fills early on weekends, and consider arriving earlier on your primary day.
Having a fallback date in place reduces stress before you even leave the house. Instead of feeling locked into one plan, you can make a calm decision on the morning of your primary day. If conditions look poor, you simply shift to your backup without disappointment. If the weather cooperates early, you still have the flexibility to shorten or extend your outing as comfort dictates. A clear two-window plan keeps the day enjoyable, adaptable, and firmly under your control.
Build a Practical Packing List
The most reliable packing list starts with the specific plan you have already written down. Look at your planned activities, the expected weather for the day, and how many hours you will be out. A short, focused list beats a large, generic one every time. You want to carry what you will actually use, not everything you might possibly need.
Begin with the non-negotiables for any outdoor outing. These form the core of your list:
- Water and food: Bring more water than you think you will drink, plus snacks or a packed lunch that can handle being in a pack all day.
- Layers: A base layer, an insulating mid-layer, and a waterproof outer shell give you the flexibility to adjust as temperatures shift or the wind picks up.
- Sun protection: Sunscreen, a hat with a brim, and sunglasses are just as important on a cloudy day as on a sunny one.
- First aid: A basic kit for blisters, minor cuts, and headaches is sufficient for most close-to-home trips.
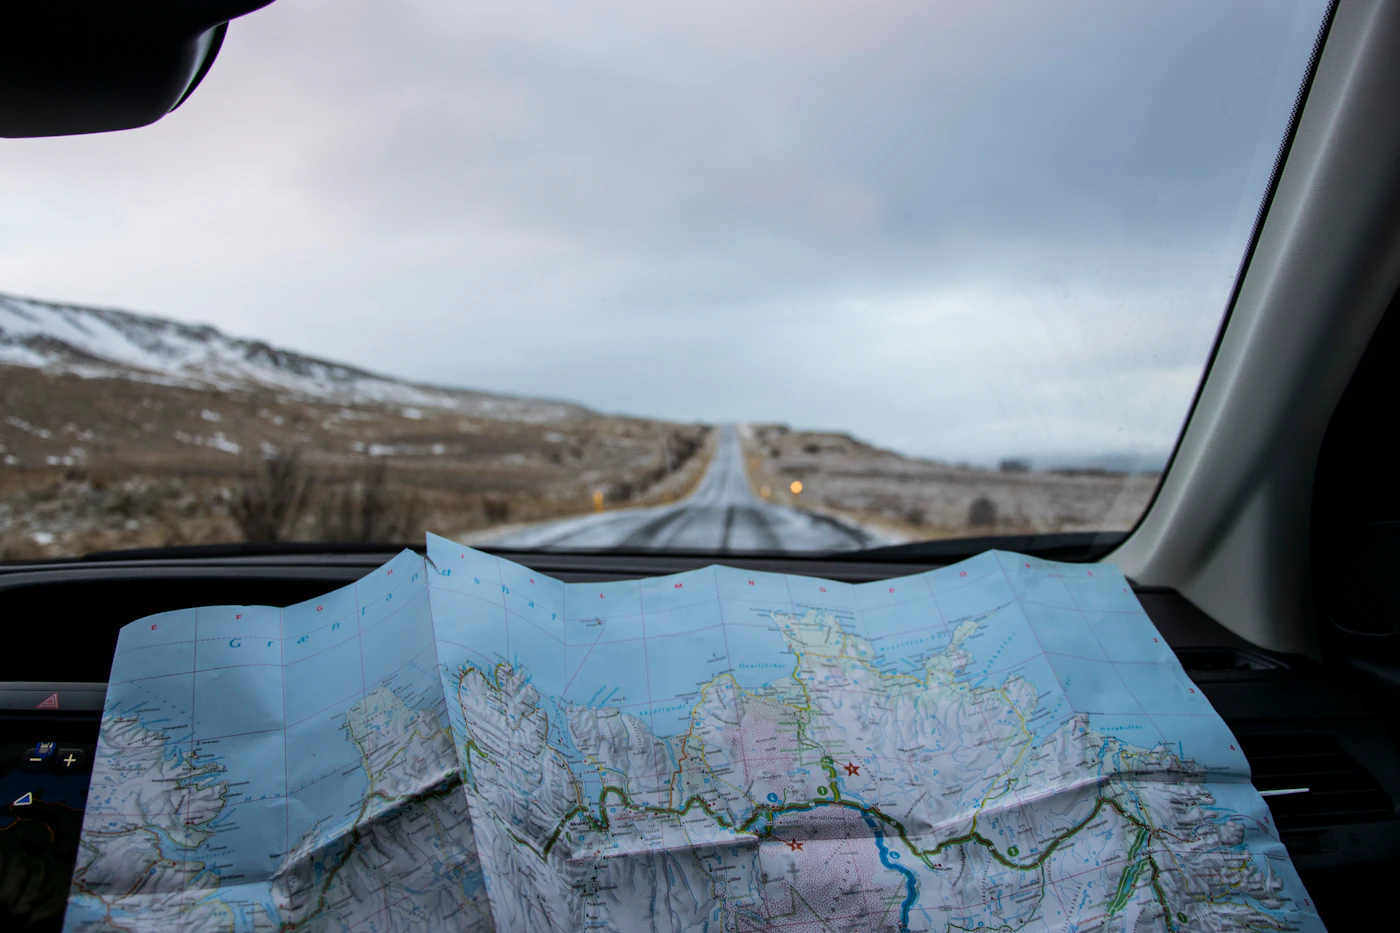
- Navigation: A simple, printed map of the area and a charged phone are a solid combination. Learn how to use the map before you go.
Once your essentials are set, tailor the rest to your group. If you are bringing children, add a change of clothes and a small comfort item. If you expect wet or muddy trails, pack an extra pair of socks and a dry bag for your phone and keys. Check the forecast the night before and the morning of your trip, then adjust your layers accordingly.
Finally, resist the urge to overpack. Lay everything out, then remove anything that only serves a "what if" scenario that is unlikely to happen close to home. A lighter pack makes the day more comfortable and leaves you with more energy for the activities you planned.
Do a Quick Safety and Logistics Review
Once you have a destination and a rough time frame in mind, shift your attention to the practical side of the outing. This step is about preparation, not overthinking. A short review of the basics can prevent most common hiccups before they turn into problems.
Start with the official information for the place you plan to visit. Park websites, state forest pages, or local land management offices publish current trail conditions, seasonal closures, and whether a permit or day-use reservation is required. Look for alerts about recent weather damage, wildlife activity, or fire restrictions. Write down the relevant details or take a screenshot so you have them offline.
Next, handle the simple tech and personal safety checks:
- Fully charge your phone and consider carrying a small external battery.
- Share your planned route and expected return time with one trusted person.
- Review the specific safety guidance for your activity—whether that is trail etiquette for hiking, life jacket rules for paddling, or helmet basics for cycling.
- Check the extended weather forecast for the exact area, not just the nearest town.
You do not need to master every survival skill or pack for every emergency. The goal is to make sure you are not starting from zero. If you are uncertain about trail difficulty, stream crossings, or route finding, choose a shorter loop or a well-marked path. It is always acceptable to turn back early. This review should take ten minutes, not an hour. When it feels straightforward, you are ready to move on to gathering your gear and food.
Prepare Food and Gear the Night Before
A calm morning starts the evening prior. When you remove small decisions and tasks from your early hours, you give yourself a more relaxed beginning and a clearer head for the day ahead.
Start with your clothing. Check the evening forecast and lay out a full outfit, including socks, a hat, and an extra layer for changing conditions. Set aside footwear by the door. If rain seems possible, keep a light shell jacket within reach.
Next, pack your day bag with the essentials you have already confirmed you need. This includes:
- A filled water bottle or thermos, ready to grab.
- Any maps, permits, or written directions you may have printed.
- Small essentials such as sunscreen, lip balm, and a basic first-aid kit.
- A portable charger and any cables you might need for your phone.
Food made ahead saves the most time in the morning. Prepare simple options that travel well: a sandwich wrapped tightly, washed fruit in a container, or portioned trail mix in small bags. If you prefer a warm breakfast, set out a bowl, spoon, and a single-serving oatmeal packet. Keep your coffee or tea setup ready, so the only step left is pouring hot water.
Charge your phone, camera, and any other batteries overnight. Plug them in now, not in the morning. Place everything near your packed bag.
Finally, set a wake-up alarm with enough time to eat, dress, and leave without rushing. Give yourself a comfortable buffer. When the morning comes, your only job is to follow the simple sequence you already prepared.
Enjoy the Day and Keep a Flexible Mindset
The best outdoor plans have a little give in them. A planned route might be muddy, a favorite spot could be crowded, or the weather might turn breezier than expected. Rather than viewing these as setbacks, treat them as part of the experience. If a trailhead looks busy, consider walking the loop in the opposite direction or taking a shorter path you have not explored recently. A longer break by a sheltered bench or a quiet patch of grass can be just as rewarding as pushing on to a distant viewpoint.
Your schedule is a guide, not a contract. Watch how you feel, not just the clock. If the morning pace feels rushed, slow down and let the afternoon shift. Conversely, if you are making better time than planned, it is perfectly fine to pause longer for a snack or to simply sit and notice the light through the leaves. The goal is to enjoy the day at a comfortable rhythm.
- Change the route if conditions are less than ideal; a simple reverse or a shorter loop keeps momentum without forcing it.
- Extend a rest stop when you are comfortable; a relaxed break often brings more enjoyment than a rushed mile.
- Stay alert to your energy and adjust the pace accordingly, not just the distance.
Finally, choose a planned stopping time before you head out. When that time arrives, wrap up your activity, gather your gear, and head home with a sense of completion. Ending on your own terms, while you are still feeling good, leaves you satisfied and more likely to plan another outing soon.