Start with a Clear Intention, Not a Perfect Vision
Before you pull anything out of the closet or lift a single boot, pause in the doorway and look at the space as it is. The goal for a weekend project is not to create a showroom. It is to make the entryway work for the way your household actually moves through it. A good intention sounds like, “I want to put my keys down without hunting for them,” or “I want the floor clear so we can get out the door without stepping over things.” That is a measurable win. A vision of magazine-perfect baskets and labeled bins can set you up for frustration before you begin.
Instead of imagining a finished look, define the entryway’s real jobs. It holds the things you need for the next departure: shoes, jackets, bags, and maybe a dog leash. It also catches the clutter of a busy day. Once you accept that some mess will return, you can plan for it rather than fight it.
Set one simple rule for the weekend: you are sorting, not decorating. Work in three passes:
- First pass: Remove trash, recycling, and anything that belongs in another room. Set those items in a box or basket for a quick trip later.
- Second pass: Group what remains by category—shoes, outerwear, accessories, mail. This shows you what you actually own and use.
- Third pass: Decide what stays, what gets stored elsewhere, and what should be donated or tossed.
This order keeps you from making decisions about storage before you know what you are storing. At the end of the day, you will have a working entryway, not a perfect one, and that is enough to build on.
Gather Your Supplies and Set Up a Sorting Station
Before you touch a single coat or shoe, take fifteen minutes to collect what you need. This prevents the common trap of wandering from room to room mid-task. You will want a few basic categories of tools.
- Bags and boxes: Use sturdy trash bags for discards and separate laundry baskets, cardboard boxes, or reusable totes for donations and relocation.
- Cleaning basics: A microfiber cloth, a gentle all-purpose spray, and a small vacuum or handheld brush handle dust, crumbs, and grit that collect near the door.
- Labels and a marker: Painter’s tape and a permanent marker create clear, temporary signs for each category.
- Optional bins: Clear, lidded bins help group off-season items or accessories you decide to keep but do not use daily.
Set up your station in the center of the room, or just outside the doorway if space is tight. Use five distinct areas: Keep, Donate, Trash, Relocate, and Undecided. The last bin is essential because it holds items you are unsure about without stalling your flow. Write each label clearly, then tape it to the floor, a wall area, or the side of a container.
Work from one side of the entryway to the other, not all at once. Pick up each item once and assign it immediately. This single-decision rule keeps the process moving and prevents piles from multiplying. If a jacket belongs in a bedroom closet, place it in the Relocate bin rather than carrying it upstairs right that second. Small, steady choices will clear the floor and surfaces within a couple of hours, leaving you with clear bins and a calmer room.
Empty the Space and Sort Everything into Four Piles
Start by taking everything out of the entryway. This includes coats, shoes, bags, mail, keys, umbrellas, dog leashes, and any decorative objects. Work in sections—begin with the top of a console table or the hooks on the wall, then move to the floor or storage bench. Carry items to a nearby table, couch, or clean section of the floor. You need enough room to see everything at once.
As you remove each item, place it into one of four piles:
- Keep: Items used weekly, such as everyday coats, current shoes, and the keys or sunglasses you reach for without thinking.
- Store elsewhere: Seasonal gear, formal shoes, or luggage that belongs in a closet, attic, or basement.
- Donate or sell: Items that are still usable but no longer fit, suit your taste, or get worn.
- Toss: Broken umbrellas, worn-out flip-flops, expired medication, and scraps of paper that have no purpose.
Make quick decisions. If you hesitate for more than a few seconds over a pair of boots or a stack of takeout menus, put them in the “store elsewhere” pile for now. You can revisit them later. Wipe down the empty surfaces—the dusty shelf, the scuffed floorboards, the grimy hooks—before you put anything back. This is the easiest moment to clean because nothing is in the way.
Leave the “keep” pile out for now. Once the space is clean, you can decide what deserves a permanent spot and what should be redirected. This step alone often clears half the clutter, making the rest of the work feel lighter.
Clean the Now-Empty Entryway Thoroughly
With the clutter moved aside, the entryway’s bones are finally visible. This is the moment to clean the surfaces you usually work around. Begin at the top and work downward so dust and drips don’t land on areas you have already finished.
Start with the walls and any trim. Use a dry microfiber cloth or a vacuum with a soft brush attachment to lift cobwebs and settled dust from corners, light switch plates, and baseboards. For smudges near the door handle or where bags frequently brush against the wall, spot-clean with a damp sponge and a drop of mild dish soap. Wipe in short strokes, then dry the area with a clean cloth to avoid streaks.
Next, address the floor. If you have hard flooring, sweep or vacuum thoroughly first, then mop with a product suited to your floor type. Pay special attention to the threshold and the corners where grit accumulates. For area rugs, vacuum both sides if possible, and check the edges for tucked-in debris. If you notice a lingering odor or a deep stain that home cleaning does not resolve, consider whether the rug needs professional cleaning rather than risking further damage.
Finally, wipe down any remaining hard surfaces: the top of a shoe bench, a console table, or the inside of a coat closet door. Use a gentle all-purpose cleaner and follow the grain of the material.
- Check for loose screws on hooks or a wobbly bench; tighten them if you are comfortable doing so.
- Inspect caulk or grout near the door; if it is cracked or missing, that is a job for a professional.
- If a wall stain is set in or the paint is peeling, a patch and repaint is best left to a contractor.
Choose Simple Storage That Fits Your Routine
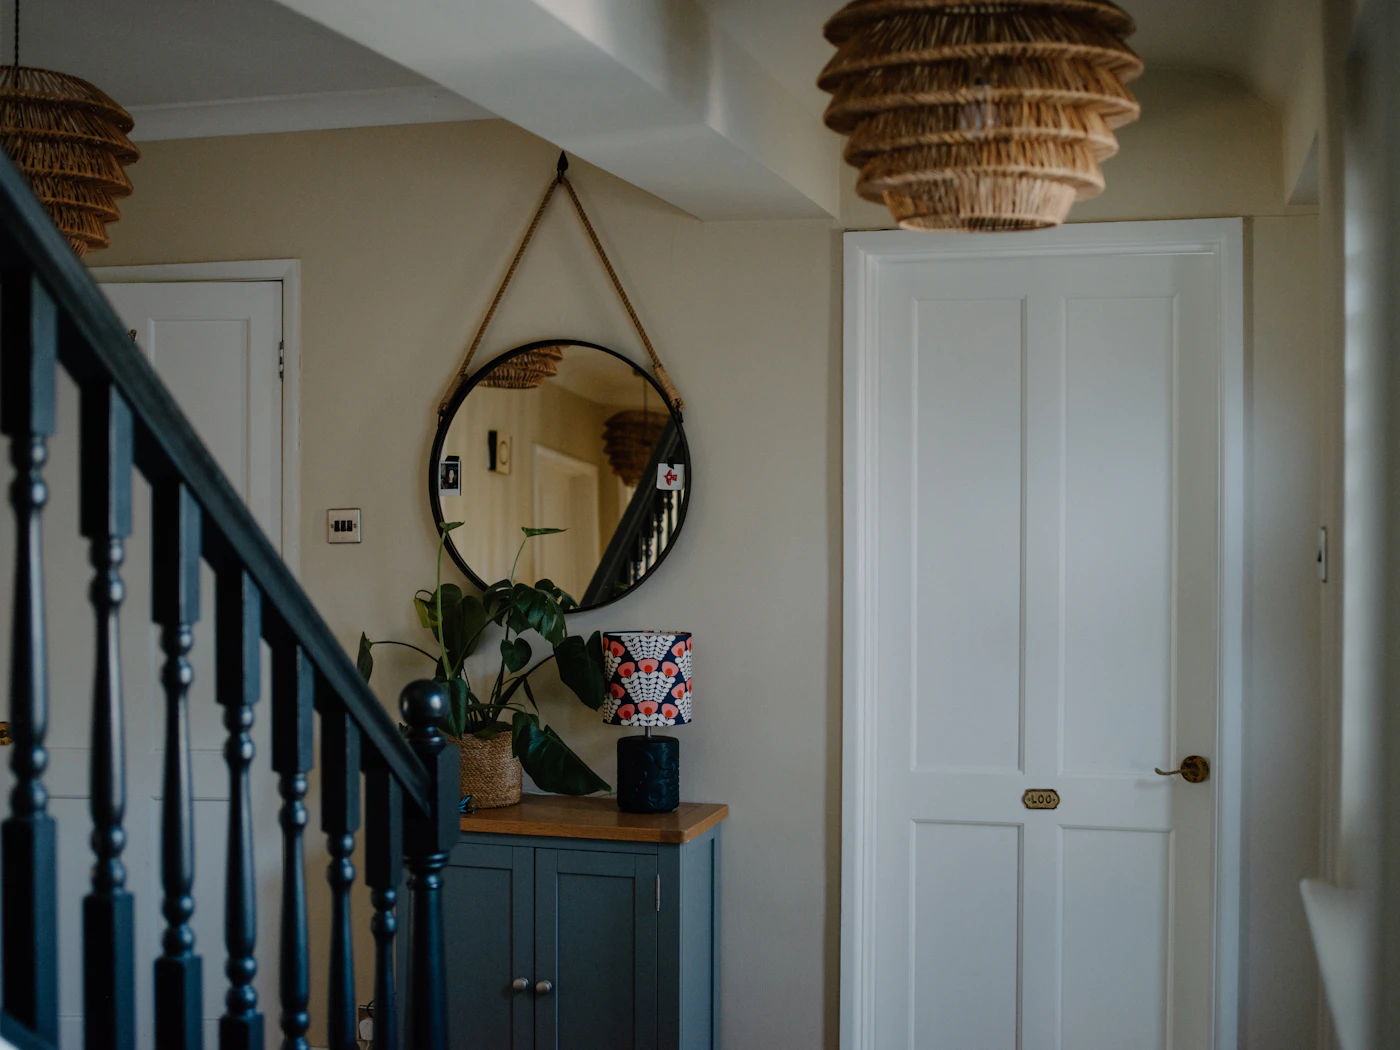
The goal of entryway storage is not to hide everything, but to make everyday comings and goings easier. When choosing pieces, think about the sequence of your own arrivals. You likely need a place for keys and mail before you even take off your coat, and a spot for shoes that does not require bending down twice. Look for storage that matches these natural movements.
Hooks are often the most flexible option for small spaces. Install a row at a height that works for both adults and older children, and use the top of the row for coats and bags, reserving lower hooks for leashes or lightweight jackets. A wall-mounted bench with cubbies underneath can replace a bulky console table, giving you a seat while providing room for bins or baskets that catch loose footwear.
- Bins and baskets: Use a few open bins for sports gear, hats, or reusable bags. Open containers let you see contents at a glance, preventing the “out of sight, out of mind” pile-up that often happens in closed cabinets.
- A slim tray or shallow dish: Keep one dedicated spot by the door for keys, sunglasses, and pocket contents. This simple habit prevents the frantic morning search.
- Stackable cubbies: If floor space is tight, vertical cubbies allow you to store a week’s worth of shoes against a wall without taking over the entire floor plan.
Labeling each bin or shelf with a narrow strip of tape or a small tag helps everyone in the household know where things belong. The key is to keep the system forgiving: if a coat lands on the bench instead of a hook, that is still progress. Assigning a “drop zone” that you do not need to look at can reduce daily stress, even if it is not magazine-perfect.
Put Everything Back with a Place for Every Item
The final step is the one that makes the clutter stay gone. Sorting and wiping down surfaces only buys you time unless each remaining item has a clear, logical home. Work category by category—shoes, outerwear, bags, dog leashes, mail, and keys—and decide where each belongs before you place anything.
Think about how you actually move through the space on a normal morning. The items you grab as you head out should sit at arm’s height or near the door you use. Gear you only touch weekly, like hiking packs or out-of-season scarves, can go on higher shelves or in a bin near the top of the closet. Daily-use items should never require a step stool or a deep dig.
- Group like items: Keep all gloves in one basket, every umbrella in a single canister, and all reusable shopping bags in one cloth tote.
- Choose clear or labeled containers: A simple label maker or masking tape and a marker is enough. Write the category on the front so everyone—including guests—can find and return things without guessing.
- Respect the one-touch rule: If an item doesn’t have a home, it will land on the bench or floor. Assign that home now, even if it’s a hook behind the door or a shallow tray on the console.
Arrange the containers so the most-used bins are at waist level and the overflow lives on the floor or high above. After a few days, adjust based on what actually gets pulled out most often. The goal is a system that survives a rushed Tuesday, not just a quiet Sunday afternoon.