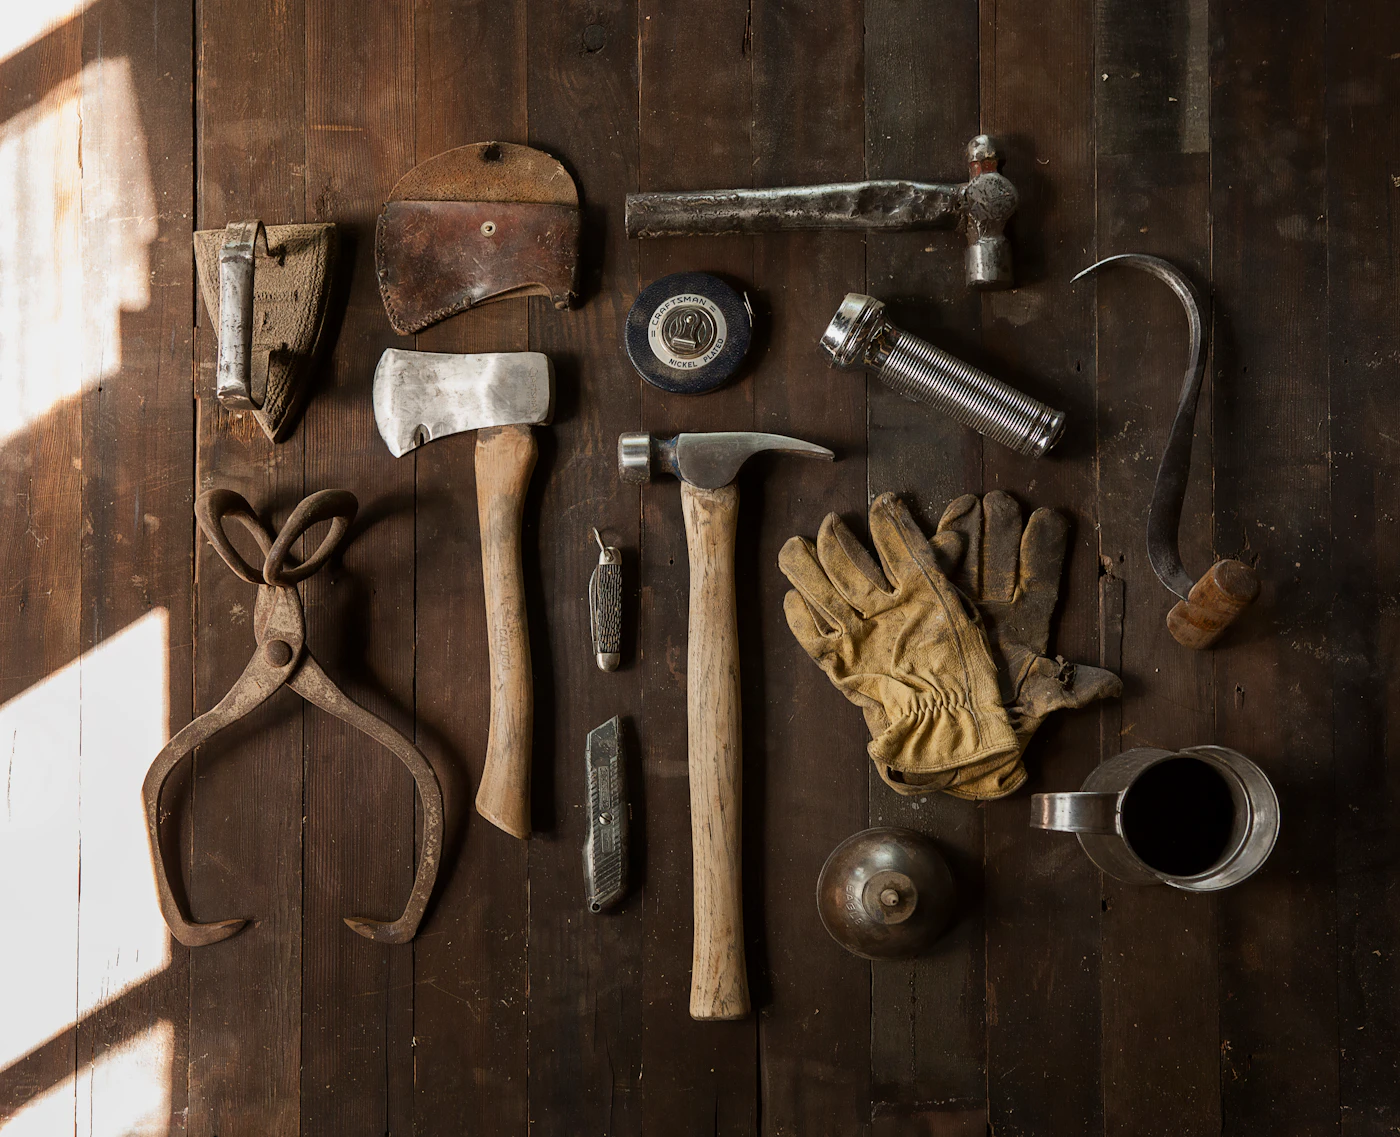
Why a Basic Tool Kit Often Goes Wrong
The path to a home tool kit usually starts with one of two frustrations. Either you buy a large pre-assembled set in a molded case because it looks complete, or you grab a few single tools here and there when something breaks. Both routes tend to lead to the same headaches: redundant screwdrivers you never touch, a wrench set missing the size you need, and at least one hammer that feels flimsy the first time you use it.
The core problem is that these kits are built to look comprehensive, not to match your actual home and habits. A set might include six different hex keys but no utility knife, or a level too short for hanging a shelf straight. Meanwhile, the “grab as needed” method often results in buying the same pliers twice because you forgot you already owned a pair buried in a drawer.
Quality is another silent issue. Many budget sets include tools that are fine for occasional light use, but they fail at the first stubborn bolt or tough nail. Handles loosen, edges dull, and you end up re-purchasing the one item you relied on most. You do not need expensive professional-grade gear, but you do need tools that will survive a few honest projects.
Before you spend another dollar, take a different approach:
- Inventory what you have. Gather every loose tool and identify the true duplicates and missing basics.
- List your likely tasks. Think about furniture assembly, picture hanging, and minor plumbing or electrical fixes.
- Buy individual pieces that match that list, not what a box says you should own.
The goal is a small, working collection you actually understand. That saves money, space, and frustration later.
Choosing a Storage Solution That Fits Your Space
The most common mistake when starting a tool kit is buying the storage first and matching it to the tools later. A rolling chest with twelve drawers looks capable in the store, but if you live in a studio apartment, it will soon become a permanent, immovable table that collects clutter. On the other hand, a slim pouch that zips shut might work for a single screwdriver, but it will frustrate you the first time you need a hammer and a measuring tape together.
Start by measuring the actual footprint you can dedicate, including the floor, the back of a closet door, or a stretch of wall. For an apartment or a home with limited square footage, a wall-mounted pegboard or a shallow cabinet keeps tools visible without eating into living space. If you move often or prefer to work in different rooms, a portable bag with a wide base and a sturdy handle is more practical than a rigid box that cannot squeeze under furniture.
Before you buy anything, lay out the tools you already own or plan to purchase for your first few projects. Use this short checklist to guide your decision:
- Count how many long-handled tools, such as hammers or a small saw, need a dedicated slot.
- Decide whether you will carry the kit to a vehicle, a shed, or a neighbor’s place more than once a month.
- Consider open, visible storage if you tend to forget what you own, versus a closed drawer if you prefer a clean look.
- Leave at least 10 percent of the storage capacity empty for future additions.
If you are unsure, choose the smallest practical option that still holds your current list. A medium-sized bag with a few removable dividers offers more flexibility than a fixed plastic case, and it can hang on a hook when empty. The goal is a kit that lives where you work, not one you have to reorganize around.
The Essential Tools: What to Buy First
Most home repair jobs boil down to a handful of basic actions: hitting, turning, gripping, measuring, and cutting. If you buy for those actions instead of for a specific project, you can build a kit that covers the majority of routine fixes without spending heavily on specialized gadgets. Start with seven individual tools, and buy them one at a time so you can feel the weight and quality in your hand before you pay.
- Claw hammer: Choose a steel head with a comfortable grip. The claw is for pulling nails, not for prying boards. A 16-ounce weight is a common, balanced choice for general work.
- Screwdrivers: You need both flathead and Phillips tips. Buy two of each—one small, one medium. Avoid sets with interchangeable bits; a solid, one-piece handle transfers force better and lasts longer.
- Adjustable wrench: One medium size adjusts to fit most nuts and bolts around the house. This single tool replaces a drawer full of fixed wrenches for occasional use.
- Pliers: A standard slip-joint pair handles gripping and bending. Add needle-nose pliers later if you work with wire or small parts.
- Tape measure: A 25-foot length with a locking mechanism is practical. Check that the hook on the end moves slightly; that makes measurements accurate when you push against a surface.
- Level: A 24-inch level is long enough for shelves, cabinets, and picture frames without being awkward in tight spaces.
- Utility knife: Use it for cutting boxes, drywall, and rope. Buy retractable blades and change them often; a dull blade causes more injuries than a sharp one.
These tools are safe for everyday tasks like hanging shelves, tightening loose handles, or assembling furniture. Leave complex electrical or structural work to a professional. Purchase each piece individually rather than in a boxed set. Sets often include rarely used sizes and sacrifice quality on the tools you need most.
Power Tools: When to Invest and When to Bypass
The most practical first power tool for most beginners is a cordless drill/driver. It handles a wide range of everyday tasks: assembling flat-pack furniture, driving screws into studs, drilling pilot holes, and even mixing small batches of paint or adhesive. Look for a model with two batteries so one can charge while you work. This single purchase will serve you for years and covers the majority of basic home repairs.
Beyond the drill/driver, resist the urge to stock up on other power tools in advance. A circular saw, jigsaw, oscillating multi-tool, or impact driver are all genuinely useful, but they earn their place only when a specific project demands them. Buying these tools before you have a concrete task usually means they sit unused, taking up space and tying up money that could go toward better materials or a rental fee.
Here is a practical way to decide:
- Rent or borrow first. If you need a tool for a one-time job, a rental from a local hardware store is far cheaper than a purchase.
- Buy only when you face a second or third use. If you find yourself renting the same tool repeatedly, that is a signal it is worth owning.
- Start with basic models. For occasional use, a mid-range tool is sufficient. Professional-grade features add cost you likely will not use.
Avoid the common trap of buying a large "kit" of power tools on sale. These bundles often include items you rarely touch, and the quality per tool may be lower than buying individually. Let your projects guide your purchases, not the other way around.
Simple DIY Repairs You Can Handle Safely
The fastest way to build confidence with a new tool kit is to start with small, low-risk jobs. These are tasks that involve no gas lines, no major electrical work, and no changes to the structure of your home. They are about tightening, adjusting, and patching—nothing more. When you finish one, you will have a clear sense of accomplishment and a better feel for how your tools behave.
- Hanging a picture. Use a stud finder to locate a solid anchor point, or choose a wall anchor rated for the weight you are hanging. Mark the spot with a pencil, drill a pilot hole if needed, and drive the screw. The most common error is skipping the pilot hole on drywall, which can cause cracking. If you hit a metal or wood obstruction, stop and move your mark.
- Tightening a loose hinge. Most interior door hinges loosen because the screws work free from the frame. Remove the top screw from the hinge on the frame side, dip a wooden toothpick or matchstick into wood glue, and push it into the hole. Snap it flush, allow the glue to dry, then reinsert the screw. This gives the threads fresh material to bite into.
- Fixing a running toilet. Lift the lid and inspect the flapper, the rubber valve at the bottom of the tank. If it is misaligned or simply not sealing, adjust its chain so there is a little slack, then clean any mineral buildup on the valve seat. If the rubber is warped or cracked, replace it with a universal flapper that matches your toilet model.
- Patching small nail holes. For holes under a quarter-inch, use lightweight spackle. Apply it with your fingertip or a small putty knife, press it in, and scrape off the excess. Once it is dry, sand lightly and touch up with paint. Do not use this method for larger holes, which need a different repair approach.
If you encounter rusted screws that will not turn, water that continues to leak after you adjust the flapper, or any damage that goes beyond the surface, stop. Call a professional for anything that involves plumbing beyond the tank, electrical wiring, or structural framing. These simple repairs stay simple precisely because you respect that boundary.
When to Call a Professional: Safety and Cost Reality
There is a clear line between a satisfying DIY project and a costly mistake, and that line usually involves your home’s critical systems. Knowing when to stop is a skill, not a failure. If you are unsure about your ability to complete a task safely, that hesitation is your best guide.
Start with these firm boundaries:
- Electrical panel work: Anything beyond changing a fixture or a switch—such as adding a breaker, rewiring a circuit, or dealing with a panel that feels warm—should be done by a licensed electrician. The risk of shock or fire is simply too high to gamble.
- Natural gas lines: A small leak can be invisible and deadly. If you smell gas, do not touch anything electrical and leave the house immediately. Any work on gas piping, even moving a stove connection, is a job for a certified professional.
- Load-bearing walls: Removing or cutting into these to create an open layout or a new doorway can compromise your entire structure. If you cannot confirm a wall is non-load-bearing with certainty, hire a structural engineer or contractor to verify first.
- Major plumbing: Rerouting supply lines, replacing a main shutoff valve, or dealing with sewer or drainage lines are not beginner tasks. A small error can cause water damage that costs far more than the repair itself.
Before you start, check with your local building department. Many municipalities require permits for electrical, plumbing, and structural changes. Skipping the permit can lead to fines and problems when you sell the house.
Calling a professional is a smart financial decision. The cost of their labor is often a fraction of what a single mistake would cost in repairs, medical bills, or lost time. A well-stocked tool kit is for the jobs you understand completely—not for the ones that could put you or your property at risk.